Showing posts with label Quickie Giftie. Show all posts

Tuesday, May 23, 2017

Prima and Michaels

The final countdown is happening!!  Only 2 more days until Prima starts showing up in Michaels!  I'm really excited, especially for those of us who don't have local scrapbook stores in our areas!  We haven't had one here in YEARS!  I'm also hoping that the limited release will bring new people to our love of Prima!

I've been a huge fan of Julie Nutting for years!  I loved her even before she started designing for Prima!

I created these little favor bags using Julie Nutting planner stamps, Finnabair glitter and lots of cute stuff from Michaels!


I love all the little sayings that are included in this stamp set.  Yes, it's for Planners, but so much MORE!  My friend is hosting a 'Craft Party' soon, and we will be using these little bags for favors!  

I also wanted to remind everyone that this is FUN!  I think in trying to create the 'perfect' project, sometimes we forget why we do this and why we LOVE it! 


I hope that all of you will take a peek at Michaels soon!!  I know that I will be checking each time to see what they have of these terrific products!

Photobucket

Monday, December 15, 2014

Flying Unicorn December Kit- Off the Page

Well, you know that Alda always adds a fun Off the Page item to her Flying Unicorn kits.  For December, she added an adorable little wooden sleigh!  So cute and just perfect to tuck in around your home in December.

I had a lot of fun decorating this one.  Before I started the painting and misting, I took some plain old Elmer's Glue and added some swirls and lines to give it some texture.


Next, I painted the whole thing with gesso.  I sprayed it with some silver mist and let it puddle and dry as it would.  That's it!  So simple!


Of course, it's my project, so I had to add some ribbon and flowers.  The flower is a terrific vellum flower from Prima.  I added some glitter snowflakes and glitter leave that I picked up at Michaels.  I love this time of year!  There are so many beautiful, inexpensive things in all the craft stores!


Since it is a sleigh, and it is Christmas time, I had to fill it with some tiny gifts!  A few little candies and small wrapped gifts would make this a fun little giftie item, too!

Be sure to check out the Flying Unicorn Store to see all the kits and don't forget that Flying Unicorn has a very fun forum where you can learn and get to know the team, too!

Photobucket

Wednesday, March 26, 2014

Leaky Shed Studio and a Tutorial

Hi y'all!  I'm up today on the Leaky Shed Studio Blog!  I used some adorable kites that they make for my project today.  Be sure to take a look at the Leaky Shed Blog to see the matching card that goes with this little bucket.  Here, I wanted to share a quick step by step to share with you how I made this. 

I'm sure you already know that I seem to use little buckets often!  They are so inexpensive and perfect for gifty items.  Now, I can't seem to resist picking up all the cute paper straws that are popping up everywhere!  I kept thinking that they would be so cute for crafting, but hadn't come up with an idea yet.  Luckily, when I had this brainstorm, my little shopping sprees paid off and I had everything I needed! 


Here is all you will need to put this together:
Bucket
Straws
Fabri-tac
Ribbon
Quilling tool or something round
Rubber bands


First step is to flatten out the straws.  It's really easy if you just lay it flat on the table and run your finger down it.  


Next, you need to curl it.  I used a quilling tool but a pen or pencil would work just as well.  Be sure to roll them pretty tightly so that they will have a nice curve.


 They will look something like this.  Don't worry about if they are all exactly the same, at the end of putting together the bucket, you will be able to manipulate them to look the way your prefer.

Now, you are going to glue them to the bucket.  If you don't have Fabri-tac, be sure to use a strong adhesive that dries quickly.  Use rubber bands to hold them in place while the glue fully sets.


Work your way around the whole bucket, including over the bracket.  Be sure not to glue below the handle itself, so your handle will still move. 

  
Finish with a bow, of course!

One last tip:  Leave a rubberband around the bottom of the bucket and place your ribbon right over the top.  It won't show and it will keep your ribbon in place.

Don't forget to take a peek at the coordinating card at the Leaky Shed Blog

Photobucket

Tuesday, March 4, 2014

Quick and Easy Banner Tips-3 Birds Studio

Hi everyone!  If you made it to my blog from the 3 Birds Designs Blog, you already know that I'm sharing a quick and super easy banner tip today.  If you are starting here, be sure to go by the 3 Birds Designs Blog to take a peek at my layout that incorporates banners, too.  While you are there,  be sure to take a look around!  There are so many great ideas that the other members of the design team have shared!

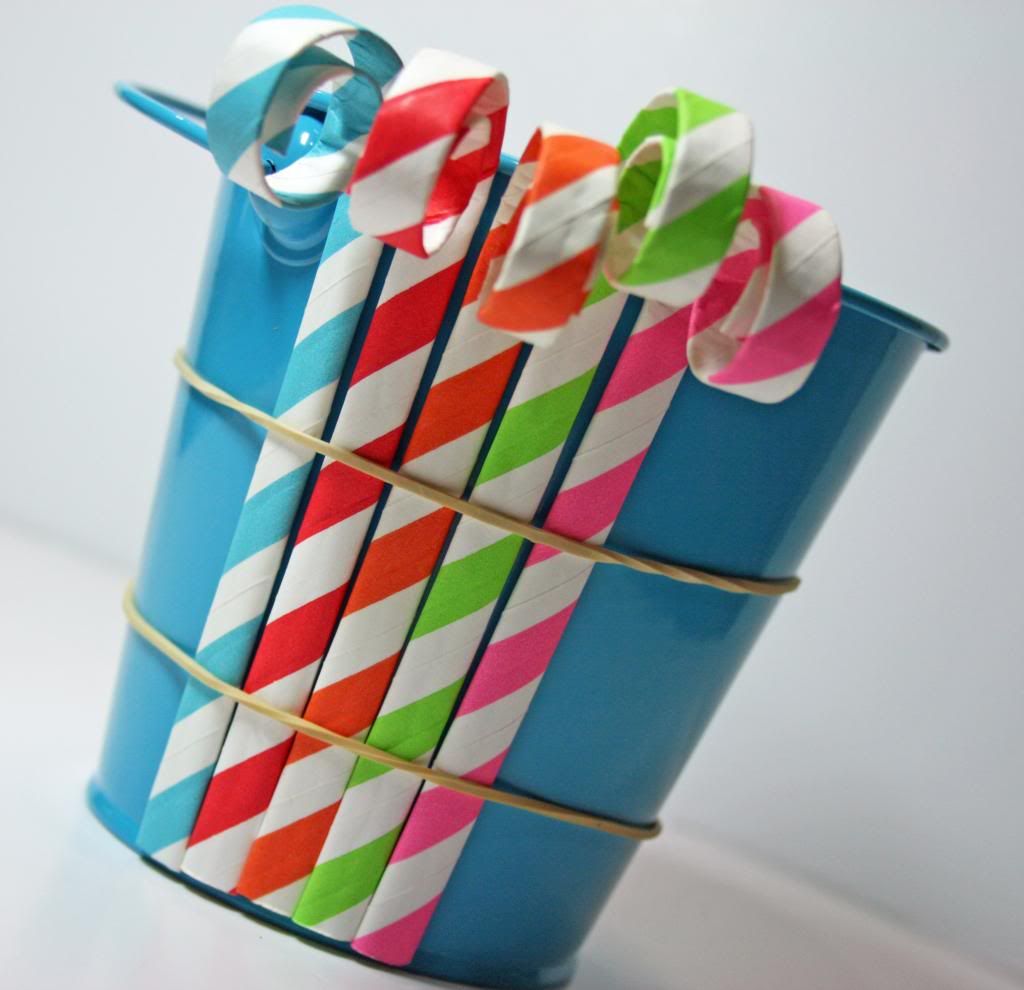
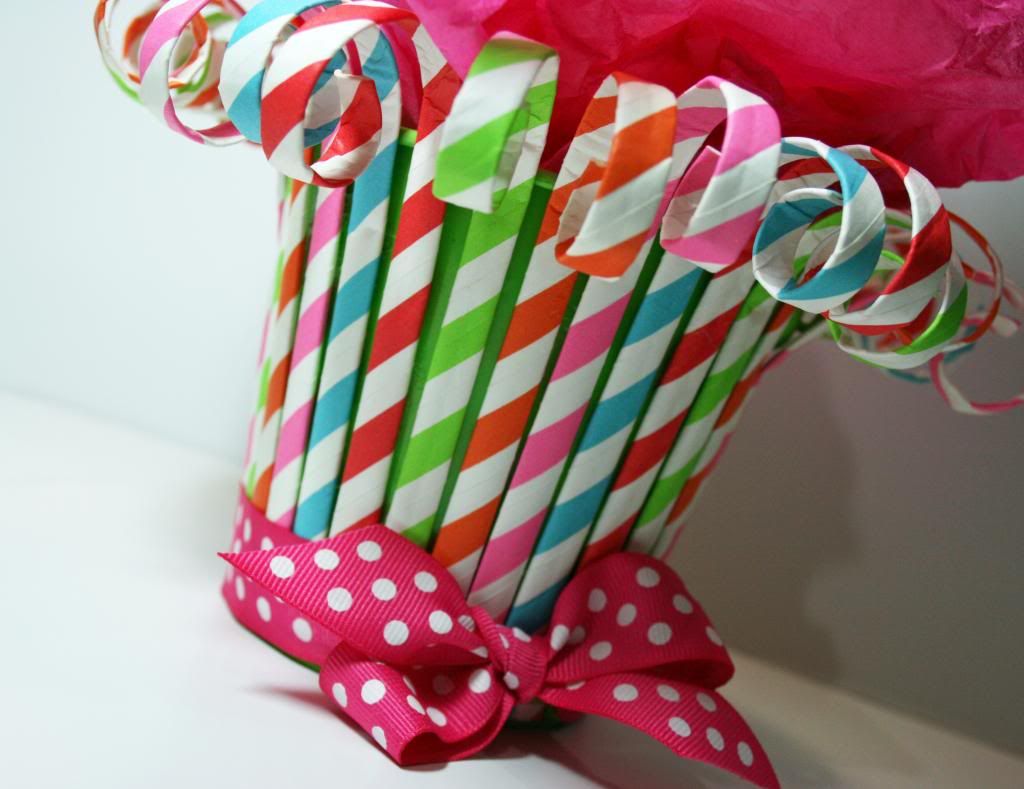
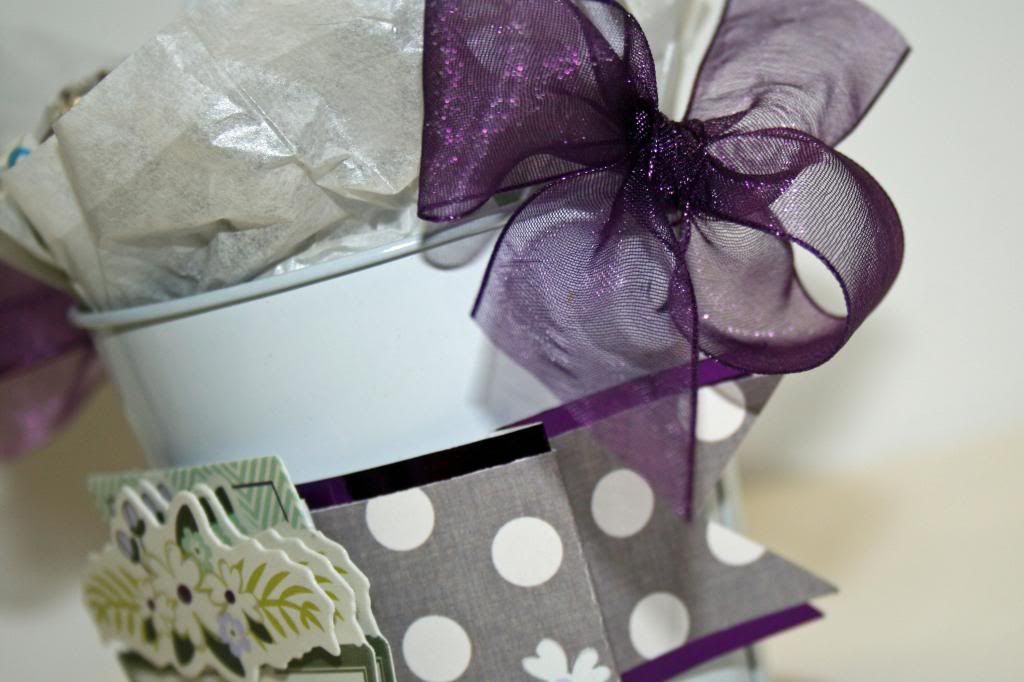
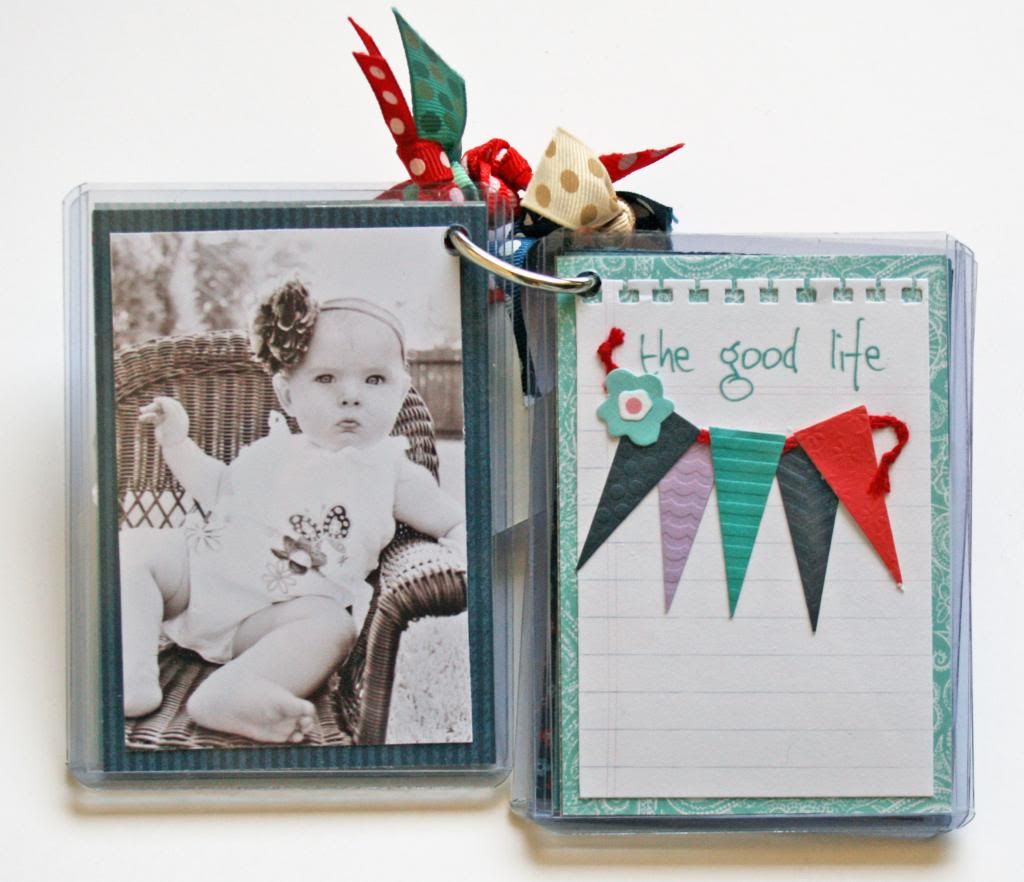
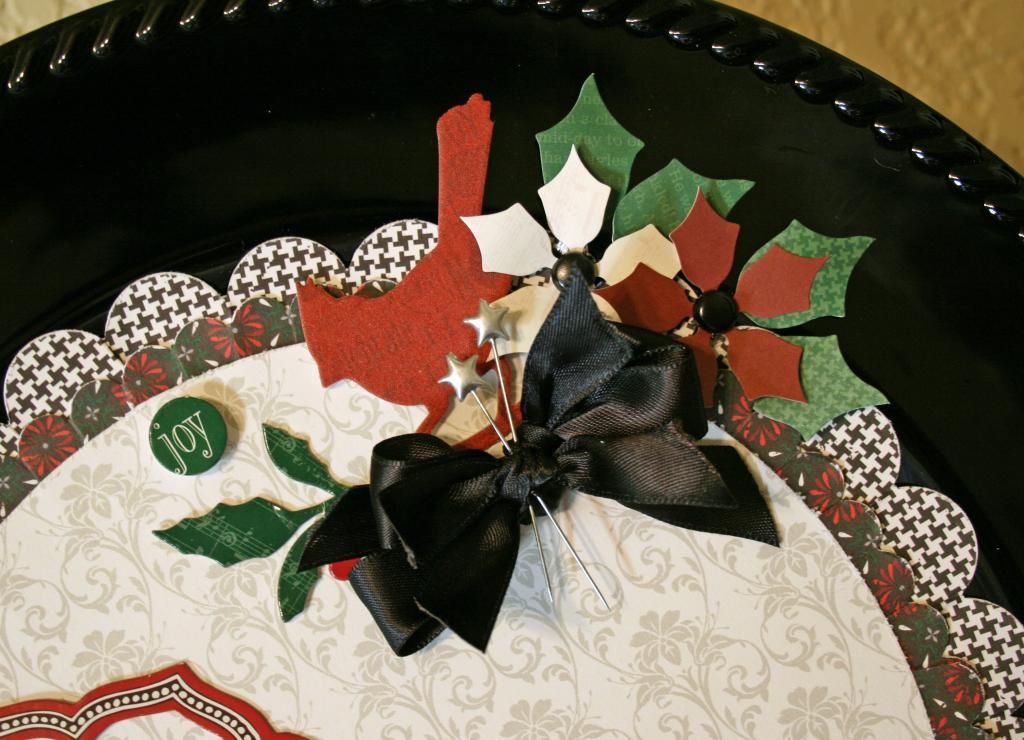
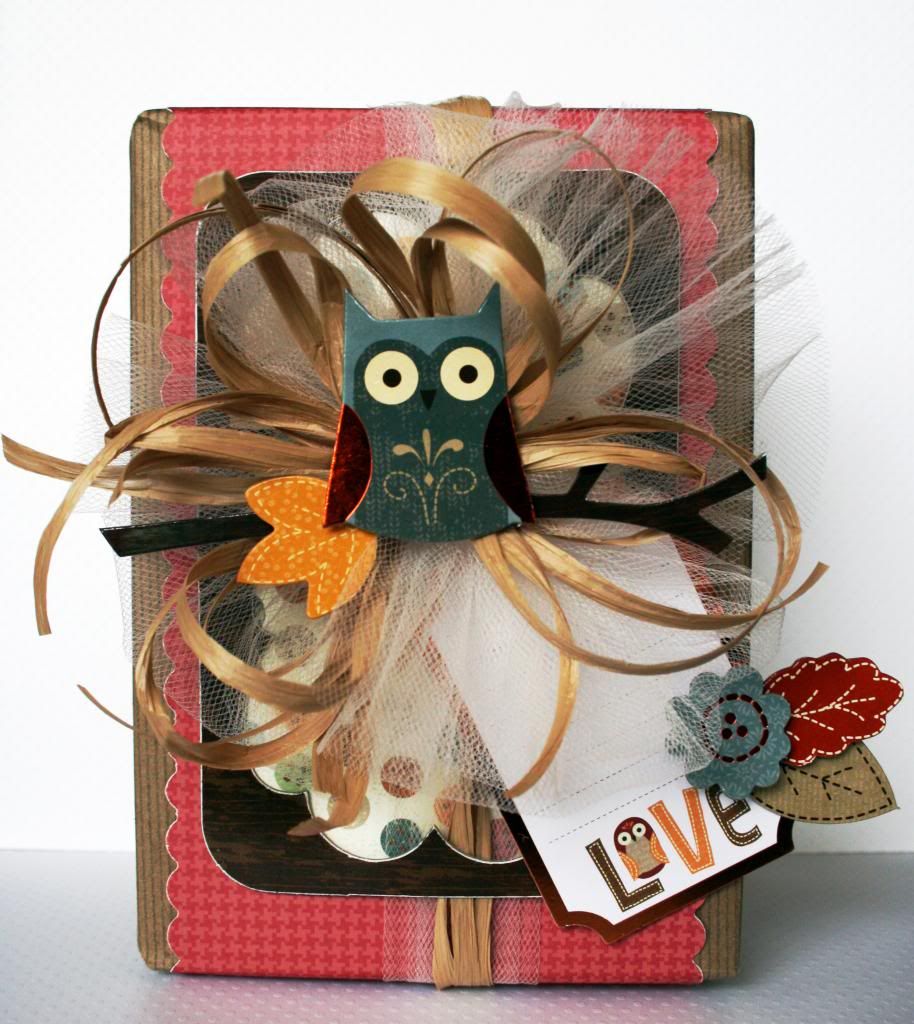
I made this little bucket giftie for and example of a layered banner.  I love the look of banners, but I used to seldom do them?  Why?  Because I never got the ends even and it bugged me!  I am the first to admit that I can get a little picky about things and with banners, just eyeballing it and hoping for the best wasn't doing it for me.  Then... I had an idea!


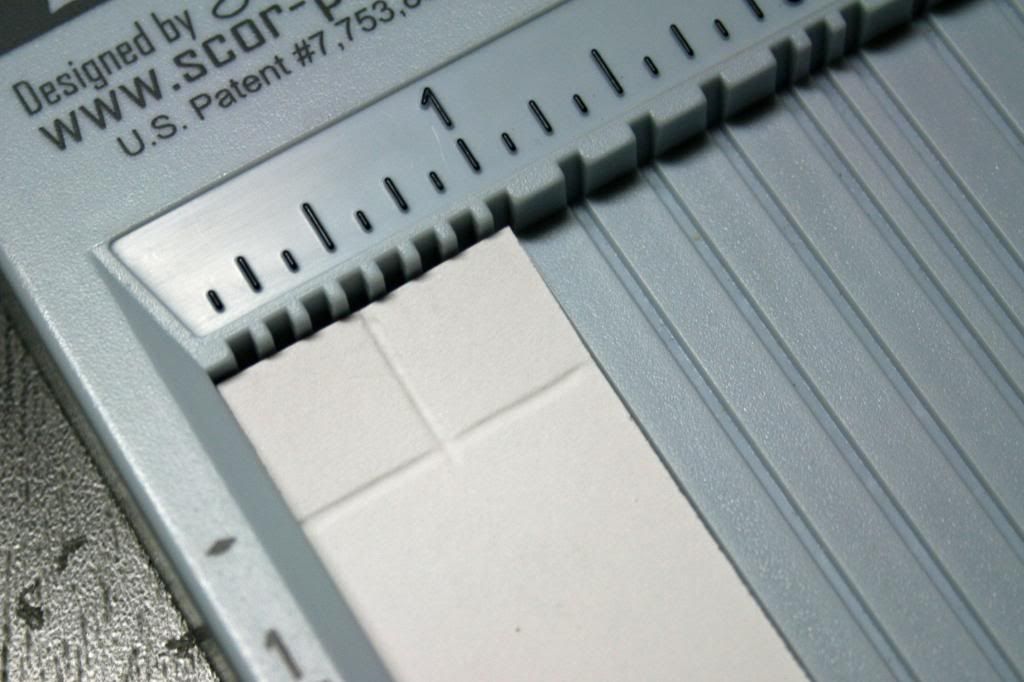
I had my Scor-pal on the table one day when I wanted to make a banner, and I decided to play around.  I came up with this and now I like making banners and I really like that I don't have pencil marks on my paper, just in case I decide to use the other side!

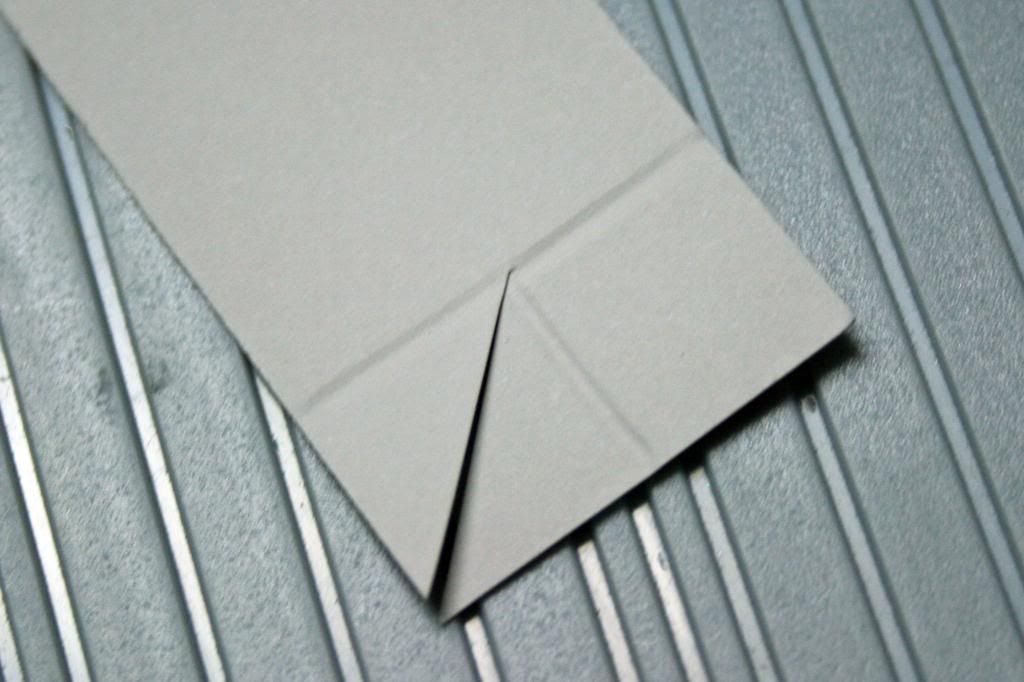
For this example, I first cut a strip of paper 1x6".  The concept will work with any size, however.  Also, you want to make your scoring really lightly, so that you don't have score marks when you complete the banner.  For the picture to show, I had to do it a bit heavier.

Step 1: Score lightly where you want the inside angle of the banner to end.  Because this one is small, I used 1/2".


Step 2:  Turn the paper and score in the middle of the paper.  Again, this example is 1" wide, so the score mark is 1/2".  End this score mark where the first one is.


Step 3:  Cut from the corner of the paper to the place where the score marks meet, as shown.


Step 4:  Repeat on the other side.


Step 5:  Score where you want the banner to fold.  This is a matter of preference.

Step 6:  Fold.


Perfect banners every time!!


Now, you might have figured this out before, but for me, this was a eureka moment!  If you have a better idea and I would love to hear about it.  I'm always up to learn something new!  

I also have some BIG NEWS today!!!  
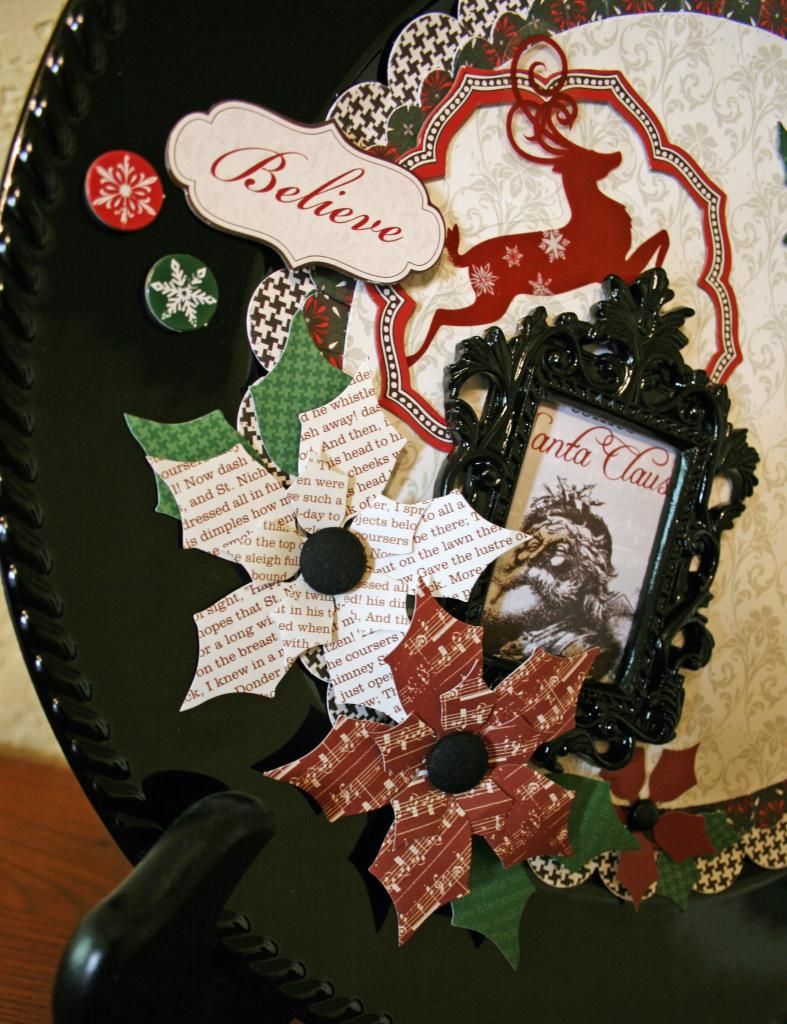
The new Graceful Season Collection from 3 Birds Studio is now available for purchase on HSN!!!
Be sure to check it out on the 3 Birds Designs Blog for all the details and I would love it if you took a look at my layout!

Photobucket

Tuesday, February 12, 2013

Valentines with Little Yellow Bicycle

It's that time of year... the little ones are getting their Valentine's Day Cards together and ready to head off to school carrying extra treats!  How about doing something a little different for the teachers or even for one of your friends to say Happy Valentine's Day?
 
Last week, one of my Facebook friends commented about how she found out about something her child needed for school the next day. When did she find out? Why, the night before, of course! This is my answer to that for Valentine's Day!
 
 
I used the red and white elements from the Just Because collection.  I couldn't resist adding a touch of blue.  Who says that Valentines can only be red, white and pink?
This one is made with a heart cookie cutter. I doubt that I spent more than 5 minutes on it. I just used the Little Yellow Bicycle Vellum tape on the outside, popped it in a bag and tied a bow at the top. To add a bit more detail, I punched a hole in a Clear Cut, added a tiny jewel and tied it to the top.

Tip: Cookie Cutters can be found in several places around each of the holidays. Try checking your local craft store, grocery store or even discount stores.
 
 
This one is another super quick one. I had these clear cups on hand. I just punched a border from paper and adhered it to the bottom of the cup. Next, I wrapped a sticker border along the very bottom border. For the tie-on, I used a couple of pieces of chipboard and another tiny jewel.

Tip: If you take a closer look, you can see that to make the border fit better along the bottom of the cut, I scored it on the bottom side and then clipped between the scallops.
 
 
This one is a bit more time consuming, but still very easy and quick. For it, I used a clear transparency sheet. It also takes very limited supplies. I punched a couple of 12 inch strips and a thin piece of paper for the edges. Working while it was flat, I added the borders to the edges. Next up, I taped it together to make the cylinder. Put your candy in another clear bag that is already inside the cylinder. Tie a bow on the open end to close. On the closed end of the bag, tie a bow and then clip the edges. Finsh off with a punched heart, a little heart sticker and another tiny jewel.

Tip: You can get 4 to six of these out of each single sheet of transparency paper. One sheet goes a long way! Also, make sure that the edge you are adding the borders too is no more than 6 inches. This will save you time by making each punched strip work for two sides.


Be sure to stop by the Little Yellow Bicycle Blog for more inspiration!


Photobucket

Wednesday, January 30, 2013

In a Jiffy with Little Yellow Bicycle

This is a little brag book that I made using the Little Yellow Bicycle Just Because collection.
The colors in this collection are right up my alley!  I am a huge fan of blue and adding in red is on my favorites list, too! 
 
I love brag books, but don't like how they can be too big to actually tuck in your purse.  This is just the right size to do that and it's so easy and quick!
 
 
I had some trading card sleeves at the house and thought that they would be such an easy way to  put together some wallet sized pictures with some great papers and flat embellishments.  Adding a few ribbons and a chipboard heart gives it a little extra fun!
 
 
I used the 6x6 paper pad to mat all the pictures.  The best part about this is that because the matting is simple, you can switch out the pictures easily for new ones as your children grow.
 
 
I also used several of the journaling cards for this and mostly flat stickers.  The journal cards make it easy to tell the story if you want to add it to the book.

 
Turning it on the side is totally fine with this project. 
 
 
Don't forget the adorable Clear-cuts in this collection!  They are also flat and perfect to tuck into the sleeves.
 
Tip:  The sleeves are pretty tough.  It makes them perfect to tuck into your purse and keep your pictures safe, but it is a bit hard to punch through them.  If you have one, the easiest way is to use a Crop-a-dile.  That thing will punch through anything!  :)
 
Be sure to checkout the Little Yellow Bicycle blog for more inspiration!  The Biker Chicks are always up to something!


Photobucket

Wednesday, November 21, 2012

Quickie Gifties with Little Yellow Bicycle

It's just a couple of days away from when we all start thinking about gifts!
With all the celebrations that revolve around the Christmas season, you are sure to end up needing some little gifts with the personal touch!
 
At Little Yellow Bicycle the Biker Chicks are sharing ideas for gifts that feature our brand new Once Upon a Christmas Collection. 
 
Decorating a charger is a quick, easy and inexpensive.  I picked this one up at Hobby Lobby for $2. 
 
 
The great thing about chargers is that they come in so many different colors lately.  I found this glossy black one and thought it would go perfectly with the black houndstooth and elegant damask papers that is included in the Once Upon a Christmas collection.
 
 
The paper crafting kit includes the beautiful poinsettias.  I added large fabric covered brads to the centers of the large ones to pull in a bit more of the black.  That beautiful little frame was picked up for $1.50 at Michaels.  I pulled off the backing and framed a tag from the collection for the picture.  After that, all you have to do is glue it down!
 
 
For the sccallops around the edges, I used punches.  After I punched the edges, I trimmed them to 1 inch strips.  To make it easily go around the circle, just give it a pinch below each scallop.  It makes it easier if you use a scoring tool to score a line at each place the scallops meet.
 
Be sure to stop by the Little Yellow Bicycle Blog for more gift ideas!


Photobucket

Wednesday, October 17, 2012

Gift Packaging with Little Yellow Bicycle

Ever need some quick packaging and don't want to settle for ho-hum?  Don't have exactly what you want either?  Can't stand the thought of running down to the Hallmark Store? 
 
No worries!  We are paper crafters, after all!  Raid your stash! 
 
I wrapped this gift box with some simple craft wrapping papers and Little Yellow Bicycle's Acorn Hollow collection.
 
  Don't forget your punches! Try layering a punched strip of paper for a decorating base. A chipboard frame with a co-ordinated paper inside is just the ticket to something interesting.
 
 
Finish it off with loopy bows in raffia and tulle.  Adding a few more chipboard shapes is a fun touch for the center.
 
 
Finally, don't forget a tag!  The Little Yellow Bicycle journal cards make adorable little tags!  They are perfect for so much more than just journaling!
 
Tip:  The raffia is actually a raffia looking ribbon.  I like it much better than actual raffia.  It comes on a roll, so you never have those weird kinks that yousometimes find with raffia.  You can find it in your local craft stores.  Look in the section with the curling ribbons.
 
Be sure to check out the Little Yellow Bicycle Blog for more ideas from the Biker Chicks!
 
Photobucket

Wednesday, April 25, 2012

Nifty Gifty with Swoon

Little Yellow Bicycle has recently released the new Swoon Collection. Today, the design team has come up with some ways to use it for wedding gifts. There are so many pretty ideas on the Little Yellow Bicycle Blog!  Be sure to check out what the other design team members have created!

I chose to alter a paper mache book box.  This is the perfect size to hold all those little things that you want to keep from your wedding and to do it in one place. 


I used a wide black satin ribbon around my box to give the look of it being tied closed.  I also added some clear stickers from Deja Veiws to the 'binding'. 


Here, you can see the way I did the 'pages'.  I used striped paper for this part instead of trying to make it look like actual pages.  The lacy accents on this paper give it more detail.  Love that.  To cover the place where my paper met, I just glued on some silver ball trim.  Super easy!  Finally, I couldn't resist adding a little silver heart charm.


In this close-up, you can see the layers.  Check out those little silver sequined flowers!  I am wild about how pretty they are!  Such a perfect little accent to stand alone or center the flowers from the flower kit! 


This is the inside cover of my box.  I wanted the book to easily open, so instead of having the ribbon actually go around the box, I cut it and glued it down to the inside edge.  To cover the ends, I added one of the journaling cards.  This is where I can put the names and dates of the wedding. 


For more tips, please drop by the Little Yellow Bicycle Blog
Photobucket

Thursday, April 12, 2012

Treat Bags with Bo Bunny

For the Bo Bunny Blog, some of us were asked to make Easter Treat Holders. Since I don't have little ones at home any more, I decided to make some that were more for some grown ups in my life.

These are super simple and were made from some little treat bags.  
Bo Bunny makes the most wonderful card kits and I couldn't resist taking them outside of the envelope (pun intended! lol) and onto the front of my little bags!


Adding some doodles to the outside of the white cardstock shape makes it stand out more.  I also added a glittery brad to the center of the flower for a bit more dimension.

Again, some little doodles and a glitter brad flower center.
Tie a bright colored bow to add an extra touch!

Add a couple of punched borders and use foam dots for dimension.  Quick and easy!

Be sure to check out the Bo Bunny Blog for inspiration!  There is something new posted every weekday to inspire you!


Photobucket