Thursday, March 27, 2014

Bloom Girls Workshop 1

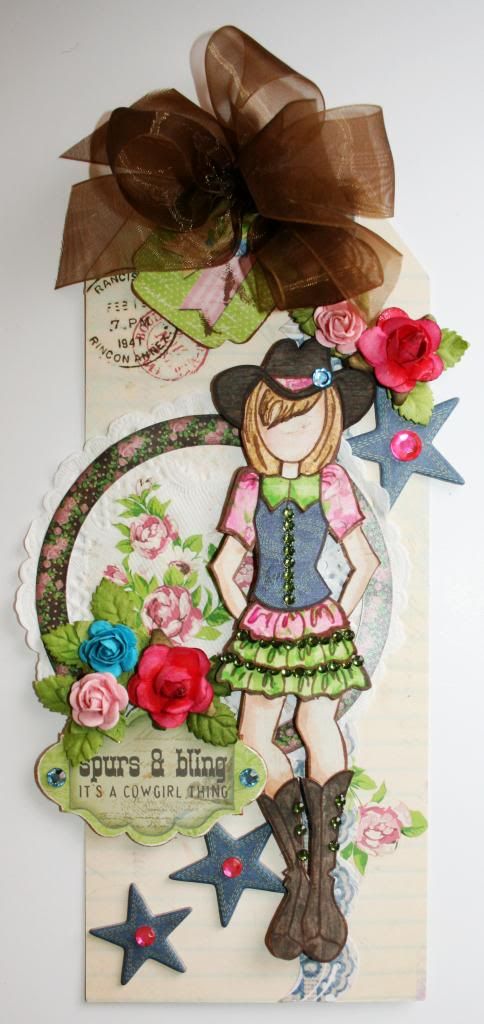
Hi everyone!  I wanted to share a project that I did after taking Jamie Dougherty's Bloom Girls Workshop.  I'm in shock that I was able to do this! Drawing faces scares me!  :)  I never thought that I would be able to do something that I would actually show the public, but here is my first Bloom Girl!


Of course, like any first attempt at something new, there are some things that I would change.  In this case, mostly her lips.  I got a little carried away with them.  I'm alright with it though!  I'm bound to get better at them.  I'll be practicing!
 

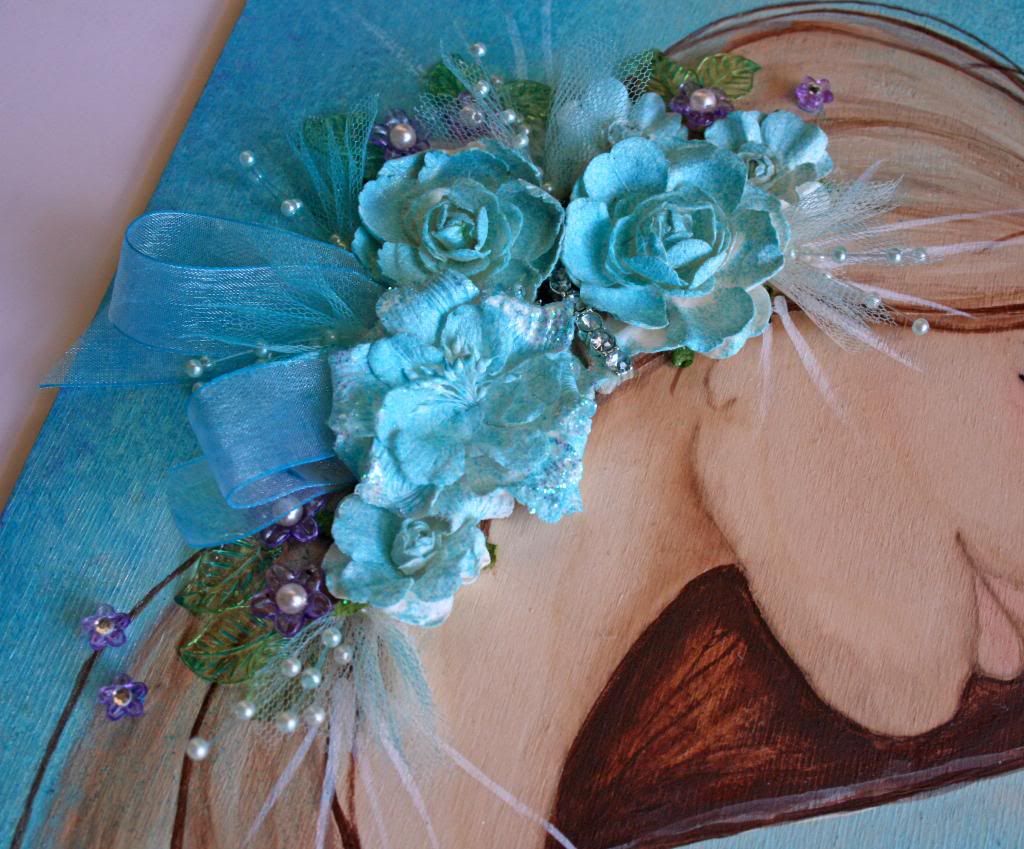
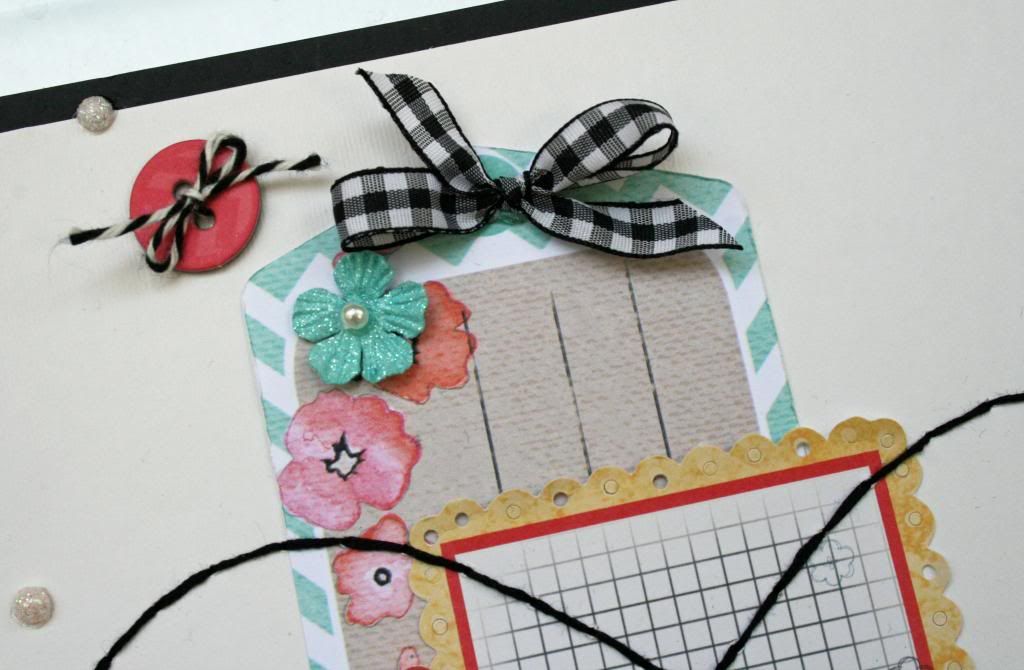
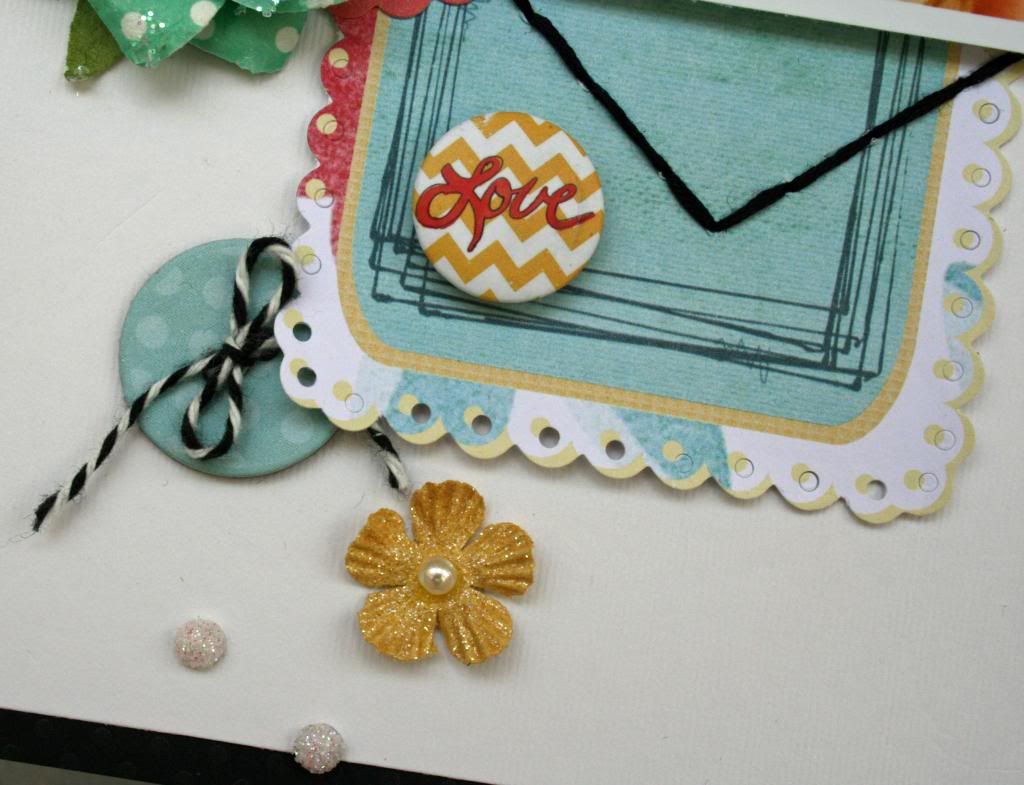
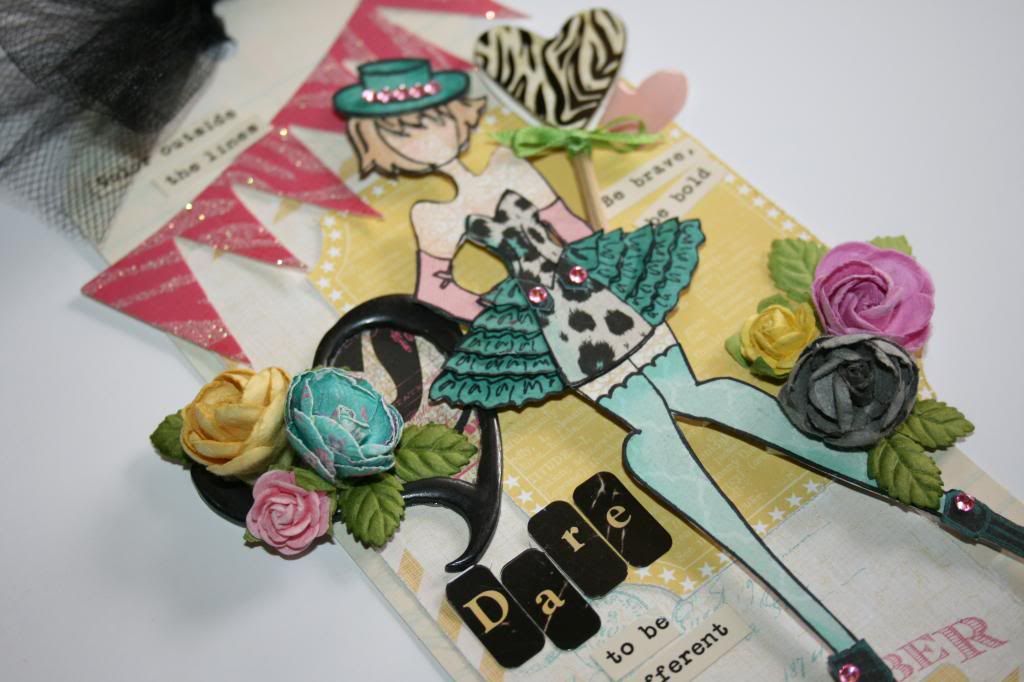
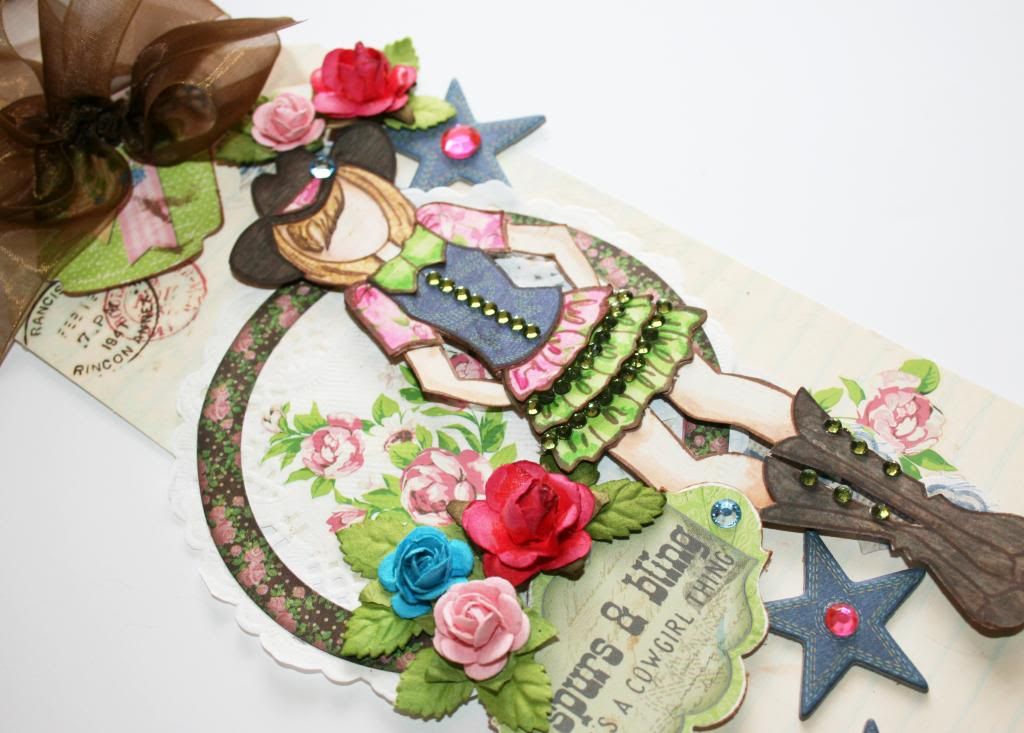
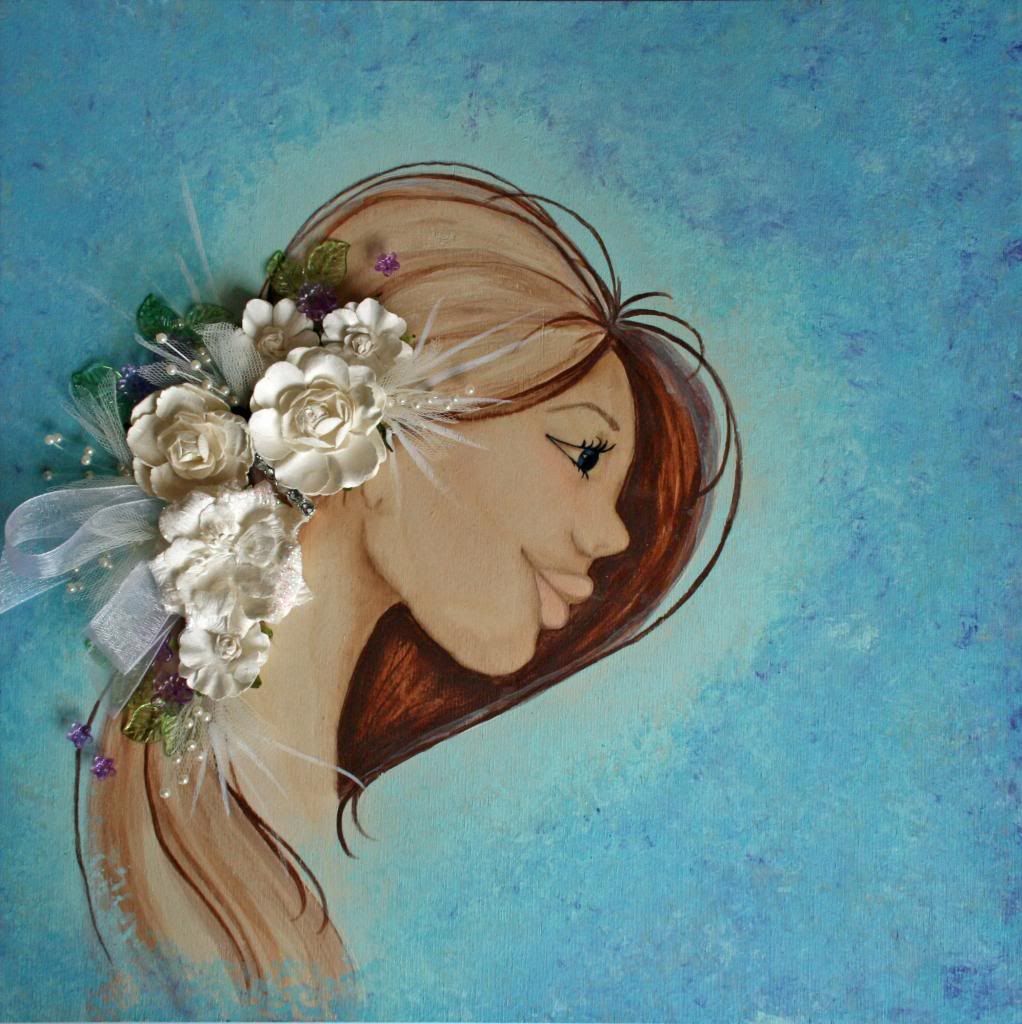
Here is a close-up of 'blooms'.  Since my hair got a little sparse at the bottom, I decided to own it and give her a ponytail.  Perfect for me, since I got to add a touch of ribbon, which we all know I love!

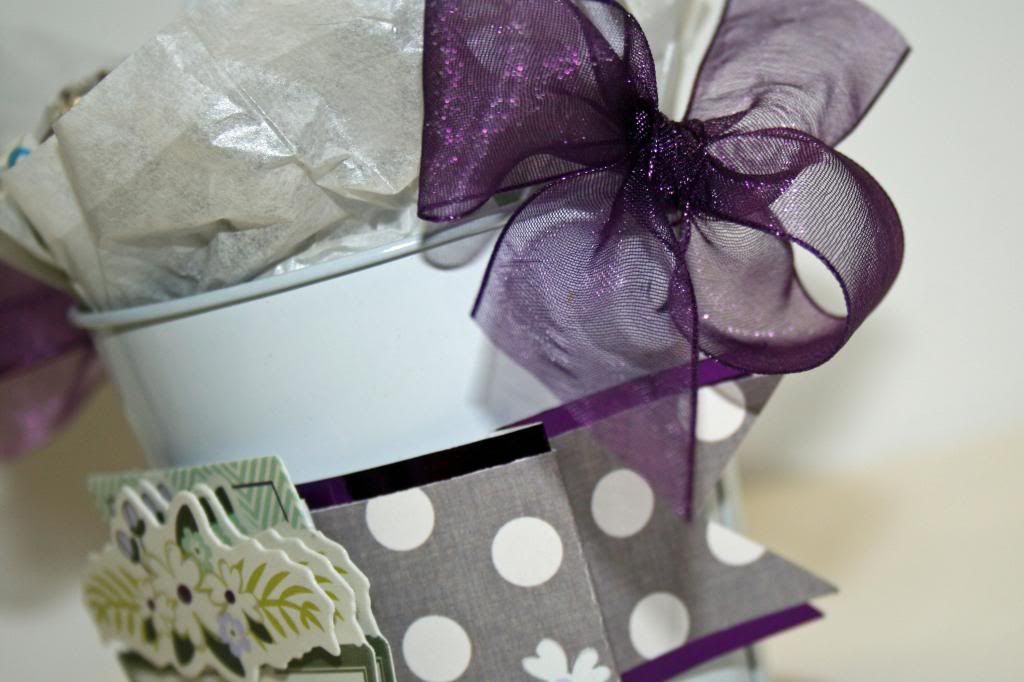
It was also fun to dig through my stash and find some fun things to add.  The purple flowers and leaves are beads that I have been in my stash for so long, I don't even know where I got them!  Same with the little stone bobby pin.
 

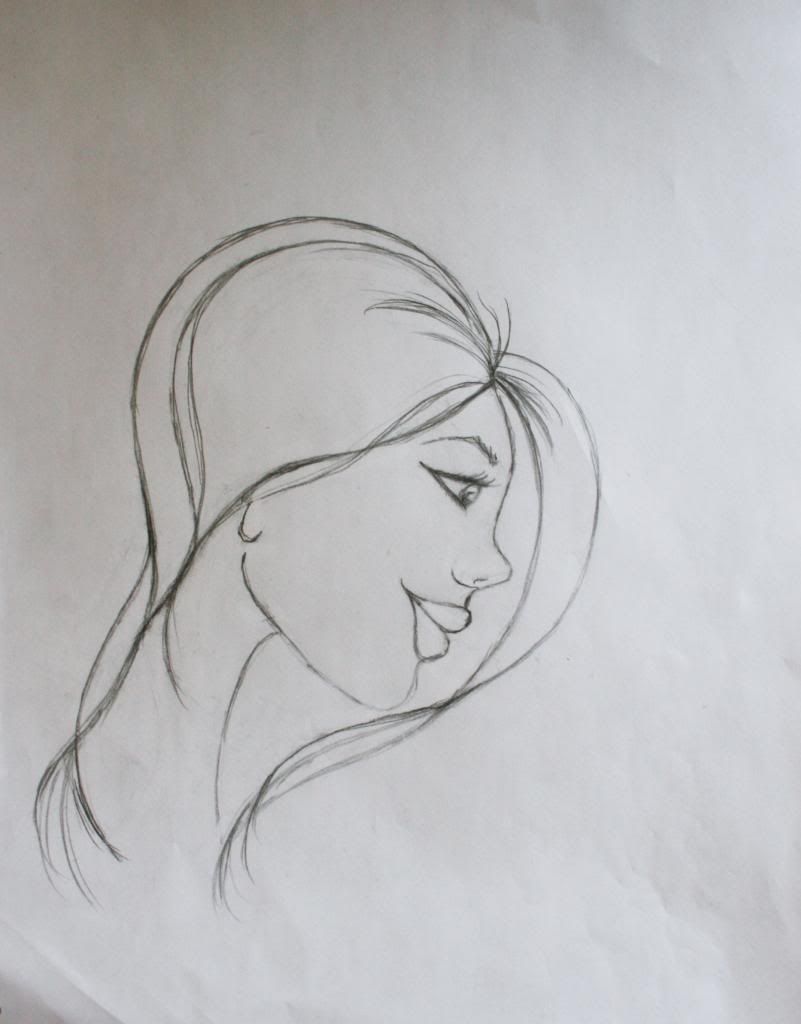
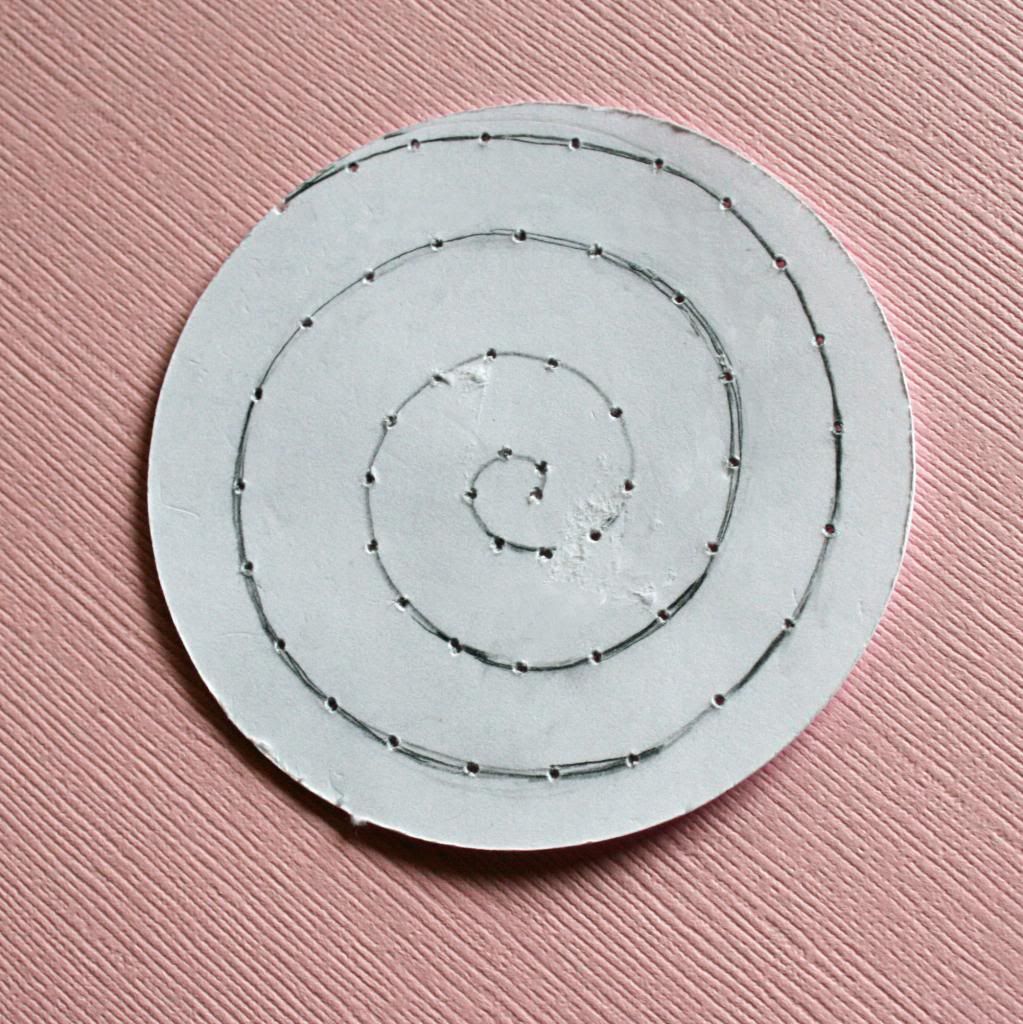
Couldn't resist sharing the process.  My sketch that I did during the class.
 

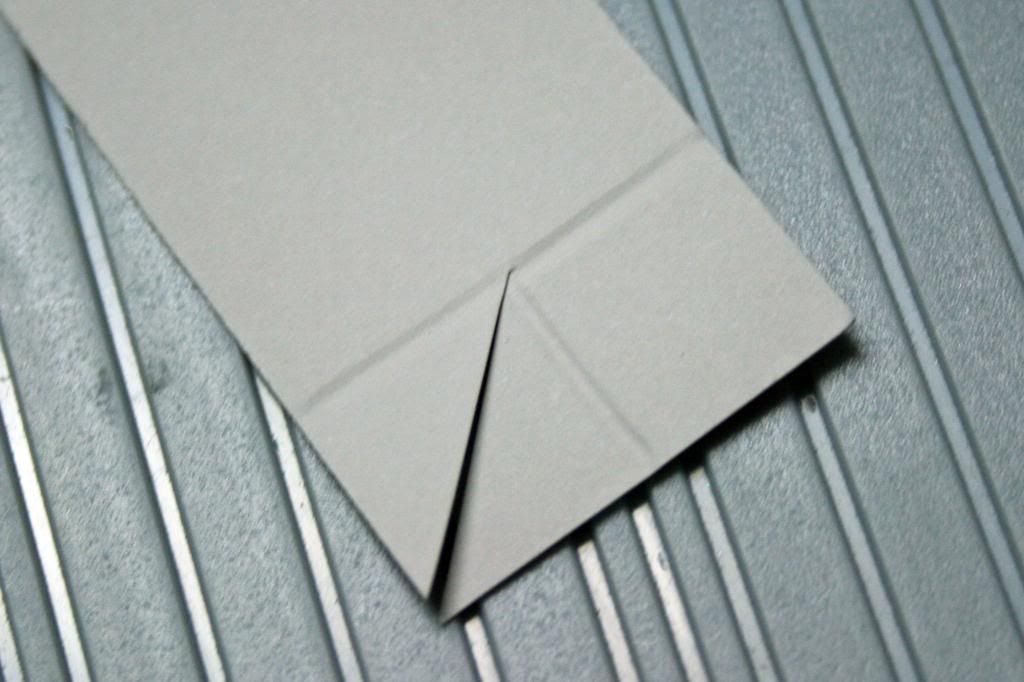
The girl finished with no background or embellishing.  Of course, I learned so much from Jamie and some things about products that I would change.  In this case, I need to order more of the Golden Fluid Acrylics! They are worth it! 


My girl before I added the color to the flower clusters.  Let me tell you, I had the hardest time talking myself into finishing her!  I kept looking at her and thinking...." that's good."  I'm so glad that I added the color though because I like the finished project so much more than the white look!

SO... SERIOUSLY...  If you want to learn how to do something like this, go sign up for Jamie's class! 

 Here is the link...

 I signed up for Bloom Girls 2 and Elements last night!  I can't wait to learn more and to try to do a forward facing girl!  I'll be sure to share when I'm done!
Photobucket

Wednesday, March 26, 2014

Leaky Shed Studio and a Tutorial

Hi y'all!  I'm up today on the Leaky Shed Studio Blog!  I used some adorable kites that they make for my project today.  Be sure to take a look at the Leaky Shed Blog to see the matching card that goes with this little bucket.  Here, I wanted to share a quick step by step to share with you how I made this. 

I'm sure you already know that I seem to use little buckets often!  They are so inexpensive and perfect for gifty items.  Now, I can't seem to resist picking up all the cute paper straws that are popping up everywhere!  I kept thinking that they would be so cute for crafting, but hadn't come up with an idea yet.  Luckily, when I had this brainstorm, my little shopping sprees paid off and I had everything I needed! 


Here is all you will need to put this together:
Bucket
Straws
Fabri-tac
Ribbon
Quilling tool or something round
Rubber bands


First step is to flatten out the straws.  It's really easy if you just lay it flat on the table and run your finger down it.  


Next, you need to curl it.  I used a quilling tool but a pen or pencil would work just as well.  Be sure to roll them pretty tightly so that they will have a nice curve.


 They will look something like this.  Don't worry about if they are all exactly the same, at the end of putting together the bucket, you will be able to manipulate them to look the way your prefer.

Now, you are going to glue them to the bucket.  If you don't have Fabri-tac, be sure to use a strong adhesive that dries quickly.  Use rubber bands to hold them in place while the glue fully sets.


Work your way around the whole bucket, including over the bracket.  Be sure not to glue below the handle itself, so your handle will still move. 

  
Finish with a bow, of course!

One last tip:  Leave a rubberband around the bottom of the bucket and place your ribbon right over the top.  It won't show and it will keep your ribbon in place.

Don't forget to take a peek at the coordinating card at the Leaky Shed Blog

Photobucket

Thursday, March 20, 2014

3 Birds Studio and Pinterest Inspiration

Hi y'all!   At 3 Birds Design Studio, it's Pinterest Week!  We are all doing projects that were inspired by things that we found on Pinterest.  Be sure to take a peek at the 3 Birds Blog when you are finished here to take a look at my layout that was inspired by this same photo.  

Here is the image that I chose to use to inspire me.
Cupcakes are so popular right now and they are not the cupcake that we all grew up eating.  They are simply beautiful these days!


I mimicked the top of the cupcakes, but in shape with using circles and by using stitching in place of the icing.

Here is the card that I made.  

You can see that I added dimension by using foam under the circles after I finished stitching.  Of course the roses and leaves were made using the 3 Birds Quilled Card Kit. 


I wanted to share some tips today that I used to place the stitching on the circles.
For the top circle, I simply cut a circle from white cardstock that is the same size as the circle in patterned paper.  Draw you design on the paper and pre-punch the holes for your stitches.  This is a simple tip, but it makes things like swirls a breeze because it's as simple as erasing, if you don't like your design.  All that's left is to place it on top of your patterned circle and punch the holes through both layers.


For the next circle on the card I wanted a couple of simple circles.  I'm not really great at the eyeball thing for circles, so here is my solution.  I picked up a plastic canvas at Hobby Lobby and I use it to make my circles.  So easy!  All you have to do is punch through the holes to your desired stitch length along the circle.  (I used a marker to show you what I mean.)  Unless you want tiny stitches, be sure to skip a few holes as you go.


Finally, for the last circle, since I wanted the design to be uniform, I just used another cardstock circle an folded it, as shown, to make my pattern.  This would probably be easier to do with printer paper for a larger circle with more lines, but cardstock was perfect for one this size.


Hope that you got some ideas today that might make stitching a bit easier!  If you have some more, please let me know!  I'm always looking for ideas to simplify the process!

Also, don't forget to check out the 3 Birds Design Studio Blog for more great projects that were inspired by Pinterest!


Photobucket

Friday, March 7, 2014

Bloom Collection from Prima

Sometimes, the PERFECT collection comes along!

I couldn't believe it when I saw the Bloom Collection by Jamie Dougherty from Prima Marketing.  I simply couldn't have been any more perfect for this picture of Jade!  Well, ok, for my daugher it might have had blonde girls on the embellishments!  :) lol

I made this layout with it and I had so much fun doing it!  I simply had to add the large stitched heart to add just one more heart to the page!


I love the shapes of the journaling cards that are included in the collection.  I layered a few of them to make a background for the photo and to set the stage for the adorable embellishments.


Even the title was perfect!
This title was from the 12x12 Chipboard and all I did was add some foam behind it to raise it up a bit.
Seriously, how cute is the flair? 

I would be hard pressed to chose a favorite embellishment in this collection, but I think these little chipboard sunglasses would be in the running for my favorite!


Last but not least, since I've raved over how perfect it fits my photo, I had to include one more picture of the flair.
Of course, I 'LOVE' it!


Photobucket

Thursday, March 6, 2014

Julie Nutting Doll Stamps

I am such a huge fan of Julie Nutting Girls.  Quite a while ago, I purchased her book Collage Couture and was instantly caught up in how she does her terrific girls!  I experimented with canvas and making my own girls, which I loved!  I have chipboard girls from Leaky Shed Studio that I've played with and...

Now, with the Prima Stamps that she has designed, it is so easy to play with Julie's girls!  If you don't draw, you are going to especially LOVE these!  I swear, it's like paper dolls for grown-ups!  SUCH fun and I can tell you that I'm already addicted!  I'm going to have to go back and try to track down the ones that I don't have!

Here is my first attempt using the stamps.  This little girl is so sassy and fun, so I wanted to give her some sassy, yet sweet clothes.  I used Heidi Swap Sugar Chic collection to dress her and decorate the tag.


In addiction to her body, all her clothes are cut out of patterned papers and layered.  The trick is to just keep stamping for the layers, keep fussy cutting and keep layering.

 In the above photo, you can see that I did the skirt in multiple layers to make it look more ruffled.  It takes a little extra time, but I love how it turned out!


 Now, I'm from TEXAS!  So, of course, the western girl had to make it's way into my collection!  Could she be any cuter?  It's rodeo time in Texas so the timing is perfect to play with this one, too!  

Being from Texas and being a Rodeo Girl, doesn't mean that you don't like bling and girly things.  The sticker from Bo Bunny's Prairie Chic collection went perfectly with this girl.  I couldn't resist using it for this tag.


I put this one together the same way that I did the first one.  Lots of layers for her precious outfit.  For the skirt, since I layered it again, I was able to tuck a strip of bling under the layers. 
To finish her, I added lots more Prairie Chic embellishments and of course, so flowers!


See, paper dolls for grown-ups!  So fun!  
I can't wait to make some more!  
Photobucket

Tuesday, March 4, 2014

Quick and Easy Banner Tips-3 Birds Studio

Hi everyone!  If you made it to my blog from the 3 Birds Designs Blog, you already know that I'm sharing a quick and super easy banner tip today.  If you are starting here, be sure to go by the 3 Birds Designs Blog to take a peek at my layout that incorporates banners, too.  While you are there,  be sure to take a look around!  There are so many great ideas that the other members of the design team have shared!

I made this little bucket giftie for and example of a layered banner.  I love the look of banners, but I used to seldom do them?  Why?  Because I never got the ends even and it bugged me!  I am the first to admit that I can get a little picky about things and with banners, just eyeballing it and hoping for the best wasn't doing it for me.  Then... I had an idea!


I had my Scor-pal on the table one day when I wanted to make a banner, and I decided to play around.  I came up with this and now I like making banners and I really like that I don't have pencil marks on my paper, just in case I decide to use the other side!

For this example, I first cut a strip of paper 1x6".  The concept will work with any size, however.  Also, you want to make your scoring really lightly, so that you don't have score marks when you complete the banner.  For the picture to show, I had to do it a bit heavier.

Step 1: Score lightly where you want the inside angle of the banner to end.  Because this one is small, I used 1/2".


Step 2:  Turn the paper and score in the middle of the paper.  Again, this example is 1" wide, so the score mark is 1/2".  End this score mark where the first one is.


Step 3:  Cut from the corner of the paper to the place where the score marks meet, as shown.


Step 4:  Repeat on the other side.


Step 5:  Score where you want the banner to fold.  This is a matter of preference.

Step 6:  Fold.


Perfect banners every time!!


Now, you might have figured this out before, but for me, this was a eureka moment!  If you have a better idea and I would love to hear about it.  I'm always up to learn something new!  

I also have some BIG NEWS today!!!  
The new Graceful Season Collection from 3 Birds Studio is now available for purchase on HSN!!!
Be sure to check it out on the 3 Birds Designs Blog for all the details and I would love it if you took a look at my layout!

Photobucket