Showing posts with label how to. Show all posts

Thursday, January 22, 2015

January Class with Flying Unicorn

Hi everyone!  I'm sharing my class video from Flying Unicorn!

While scrolling through the Flying Unicorn Store, I noticed the Lindy's Stamp Gang Magicals.  I hadn't played with them yet, so I had to give them a try!  The background was made with them and I have to say that I am going to have to order more!


If you missed it, here is the video of the class!


I also used lots of masking and other mixed media products, included my favorite Faber Castell Markers.


Plus, beautiful Prima flowers, embellishments and die-cuts!


Don't forget to tune in on Wednesday's at 8pm central time on Flying Unicorn's Ustream Channel to see what the team is teaching!

Monday, October 20, 2014

Dress Form Class with Flying Unicorn

Hi y'all!  As promised, here are some close-ups of my class project.  I'm a little late posting them, so I would like to apologize to anyone who has been waiting!  We've been so crazy busy and had to go out of town.  But... here they are!  :)

If you didn't get a chance to see the show live, here it is!  I would love to hear what you think and to see anything you create based on my classes!


Here is the full length photo of the dress form.


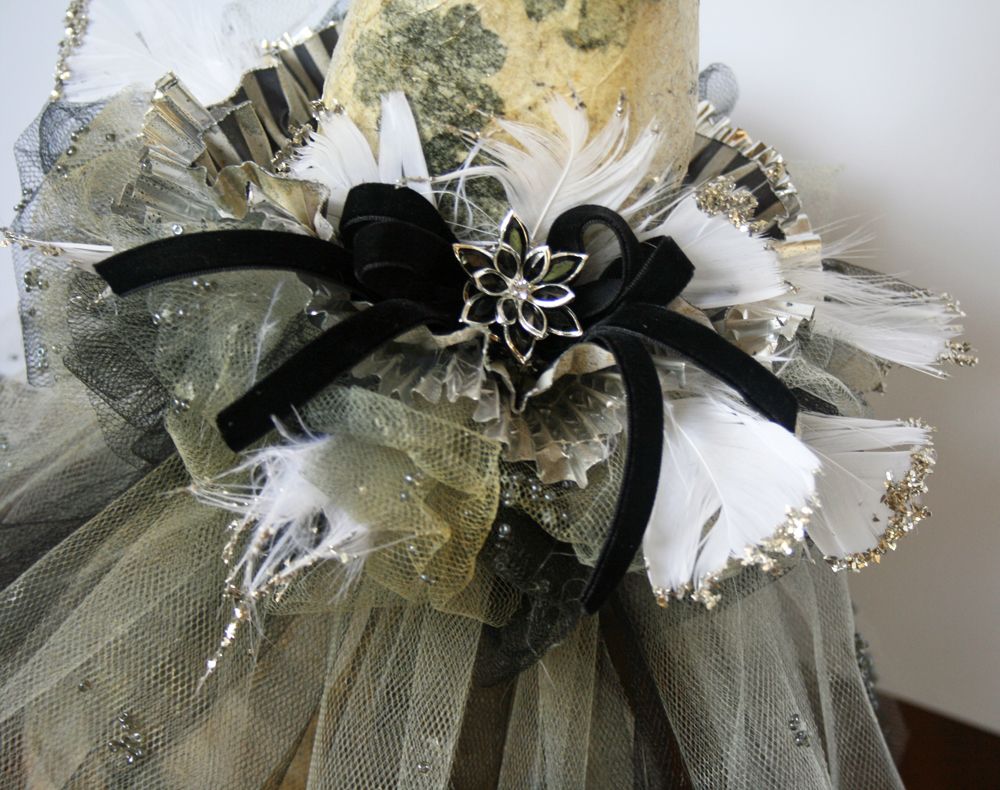
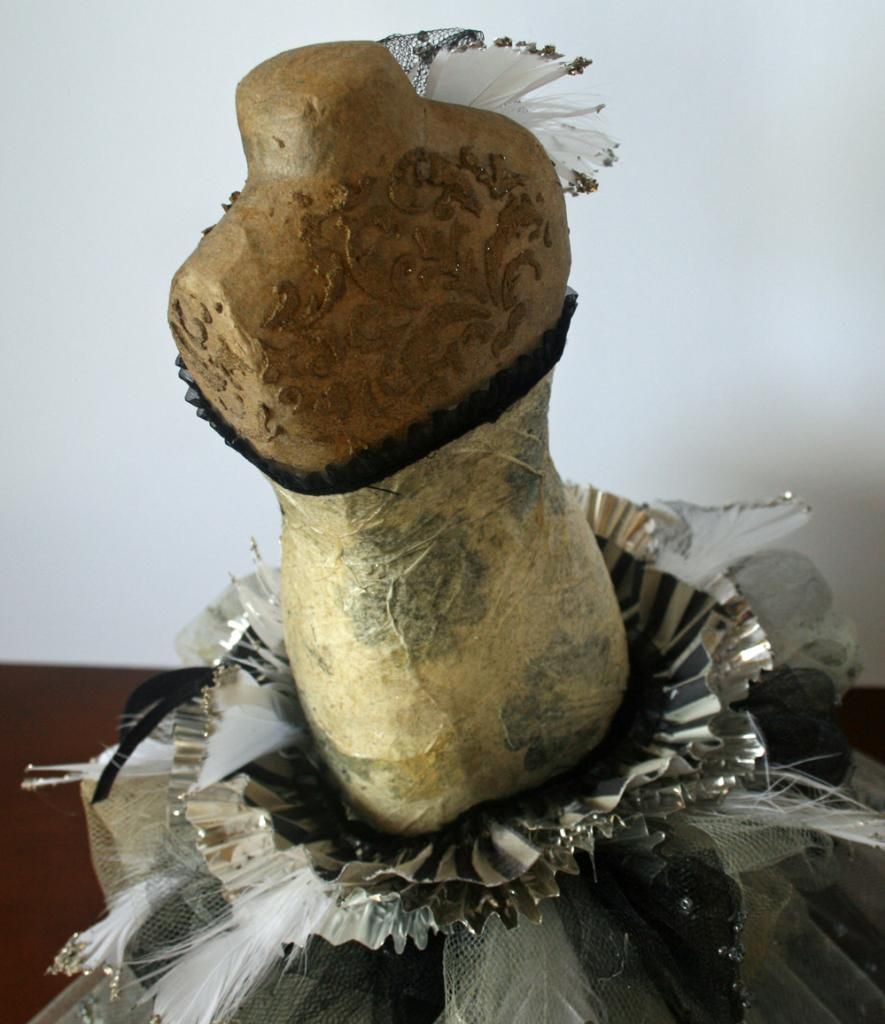
This is the top of the form.  I shared every step in the class, so you can see all the techniques there.


The top of the skirt.  


Finally, this is the back of the dress form. 


A huge thank you to everyone who has been tuning in!  I truly appreciate it!!  

I'll be teaching live again on December 10!  Hope you will join me!

Photobucket

Monday, September 29, 2014

Ustream Class with Flying Unicorn


Hi y'all!  This is the project that I did for Flying Unicorn University on Ustream! 

 If you want to know how to make paper ruffles for your projects, this is the place to go!

If you have already watched, you know that we ran short on time, so I promised to share the card dimensions here on my blog.  Well, I thought I did, but it didn't post!  So, a bit late... scroll down to the bottom to see all the details!

If you missed the class, you can watch it right here!  


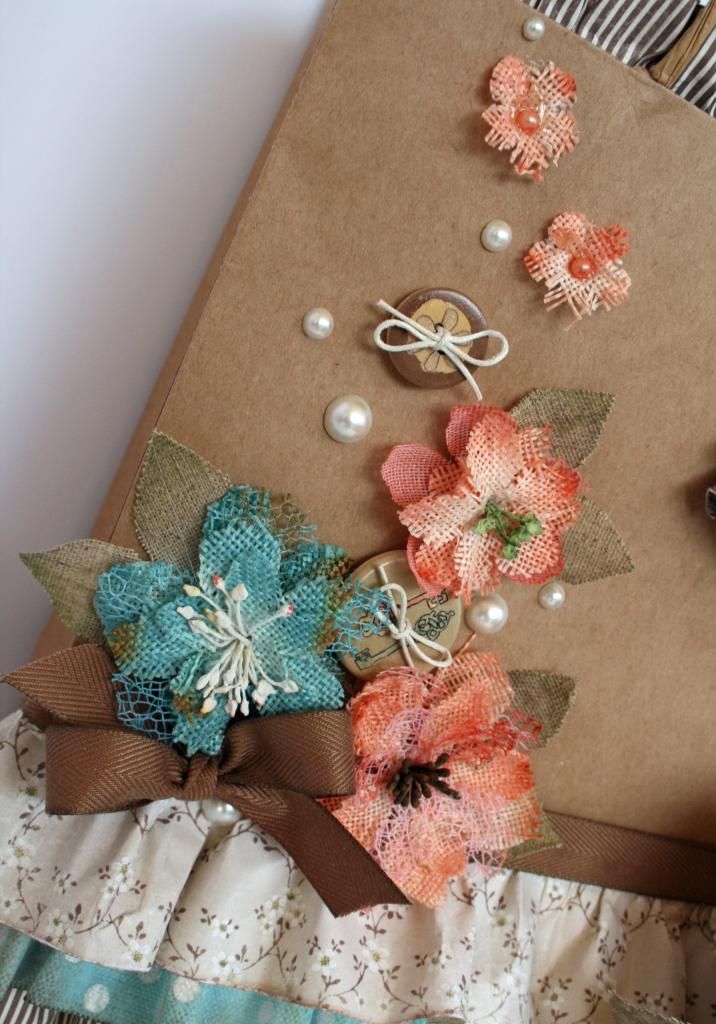
A close up to show off the beautiful Petaloo Flowers!

  
And a close up of the tag!


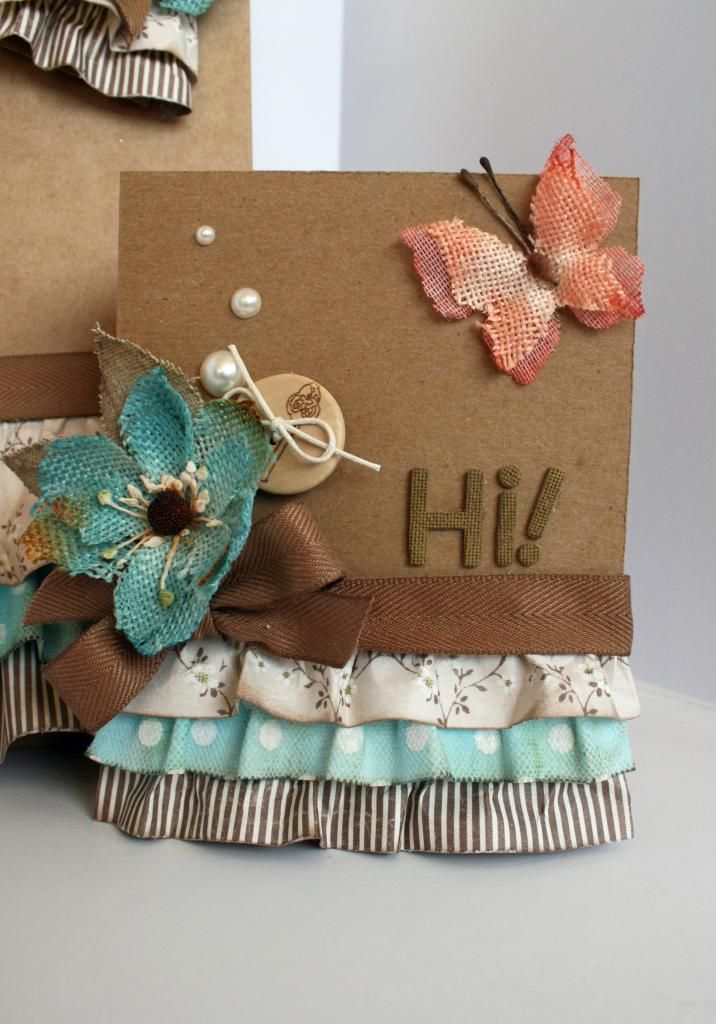
Alright, here is a close up of the card.  
The finished card is 4 1/4 by 5 1/2".  

Each of the ruffles are 1 inch wide.  I made them using the flat method shown in the class because the card is a bit longer than the tag and they lay nicer and straighter using that method.  The strips behind the ruffles are still 1/2 wide. 


To keep the inside neat when attaching your bow, just simply cut a little slit along the fold to thread your ribbon through.  Tie your bow and your ready to attach your embellishments and add a sentiment!


Thanks so much to everyone that watched!!  I hope the rest of you will drop by to see me and the other designers on Wednesday Nights at 8 Central!

Photobucket

Thursday, March 20, 2014

3 Birds Studio and Pinterest Inspiration

Hi y'all!   At 3 Birds Design Studio, it's Pinterest Week!  We are all doing projects that were inspired by things that we found on Pinterest.  Be sure to take a peek at the 3 Birds Blog when you are finished here to take a look at my layout that was inspired by this same photo.  

Here is the image that I chose to use to inspire me.
Cupcakes are so popular right now and they are not the cupcake that we all grew up eating.  They are simply beautiful these days!


I mimicked the top of the cupcakes, but in shape with using circles and by using stitching in place of the icing.

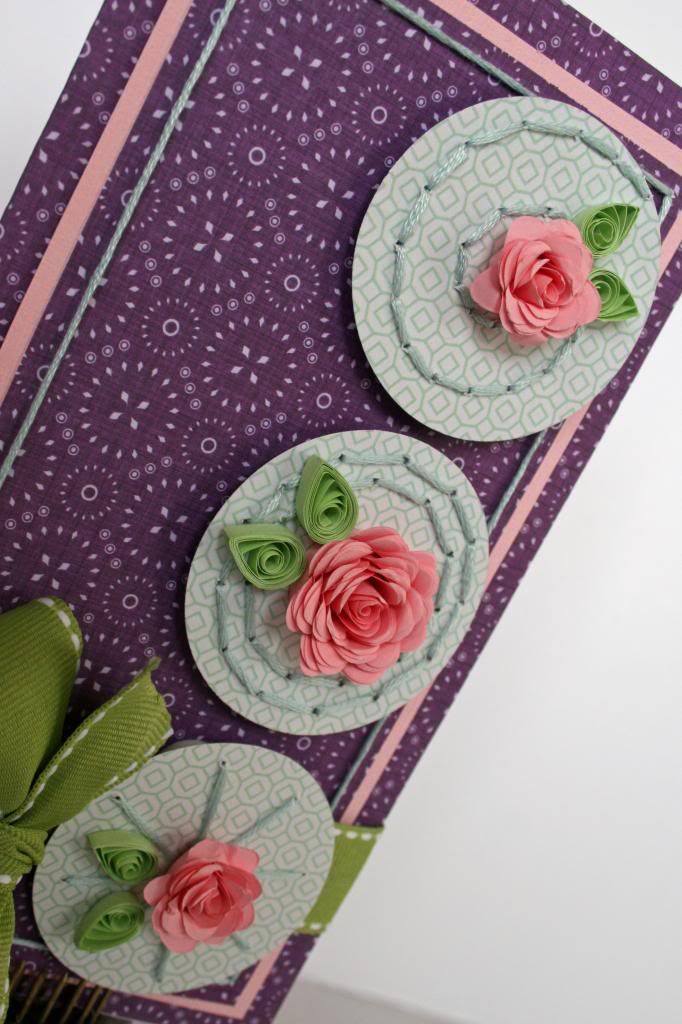
Here is the card that I made.  

You can see that I added dimension by using foam under the circles after I finished stitching.  Of course the roses and leaves were made using the 3 Birds Quilled Card Kit. 


I wanted to share some tips today that I used to place the stitching on the circles.
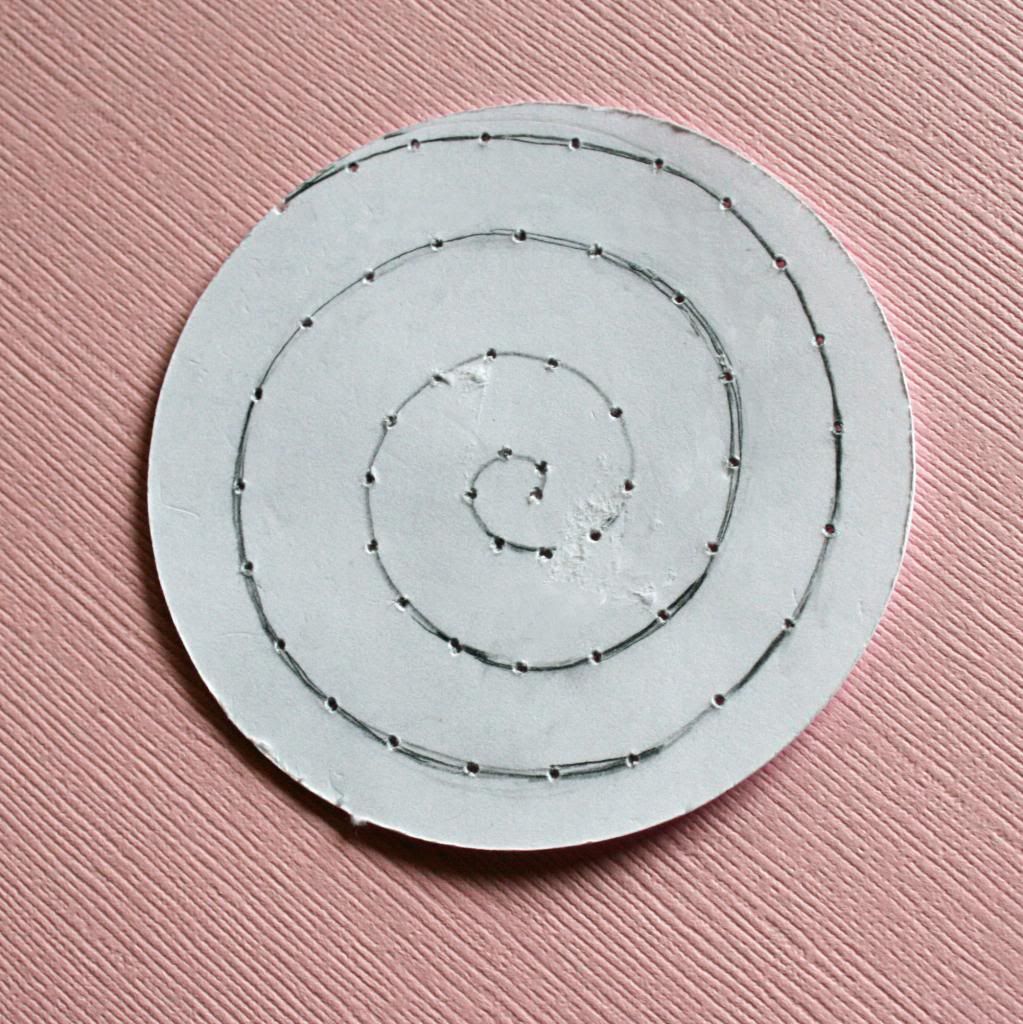
For the top circle, I simply cut a circle from white cardstock that is the same size as the circle in patterned paper.  Draw you design on the paper and pre-punch the holes for your stitches.  This is a simple tip, but it makes things like swirls a breeze because it's as simple as erasing, if you don't like your design.  All that's left is to place it on top of your patterned circle and punch the holes through both layers.


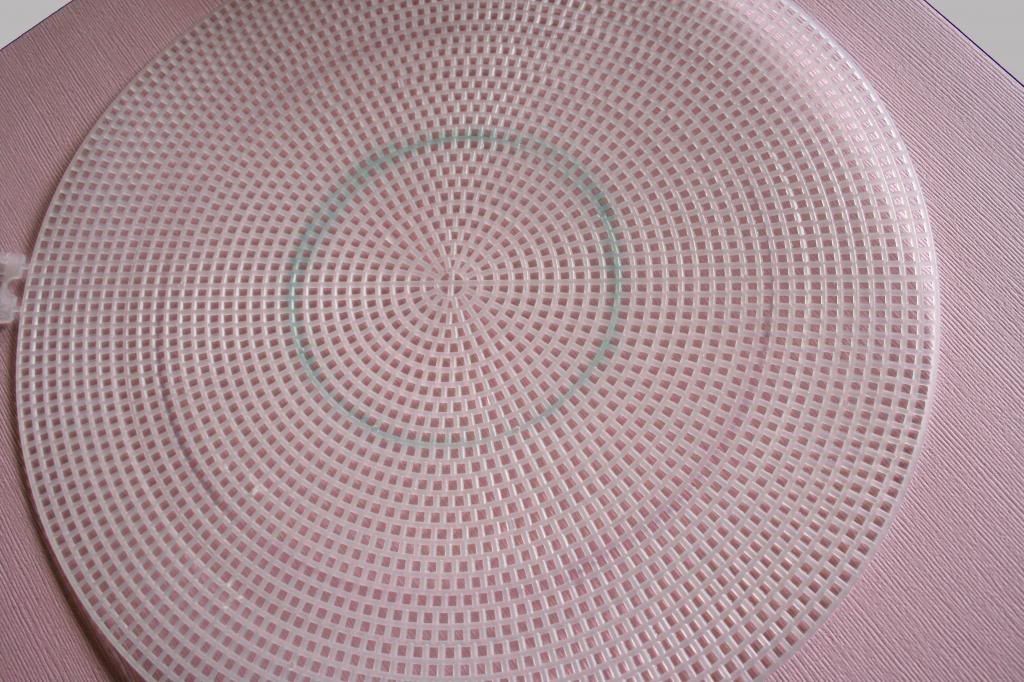
For the next circle on the card I wanted a couple of simple circles.  I'm not really great at the eyeball thing for circles, so here is my solution.  I picked up a plastic canvas at Hobby Lobby and I use it to make my circles.  So easy!  All you have to do is punch through the holes to your desired stitch length along the circle.  (I used a marker to show you what I mean.)  Unless you want tiny stitches, be sure to skip a few holes as you go.


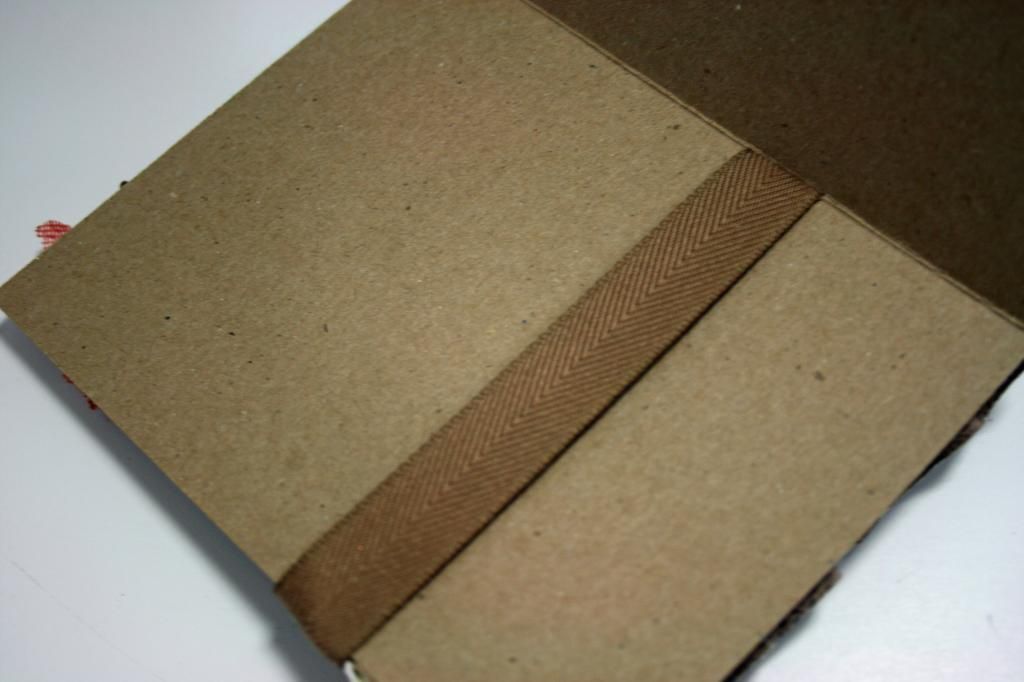
Finally, for the last circle, since I wanted the design to be uniform, I just used another cardstock circle an folded it, as shown, to make my pattern.  This would probably be easier to do with printer paper for a larger circle with more lines, but cardstock was perfect for one this size.


Hope that you got some ideas today that might make stitching a bit easier!  If you have some more, please let me know!  I'm always looking for ideas to simplify the process!

Also, don't forget to check out the 3 Birds Design Studio Blog for more great projects that were inspired by Pinterest!


Photobucket

Tuesday, March 4, 2014

Quick and Easy Banner Tips-3 Birds Studio

Hi everyone!  If you made it to my blog from the 3 Birds Designs Blog, you already know that I'm sharing a quick and super easy banner tip today.  If you are starting here, be sure to go by the 3 Birds Designs Blog to take a peek at my layout that incorporates banners, too.  While you are there,  be sure to take a look around!  There are so many great ideas that the other members of the design team have shared!

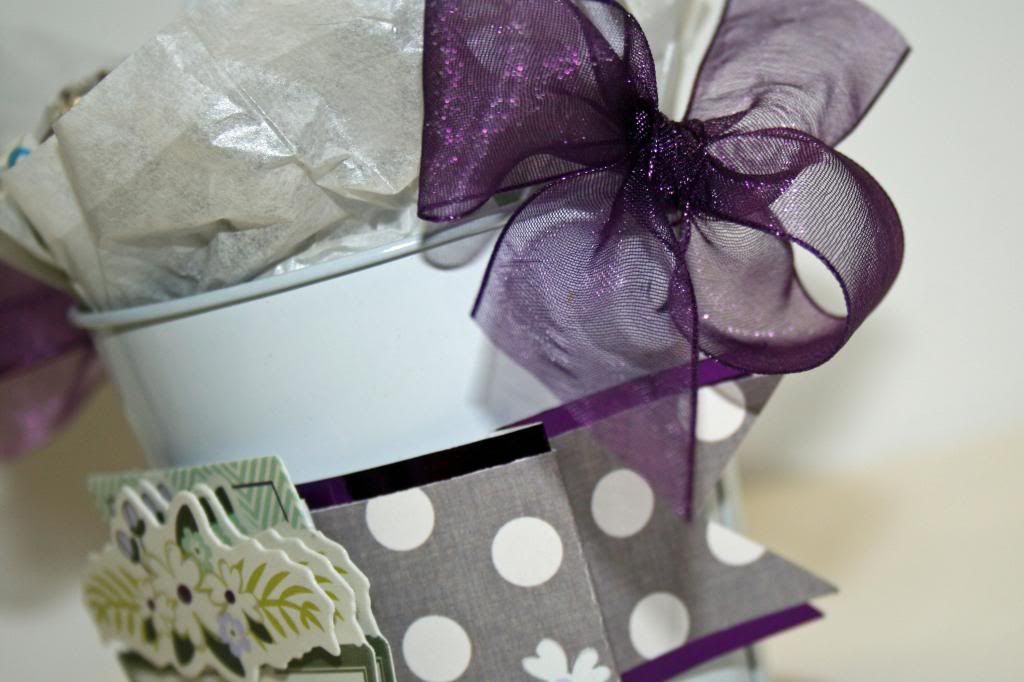
I made this little bucket giftie for and example of a layered banner.  I love the look of banners, but I used to seldom do them?  Why?  Because I never got the ends even and it bugged me!  I am the first to admit that I can get a little picky about things and with banners, just eyeballing it and hoping for the best wasn't doing it for me.  Then... I had an idea!


I had my Scor-pal on the table one day when I wanted to make a banner, and I decided to play around.  I came up with this and now I like making banners and I really like that I don't have pencil marks on my paper, just in case I decide to use the other side!

For this example, I first cut a strip of paper 1x6".  The concept will work with any size, however.  Also, you want to make your scoring really lightly, so that you don't have score marks when you complete the banner.  For the picture to show, I had to do it a bit heavier.

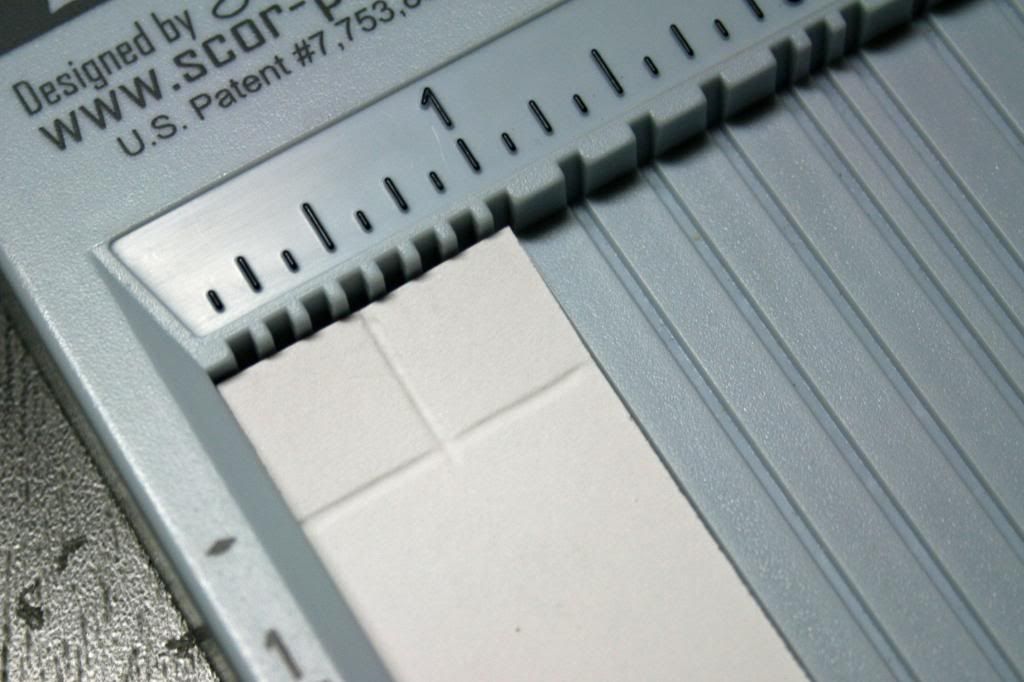
Step 1: Score lightly where you want the inside angle of the banner to end.  Because this one is small, I used 1/2".


Step 2:  Turn the paper and score in the middle of the paper.  Again, this example is 1" wide, so the score mark is 1/2".  End this score mark where the first one is.


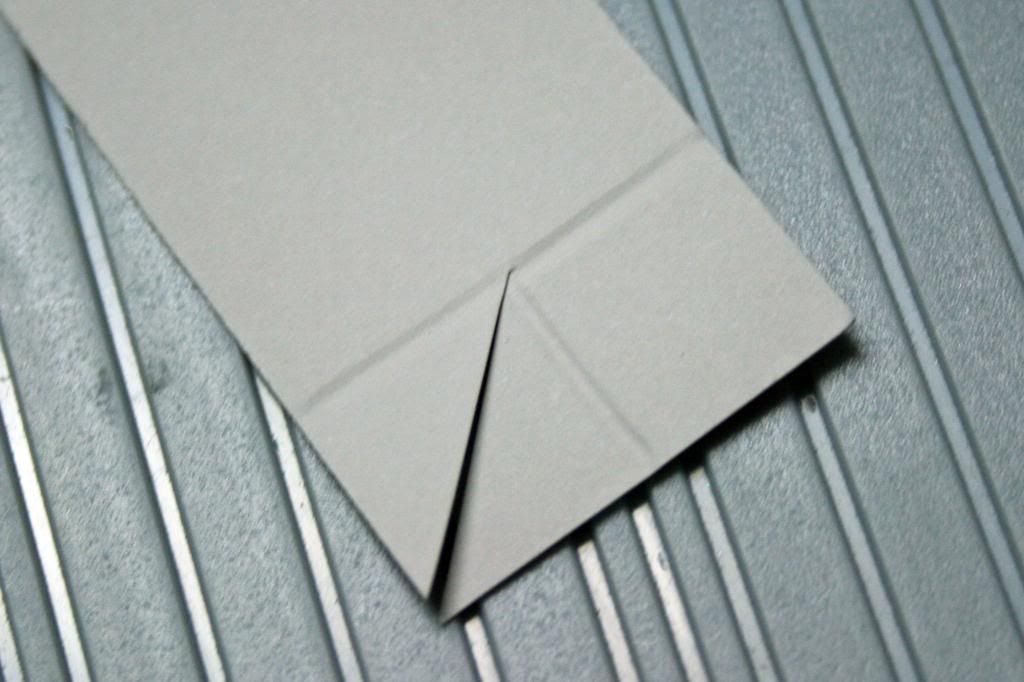
Step 3:  Cut from the corner of the paper to the place where the score marks meet, as shown.


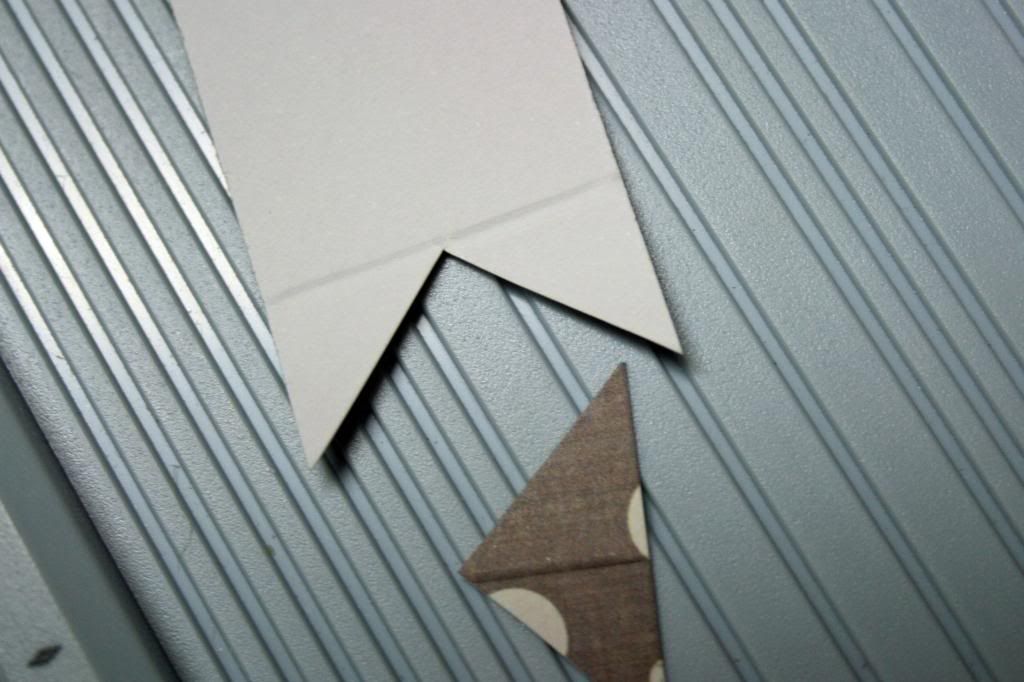
Step 4:  Repeat on the other side.


Step 5:  Score where you want the banner to fold.  This is a matter of preference.

Step 6:  Fold.


Perfect banners every time!!


Now, you might have figured this out before, but for me, this was a eureka moment!  If you have a better idea and I would love to hear about it.  I'm always up to learn something new!  

I also have some BIG NEWS today!!!  
The new Graceful Season Collection from 3 Birds Studio is now available for purchase on HSN!!!
Be sure to check it out on the 3 Birds Designs Blog for all the details and I would love it if you took a look at my layout!

Photobucket