Thursday, February 20, 2014

3 Birds Quilled Cardmaking - Shadowbox

I'm really excited to be up on the 3 Birds Studio blog today! If you haven't been to the 3 Birds Studio blog, be sure to take a look at a card and pillow boxes that I made.  This kit is so fun and the instructions for quilling are super helpful!  I've never quilled before so, for me, having everything included in the kit, including the tool was invaluable.

 I was so excited about the Quilled Cardmaking Kit from 3 Birds, that I couldn't resist making more than one card!

Just For You
For this card, I experimented with stemmed flowers.  Now, I know the pros probably do this differently, but I had this idea, so I had to try it!


There are two things that you can see from this angle.

The first is you can see is how I built the stems for the flower and attached it to the flower.  I folded one strip of the green in half and glued it for added stability.  I then glued the curls and leaves to the stem.  Lastly, I attached it to the quilled flower.  This technique allowed me to add glue to the more substantial pieces to make it easier to attach to the card.

Tip:  Use tweezers and a tiny bit of glue to attach the stem to the bottom.

The second thing that you can see for building this card is the foam tape that I used.  Because this is a shadow box card, using foam tape allowed me to over lap the edges and give it added dimension.

 To finish off the look of the card, I added some red strips for an additional frame.  I used my Xyron sticker maker to add adhesive to the strips of red paper.


And.. a bonus!  I LOVE gift bags, so I wanted to go ahead and have a little gift bag to go with the card.  I used a piece of paper from the 3 Birds paper pad to make this little gift bag.  

Gift Bag

This was super simple.  I just made an extra flower and leaves and attached them over two strips of the quilling paper.  I also used the Xyron to make attaching these strips easy.   


Don't forget to stop by the 3 Birds Studio blog to look at my other quilling ideas!

Thanks so much for stopping by!

Thursday, January 30, 2014

Leaky Shed Studio and Authentique Swap


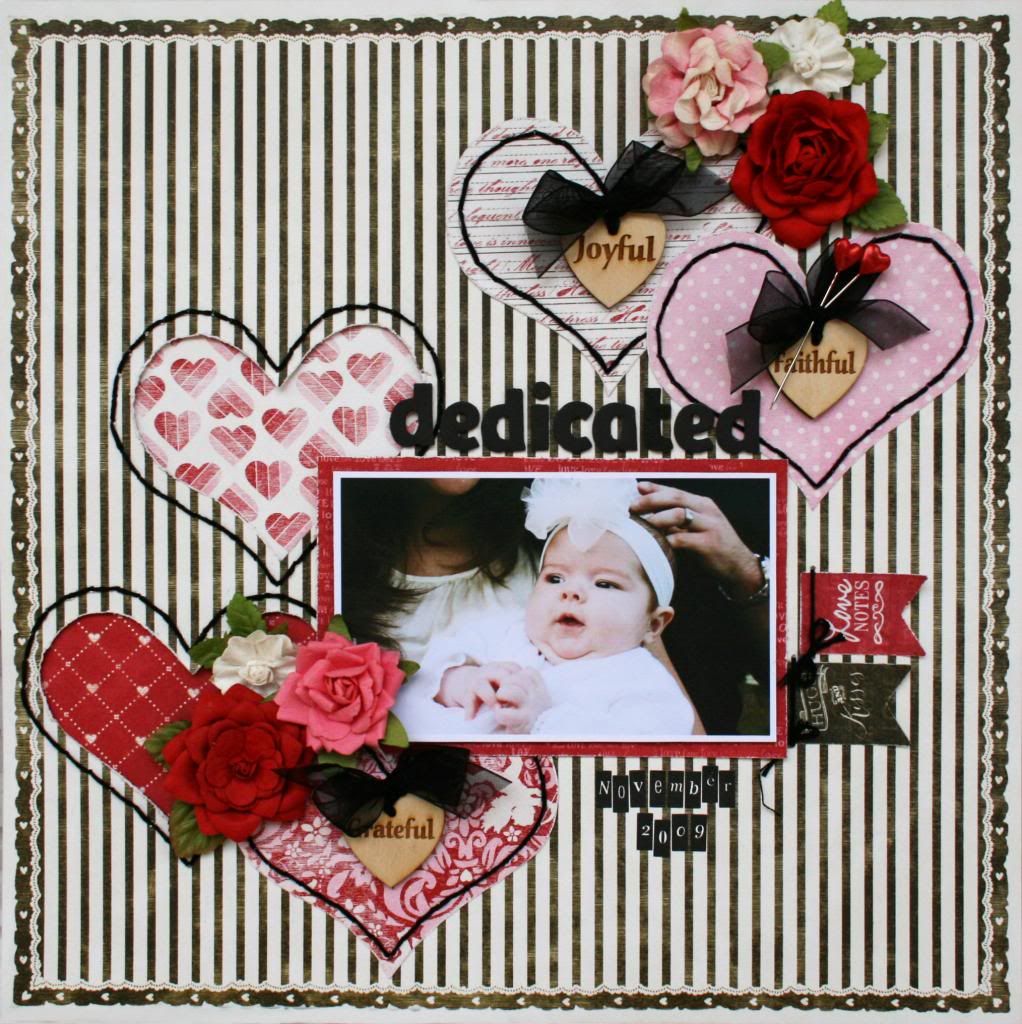
This is a layout that I made for the Leaky Shed and Authentique Swap.  We were given some beautiful papers and stickers to play with from Authenique and mixing them with Leaky Shed Studio supplies made for a lot of great projects!  You can check out the projects and get the details of the swap at the Leaky Shed Blog.


This collection is called Smitten and is traditionally meant to be a Valentine's Collection, but I took the 'Love' theme in a different direction for my layout.  Leaky Shed Studio makes these precious wooden hearts and along with this photo of Laynee's Dedication, I thought that they all fit perfectly together to make this layout with a different theme.


I drew a heart for a pattern and used it to cut out several hearts in different prints.  I used some of them on top of the paper and simply stitched around them.  I then used two of them and placed them behind the paper, after I had cut out a bit smaller heart.  I stitched around them, too.  I like the added dimension and interest that this allowed.  

Finally, I added those precious hearts from Leaky Shed Studio with little black bows!

Don't forget to check out Leaky Shed Studio's Blog for more great ideas from the other design team members!


Photobucket

Saturday, January 25, 2014

3 Birds Studio Design Team


I've been keeping a secret and it's a good one! 

I'm excited to announce that I'm going to be joining some extremely talented ladies on the new 


Be Sure to Stop by the 3 Birds Studio Blog for upcoming collections and links to the new team's personal blogs!  

Can't wait to get started!

Photobucket

Friday, January 10, 2014

Enjoy for Leaky Shed Studio

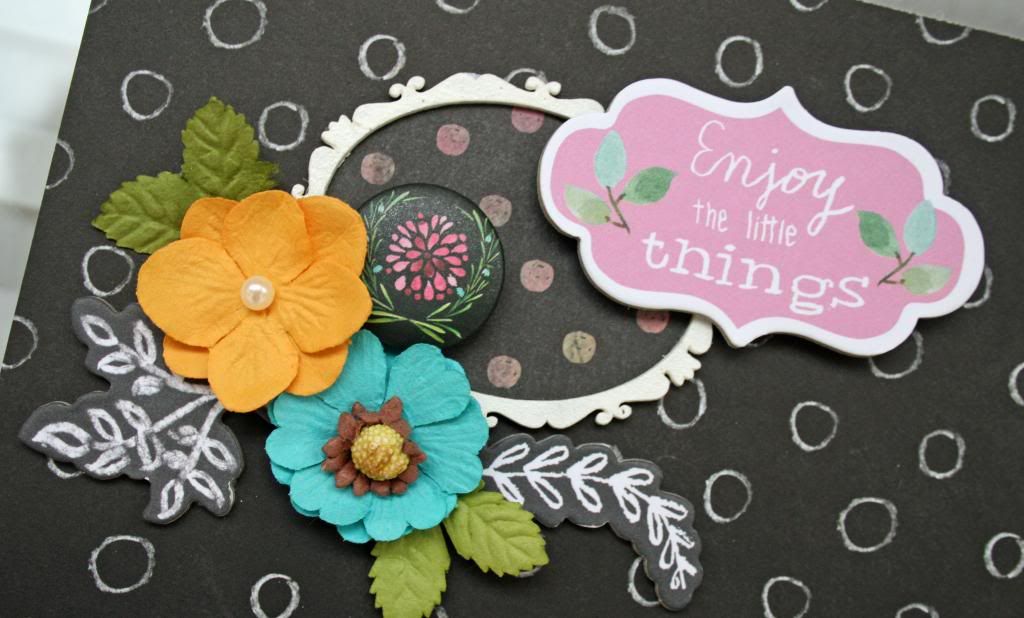
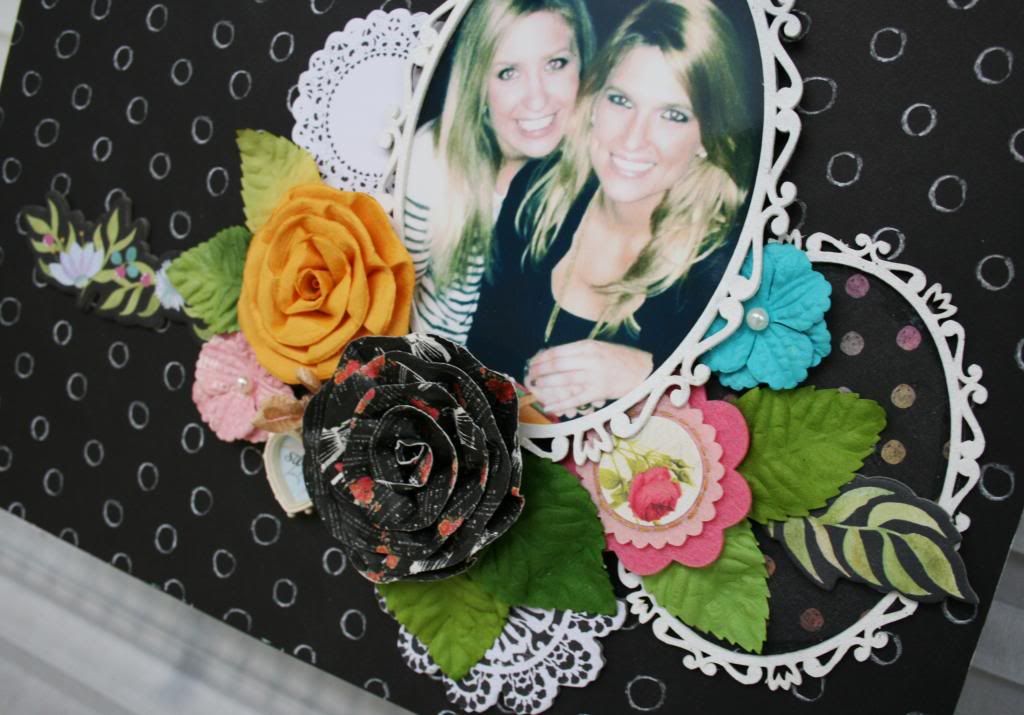
This is a layout that I made with a package of the Victorian Oval Frames from Leaky Shed Studio.  I'm a sucker for frames and these are a gorgeous example of frames done right!


I kept this pretty simple.  I painted the frames white with acrylic paint.  It took a couple of coats, but I like the way it turned out to have a bit of a chalkboard look that went really well with this paper collection.  I used Prima Optimist collection for this layout.  I LOVE this release from Prima!!


You can see from the photo above that I put a coordinated piece of paper in the center of this small frame and also in the medium frame at the bottom.  Simple and a bit of extra interest.


The photo was placed in the center of the large frame and I used foam dots to raise it up a bit so that I could tuck the other chipboard piece underneath it.

 I finished it off by adding flowers and leaves layered underneath and on top of the cluster.
Super simple and fast!

Photobucket

Saturday, December 14, 2013

Let It Snow - Leaky Shed Studio

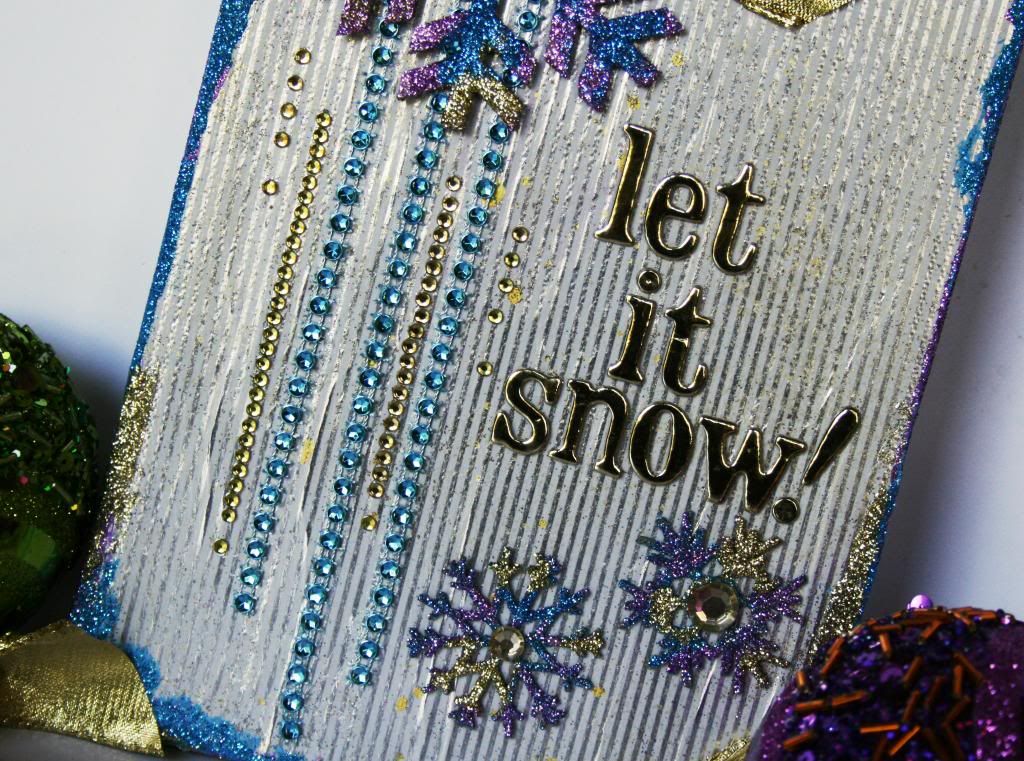
Let It Snow

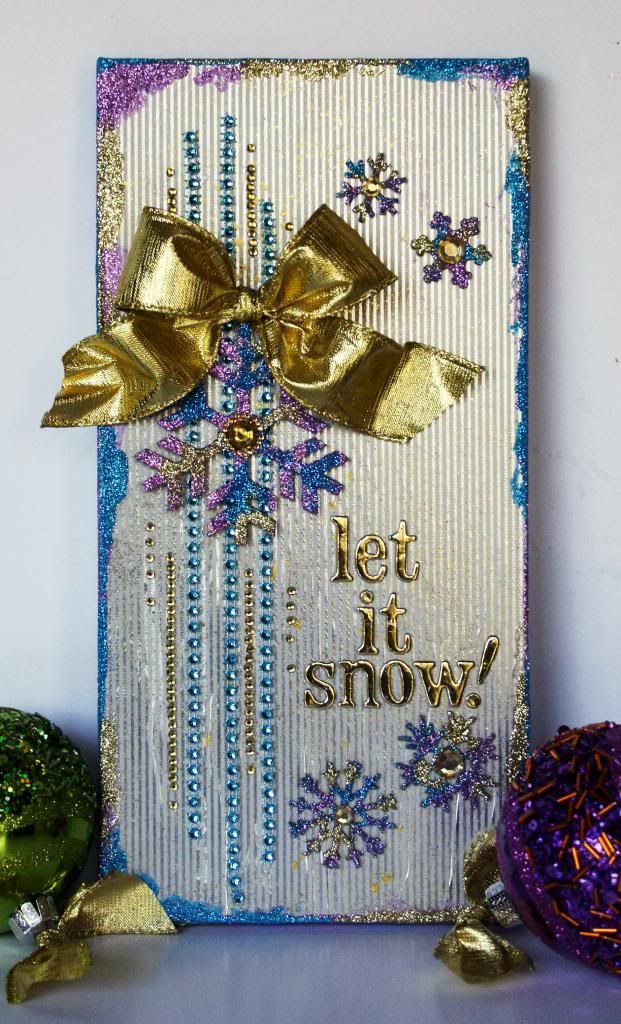
I have been into purple and blue lately because my daughter's apartment is decorated primarily in purple, blue and gold.  I love these non traditional colors for Christmas projects and especially for winter projects.


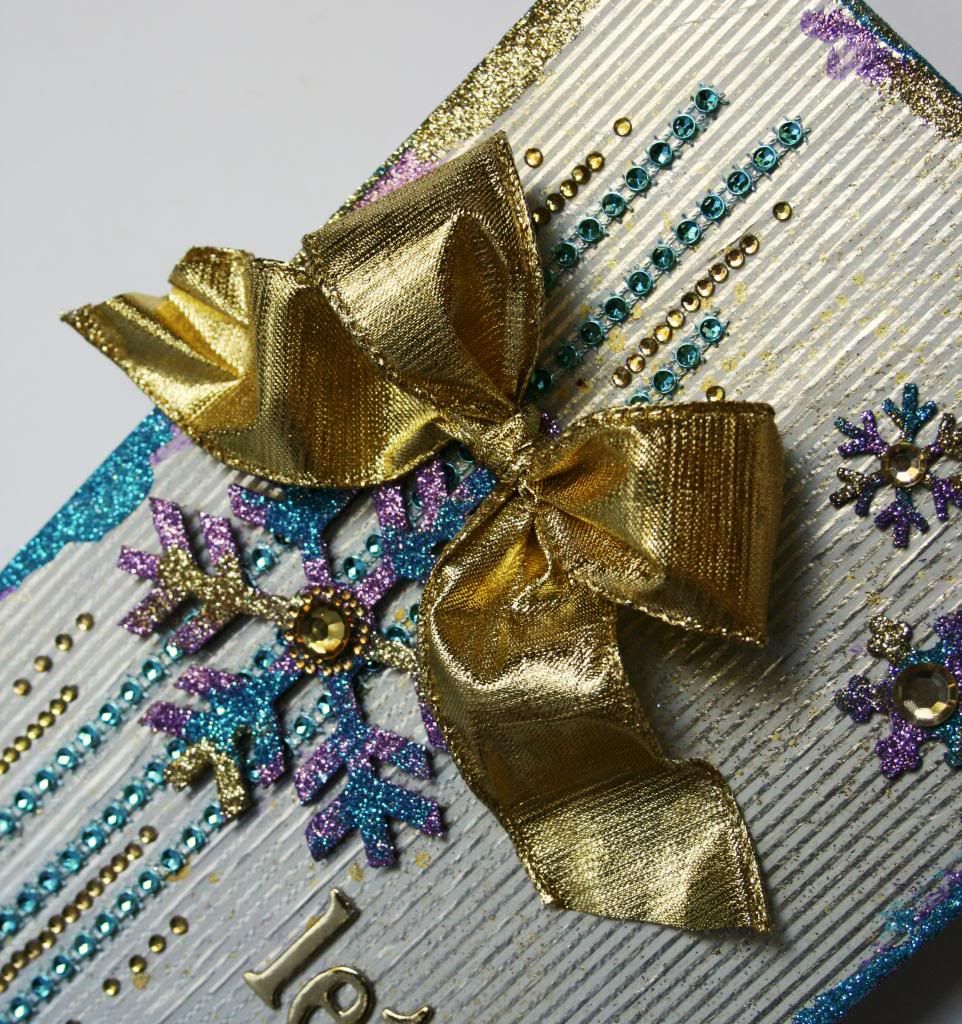
The background of this 6x12" canvas is covered with a  piece of wrapping paper.  I just used Mod Podge to adhere it, then gave it a light mist of Color Shine.  The paper is silver and white, but I knew that I wanted to add gold as the primary metallic color.

I really love the idea of using wrapping paper for things that will sit out during the holidays.  In my case, I only buy what I love and what co-ordinates with my decor.

Tip:  Ok... weird tip for today!  If you want AWESOME wrapping paper, try TJ Maxx, Marshalls or Home Goods.  They are all owned by the same company and they have the BEST foil papers!!   They are also really inexpensive compared to buying them at other stores.  :)


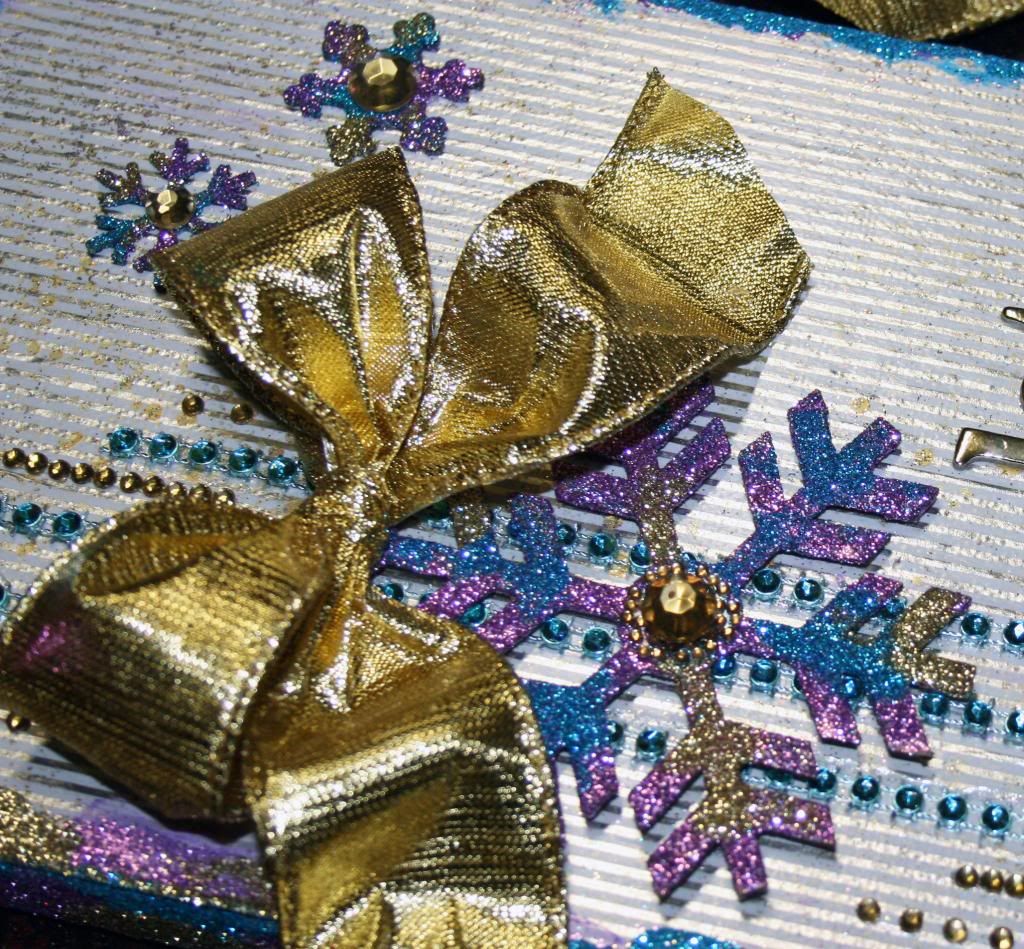
You can see in the close-up that this is a really glittery project!  Be prepared to get covered!  

I first put purple glitter on the entire snowflake.  After it was dry, I just took my paint brush and dabbed in a few places with glue and added the blue glitter.  Repeat the same process for the gold glitter.

I also did the edges the same way.  I did use purple paint, but decided that the glue worked better.  


For the bling in the background, I just glued the blue trim down and then added adhesive jewels.   I also added some jewels in the center of the snowflakes.  

Finish the project off with a sentiment and a bow.  Actually a really easy and quick little sign to set out during the winter.  

Tip:  Since I am giving shopping tips for this post, I thought I would let you know that I picked up the trim at Michaels for $1.   They have several colors in the $1.50 spot, but always dig a bit in the dollar ribbon bin.  You never know what you might find.

Of course, while you are shopping make a stop by the Leaky Shed Store!


Photobucket

Friday, December 6, 2013

Card and Ornament-Leaky Shed Studio

 Hope that you all had a great Thanksgiving!  Our family had a wonderful holiday and are now gearing up for Christmas.  

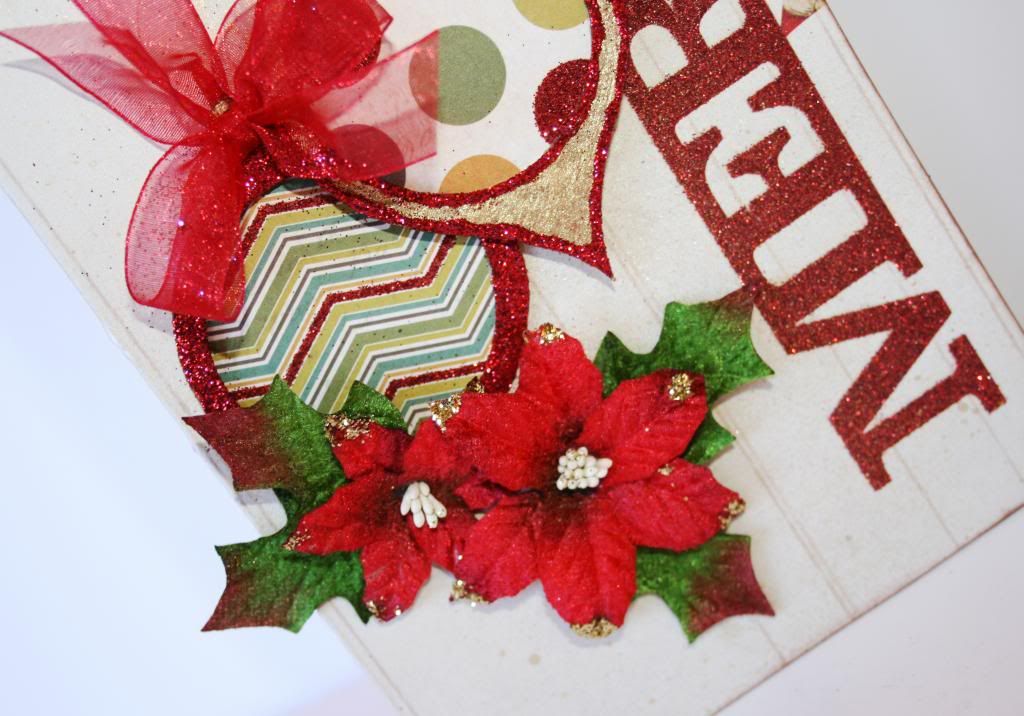
For today's post, I used the Leaky Shed Studio Christmas Ornaments.  This is a terrific group of ornaments that is so pretty already, so designing with them was super quick and easy!  

This ornament was super easy.  I started by giving it a couple of sprays of Heidi Swapp Gold Color Shine.
I then added glitter to the edge and to the separate circle piece in the middle.


I used tiny strips of foam tape to attach the inner circle.  For the picture, I made sure it really showed up to show, but hanging on my tree, you don't see it at all unless you are looking for it.  :)

The flowers and letters are already glittered, so it took nothing more than gluing them to the project. 

Tie a bow and a hanger to the top and your are good to go!

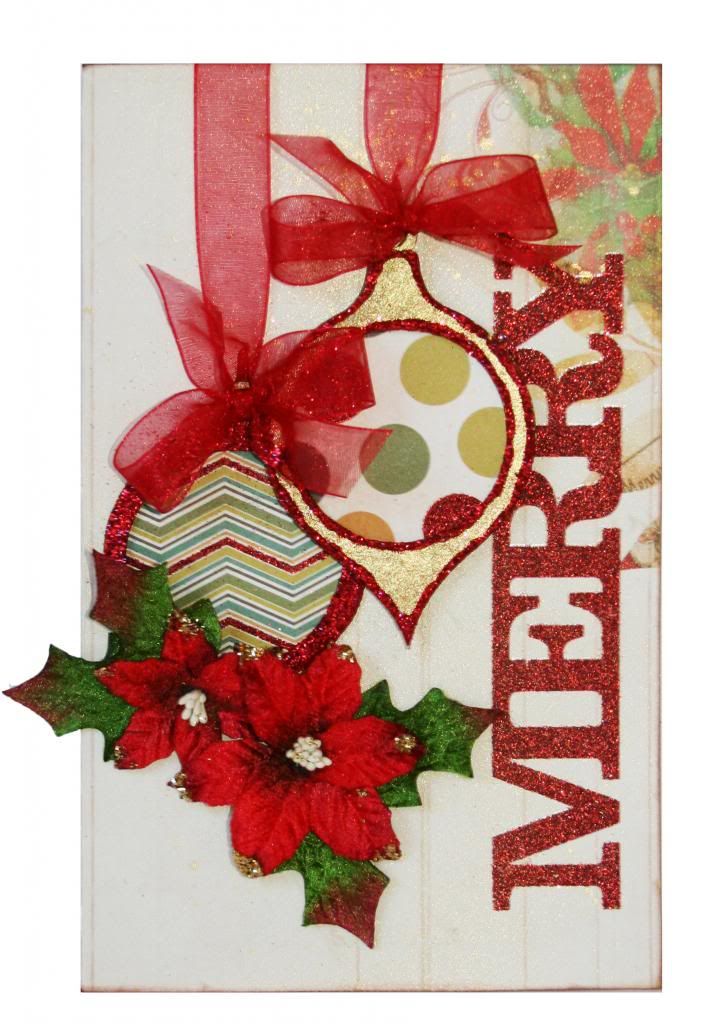
I also made a card with two more of the ornaments. 
Now, since it's really obvious, I'm owning the fact that getting a picture of this card really did me in!  However, I think you can still see the details.:)

  
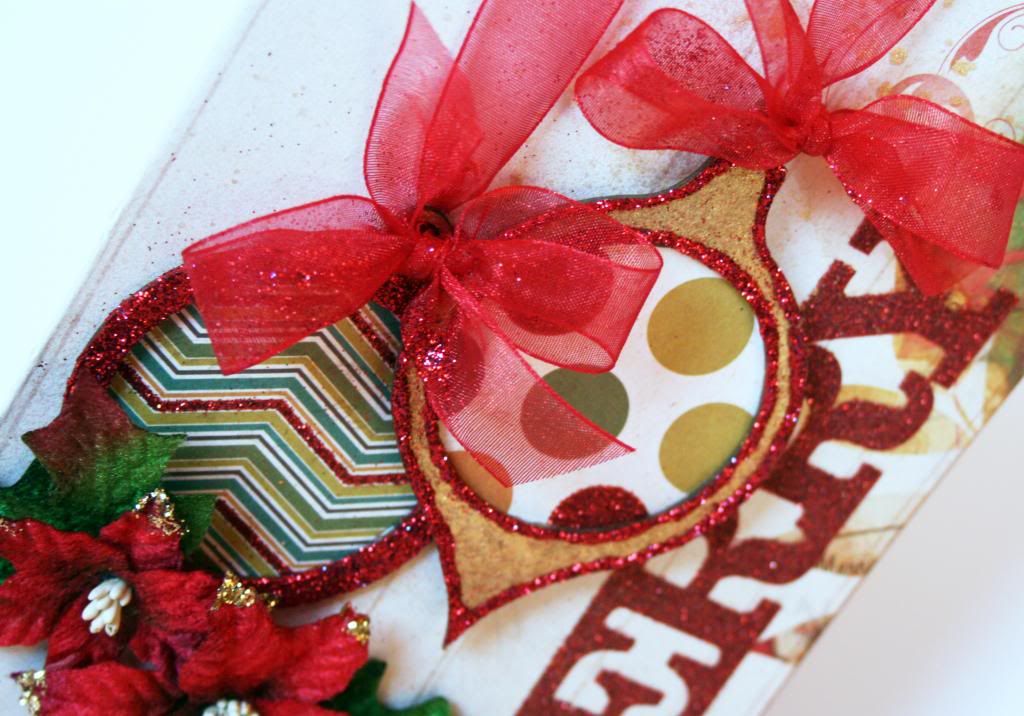
I repeated the basic idea from the ornament for the tree on these.  A couple of sprays of mist and glitter accents. 

For the centers, I used a 2" punch to make circles of paper.  This My Mind's Eye paper is already glittered, so all you have to do is glue it to the back.

Tip:  If you haven't ever tried it, let me recommend the Art Glitter Glue.  It lays down a fine line, dries quickly and is so much easier to use than school glue. 


Again, use foam to layer the chipboard, glue down the flowers and tie bows for this quick and easy card.

One more confession, since I'm owning my mess today... Notice the glitter on the bows.  Weeelllll...I had glue on my fingers and got it on one of the ribbons.  Of course, that meant I got glitter on it, too.  Guess what?  I liked it a lot, so I added it to the other ribbons, too!  Mistakes aren't always a problem!

Thanks so much for stopping by today!  

Don't forget to check out Leaky Shed Studio on Facebook, too!


Photobucket

Friday, November 22, 2013

Perfect Day - Leaky Shed Studio


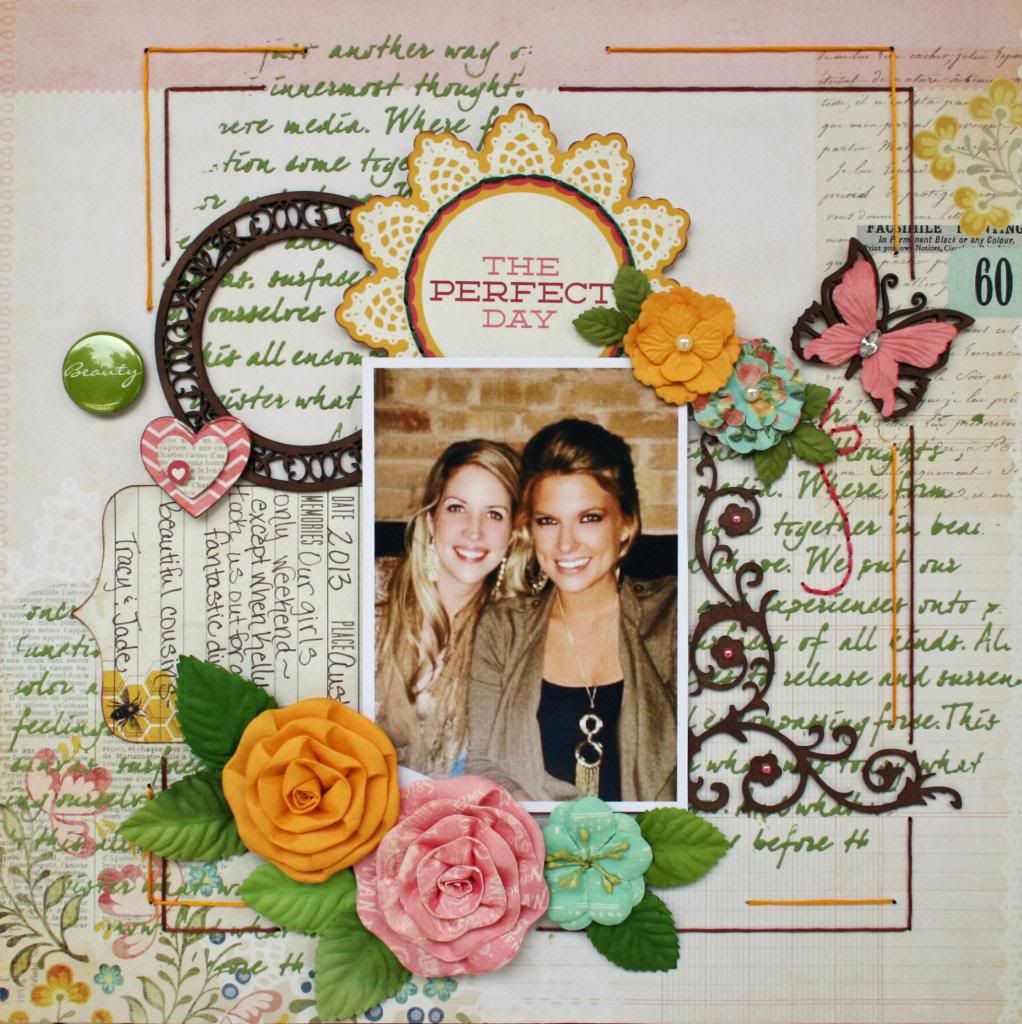
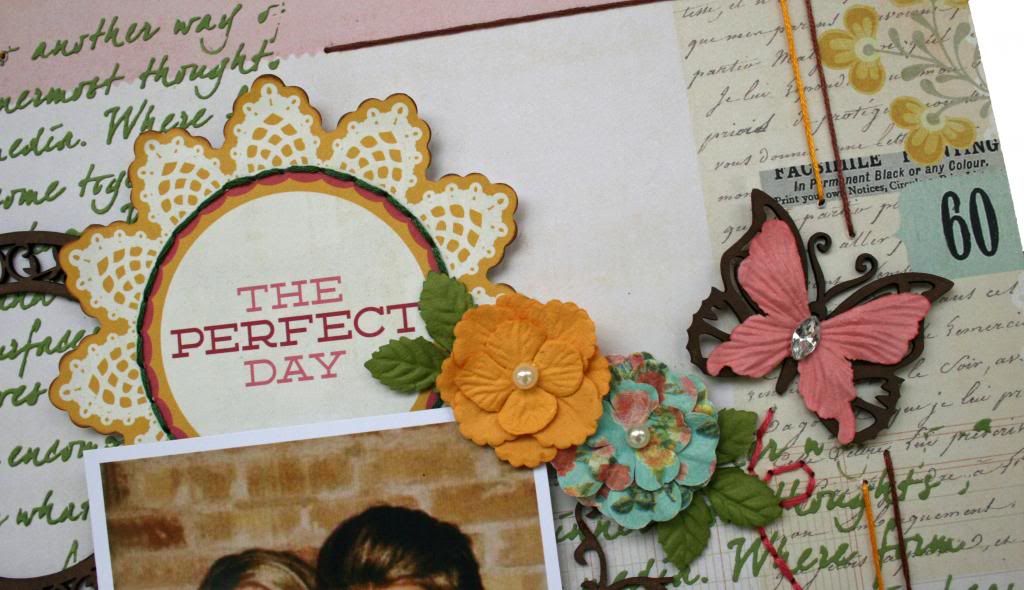
This is a picture of my daughter and my niece taken during a girl's only weekend. I took this picture at dinner when we let my husband participate by taking us out for a fancy dinner.  Of all of us, my niece (on the left) deserved to be treated!  She's the sweet mommy of 5!

The Perfect Day


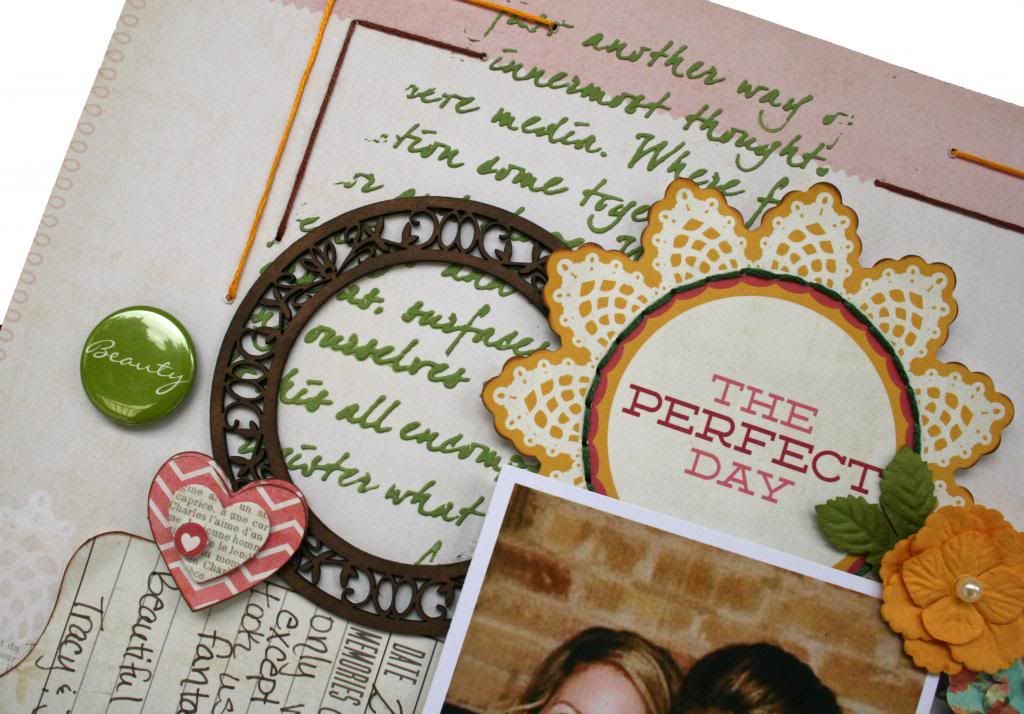
You can see that I used 3 pieces of chipboard.  I kept thinking about techniques to use on them, but finally settled on simply inking them to darken them up a bit.  I love the natural look of the chipboard, as is, but wanted to have them stand out a bit more.


I used Cat's Eye Chestnut Roan chalk ink to add the touch of extra color.


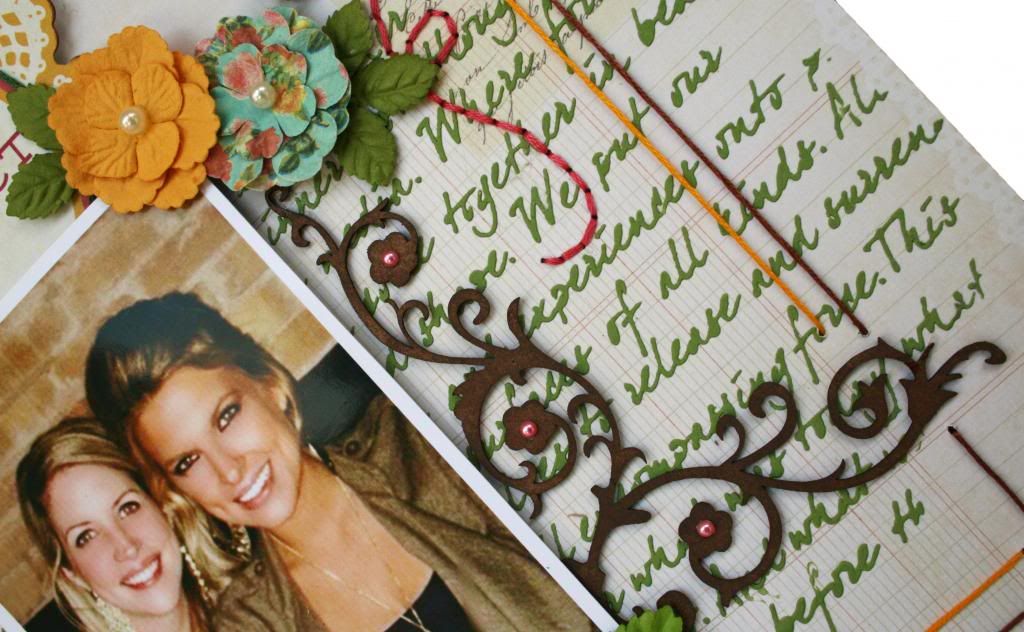
Because I cropped the picture close, the chipboard corner piece made more sense to use a design element to frame the photo instead of being used in the traditional way,  I use a few sticky pearls to embellish it a touch.


Lastly, I used a paper butterfly layered over the top of the chipboard butterfly.  I liked the way I was able to echo and frame the lighter colored paper butterfly to make it stand out more in the design.

Leaky Shed Studio Products:

Thanks for stopping by to take a look at my project!
Photobucket