Wednesday, June 18, 2014

Flying Unicorn and Julie Nutting Blog Hop

Welcome to the Grand Uni & Dolls blog hop party! 

If you have come from the Flying Unicorn Blog then you are in the right place. If not then begin from the beginning at Flying Unicorn Blog because you do not want to miss a thing!
(We have an amazing line up of creative and inspirational projects all centering on Julie Nutting Mixed Media Doll Stamps. Let us get this party hopping! ) 

I'm such a huge fan of Julie Nutting Dolls that it was really hard for me to choose one to use for today's blog hop!  I ended up settling on this sweet little toddler.  You can find her HERE in the Flying Unicorn Store.
 
I have created a little sign for today's project.  This could easily be used as a hanging piece by hanging from the ribbon or by adding a picture hanger to the back.


This was created on a piece of decorative wood that I picked up at Michaels for a couple of dollars.

To create the background, I first mixed a pink paint with pearlized medium to give it a bit of sheen.  Just use any brush you have to apply it.

After you have it painted. Mix a bit of your paint with glaze.  (I added a bit more pink to make it a hair darker.)  Glaze can be found at any hardware store.  I picked mine up at Lowe's.  
Before the glaze dries, use a paint comb in vertical lines to remove a portion of it, as shown.  Let dry.


Next, apply the glaze over the top.  This time, you will pull the paint comb horizontally.  It will look something like this.  Remember it doesn't have to be perfect.  


Before  you set it aside to dry, take the brush and give the ends a bit more color for depth.  

Finally, finish up the background by inking around the outside with brown chalk ink.  Give it a light spritzing of Antique Gold to tone it down, as I did with my piece.  I wanted to have a bit of a vintage look for my finished project.

You will see in the photo below that I even gave my finished girl a little spritz of Antique Gold.  

 
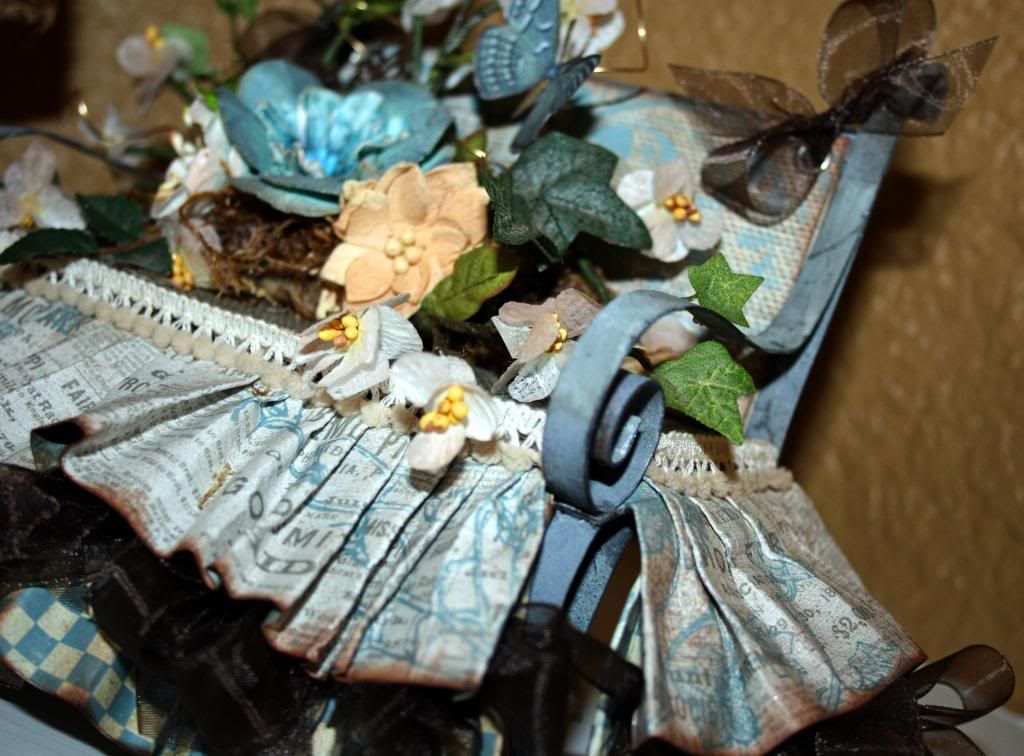
Tip:  You might notice that there are lots of layers used to create my dolls.  If you look closely, you will see that I play that up by not gluing everything flat.  I intentionally didn't glue down the bottom of the skirt and also only glued the center of the hair bow.


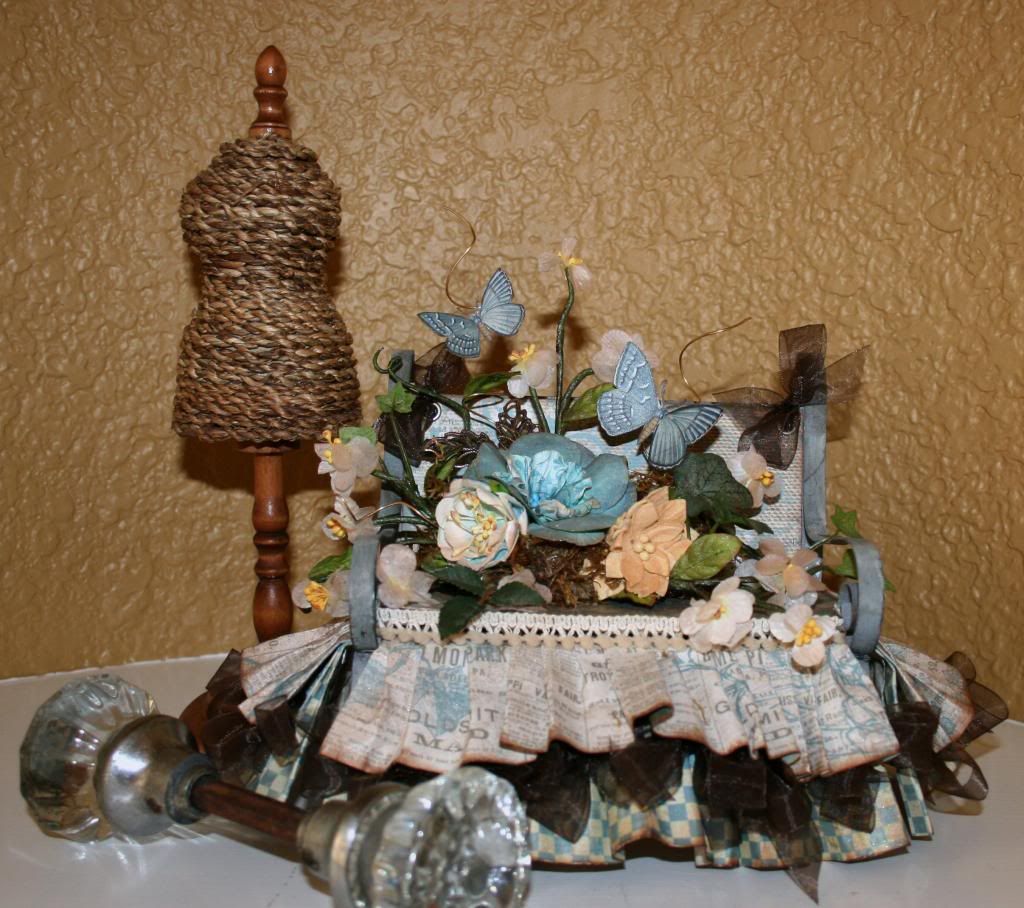
Now embellish it!  I used lots of Prima Flowers, some Zva Creative Bling and even an old Jolee's button from my stash.

 
NOW... for the fun part for you!!! 

Want to win the doll I used or any of the other ones, the choice will be yours along with Time Traveler or Seashore collection paper pack by Prima. To be eligible all you have to do is:
·Become a follower of my blog
·Comment below this post and tell me you became a follower and tell me about your favorite Julie Nutting products!
·This giveaway is open worldwide

 
But wait there is more …..
One lucky person will win the Uni’s & Dolls grand prize


Now... I KNOW you need to see what the other girls are sharing and I KNOW you don't want to miss out on a chance to win the fabulous prizes, so it's time to head over to Jen's Blog!
 

Photobucket

Tuesday, June 3, 2014

Flying Unicorn June Kit of the Month

Here is another layout that I made with the Flying Unicorn Kit of the Month.  There are so many great bits and pieces included in this kit!  


I settled on a super simple background design for the base of the layout.  The seam between the two papers was covered with a sheer ribbon and then it was time to embellish.  My favorite part! 


There are lots of pretty flowers and metal pieces in the kit that layer beautifully for embellishing.  I added a sheer bow and a couple of heart pins from my stash, too.


The Bo Bunny wood pieces are also included in the kits.  I added a bit of ink to make them a bit darker.  The butterflies were cut from the paper, folded in the middle and then I used a pencil to draw trails and stitched along them.


This layout was based around the birth of my nieces twins.  The other 3 children in the photo are her older children.  The title was easy to come up with and to the point.
I used letters and a word from the kit and then added a Prima Chipboard 5 from my stash.  A couple of tiny flowers from the kit, along with a little heart from my stash completed the title work.Photobucket

Monday, June 2, 2014

Off the Page for Flying Unicorn

As you know from my previous posts, I have joined the Flying Unicorn Kit Creative Team.  This month, I received my first kit and let me tell you, it was beautiful and so easy to create with.

In addition to everything you need to create terrific pages, the Main Kit of the Month includes an off the page item.  This month, it was an adorable little galvanized iron bench.  Since the kit was so beautiful and I still had so much left (even after completing 3 layouts and this bench) I chose to use the kit to decorate my little bench.

The collection is Tailgate Marked from Riddersholm.  I love blue, so this kit was certainly right up my alley!


I started out thinking that I would love to add a ruffled skirt to the bench, so that came first.  
 Tip:  To make the ruffles, I sprayed the paper with a bit of sparkly mist.  Then I 'pleated' it to the length of the bench front and sides.  After it was mostly dry, I used Fabri-tac to glue it to the bench. 

Next, I made a 'cushion' and the back cover.  The cushion was done using 2 pieces of cardboard cut to size and then adding a piece of paper to cover it.  I used a bit of the Petaloo Pom Pom trim from one of the kits to put around the edges.

The back of the bench was done by putting 2 pieces of paper over a piece of chipboard, adding eyelets and attaching it to the back of the bench with ribbon.

Super simple!


Next up, I made a little floral arrangement to sit in on the bench.  I used  some flowers from the kits, some Prima Vines from my stash and actually even cut a few pieces of ivy from the back of an arrangement in my house!  lol

The butterflies were fussy cut from the paper and attached to a bit of wire that I swirled a bit.

Tip:  I used a piece of floral foam to build the arrangement on.  It makes it super easy to  attach everything and gives it dimension.  After the arrangement was built, I added a bit of moss to cover any foam that might be showing.

One last detail was missing!  I felt that it need some ribbon ruffles between the paper ruffles.  Since I had already completed it and wanted to make it as easy as possible, I simply tied a lot of bows with the sheer ribbon that I had used on the back.  After the bows were tied, I just added a bit of Fabri-tac and tucked them between the layers.

Be sure to check out Flying Unicorn to see what all the Designers have created!  There are lots of wonderful creations!

Don't forget, you can now pre-order the kits!   You can find all the details here...
Photobucket