Friday, November 22, 2013

Perfect Day - Leaky Shed Studio


This is a picture of my daughter and my niece taken during a girl's only weekend. I took this picture at dinner when we let my husband participate by taking us out for a fancy dinner.  Of all of us, my niece (on the left) deserved to be treated!  She's the sweet mommy of 5!

The Perfect Day


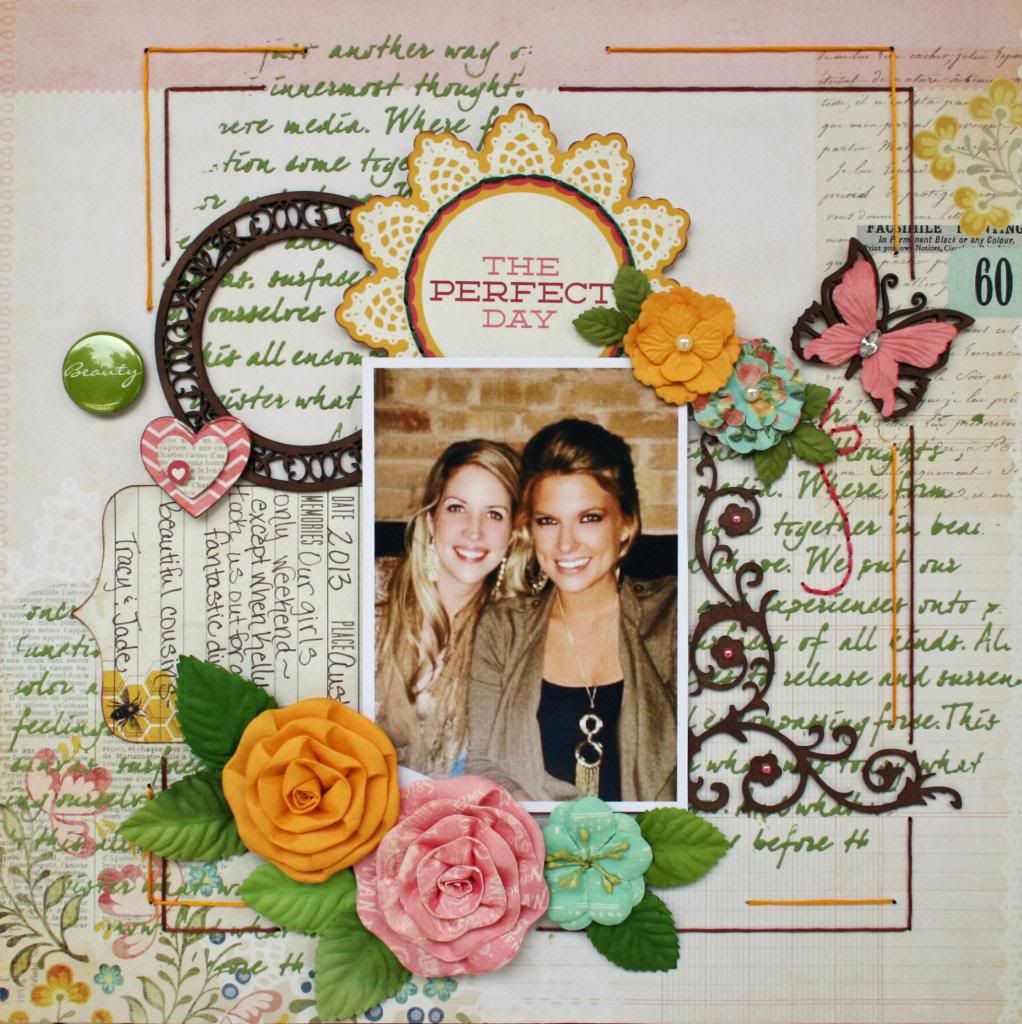
You can see that I used 3 pieces of chipboard.  I kept thinking about techniques to use on them, but finally settled on simply inking them to darken them up a bit.  I love the natural look of the chipboard, as is, but wanted to have them stand out a bit more.


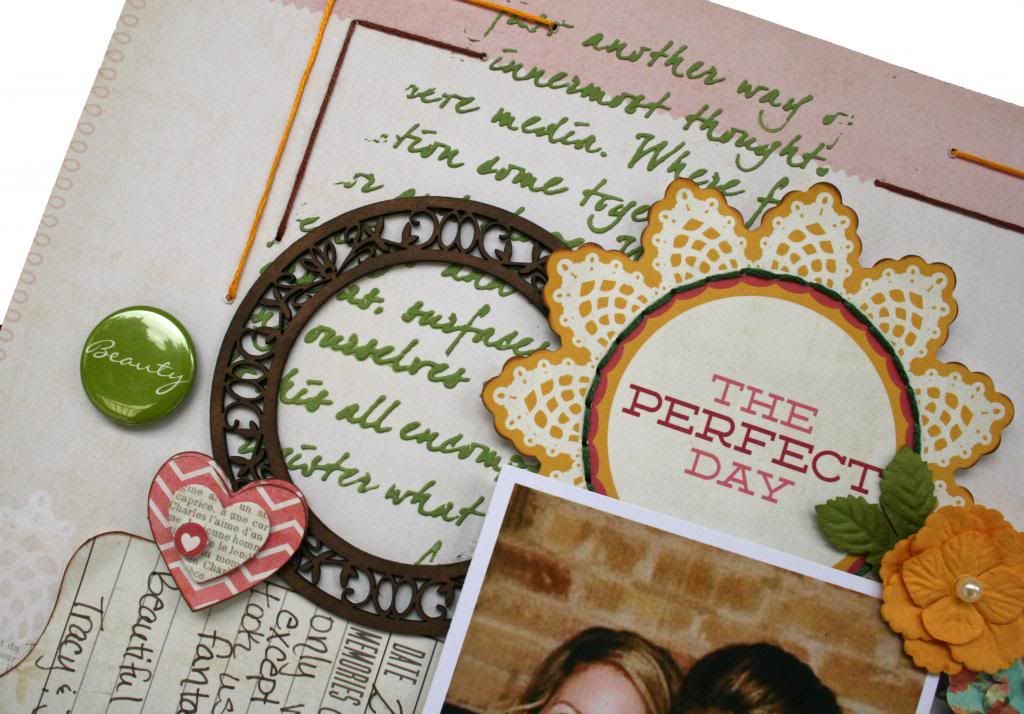
I used Cat's Eye Chestnut Roan chalk ink to add the touch of extra color.


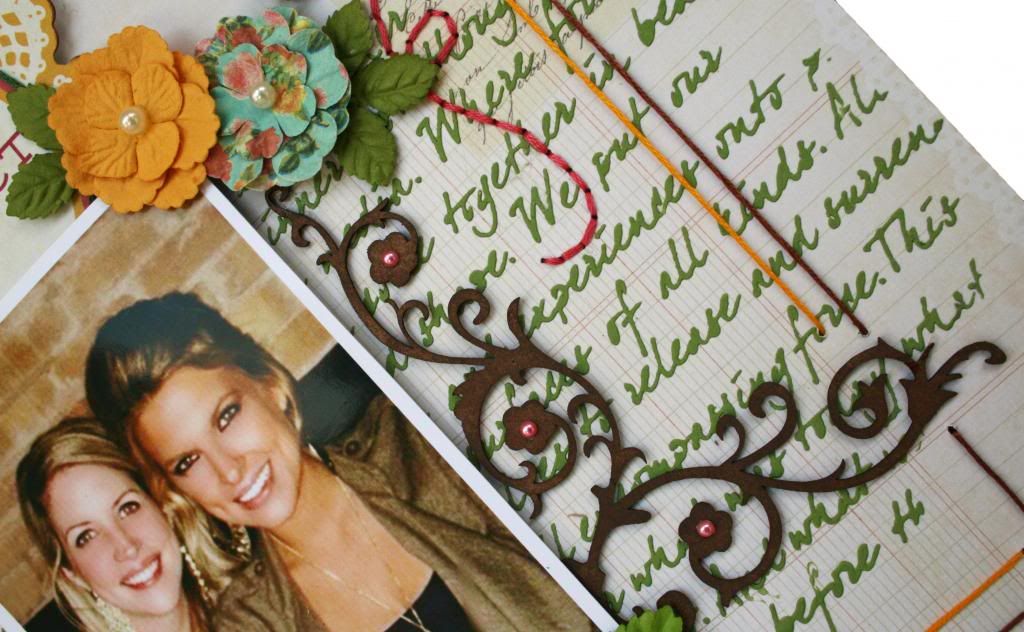
Because I cropped the picture close, the chipboard corner piece made more sense to use a design element to frame the photo instead of being used in the traditional way,  I use a few sticky pearls to embellish it a touch.


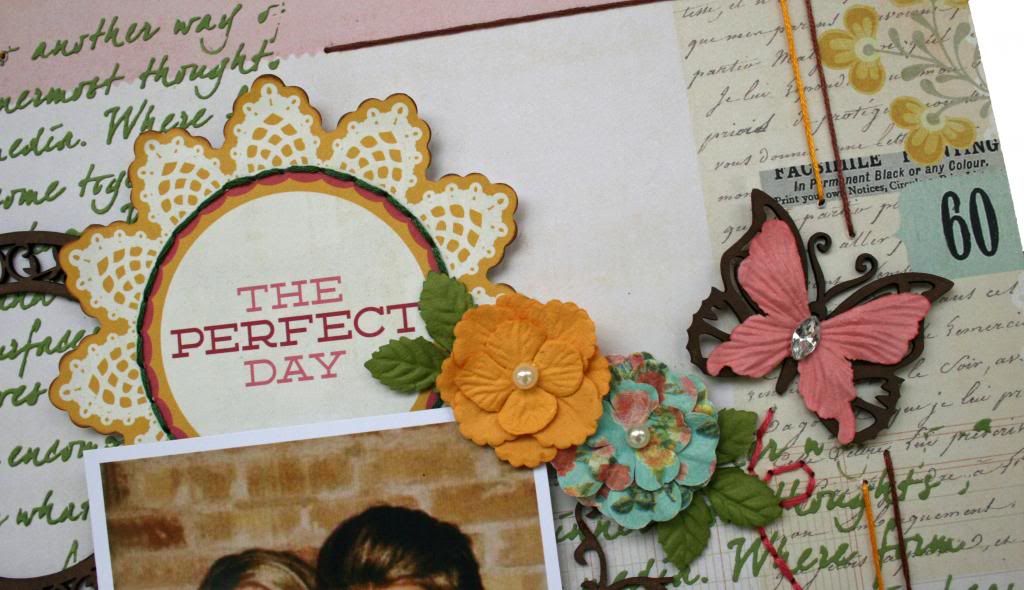
Lastly, I used a paper butterfly layered over the top of the chipboard butterfly.  I liked the way I was able to echo and frame the lighter colored paper butterfly to make it stand out more in the design.

Leaky Shed Studio Products:

Thanks for stopping by to take a look at my project!
Photobucket

Tuesday, November 12, 2013

Leaky Shed Studio and Julie Nutting


I'm a big fan of Julie Nutting and actually purchased her book and played with her tips for drawing my own dolls.  Let me tell you, having them all cut out and ready to go is much easier than coming up with your own!  As you've already seen from some of the other designers, these little dolls are so versatile and there are endless ways to decorate them to suit your personal style.

I made a sign using three of the chipboard dolls.

This sign is only about 5x8" so it makes a perfect little door hanger.  It is one I picked up at Hobby Lobby for about a dollar.  I am forever picking up little bits and pieces to alter.

Be Marvelous
 The background was created using modeling paste and spritzes.  I sprayed some of the blue and purple on when the Modpodge was dry and used a paper towel to rub across the paper to give it a hint of color.


I chose to paint the doll's bodies and hair and to make their dresses from paper.  

Tip:  Before I started decorating them, I ran them through my printer and made a copy.  I then printed the copy on lightweight cardstock to make a pattern for cutting the clothes.  It's a super quick and easy!


After covering them with paper, I used my PITT Big Pens to add some details to the dresses in purple and blue.  I used a fine Pitt Artists pen to do the outlining and the details on their hair.

 
You can see that the outlining and details that I added are very loose.  I wanted some movement in the dresses but didn't worry about perfection.  Just a few brush strokes will do the trick.

To finish them off, I spritzed them with Perfect Pearls to add some sheen. 

Leaky Shed Studio Supplies:
Sassy 4"
Holly 4"
Spooky 4"


Photobucket

Friday, November 1, 2013

Leaky Shed Studio

Well, you have probably noticed that there has not been much going on with my blog.  I decided to take some time off from posting and design team work.  I wanted to play with my supplies, learn new techniques and frankly, get some much neglected things done around my house!  :)  You know what I mean, right? 
I have had a great time creating whatever motivated me at the moment.  I've even taken some online classes, started an art journal and even explored drawing again.  I'll get to posting some of my projects soon, but today...
I have some SUPER exciting news! 
I've been invited to join the Leaky Shed Studio Design Team!!
I couldn't be more excited about this!   In addition to making beautiful, quality products, I love that I can use them on a wide array of projects!! 
Of course, I won't be going on this journey alone.  Be sure to check out the 
to meet the other designers that are joining the team.


And be sure to
like the Leaky Shed Studio Facebook Page.
Thanks for sharing in my excitement and I hope to inspire you with my projects!


Photobucket