Sunday, November 30, 2014

It's Reveal Time at Flying Unicorn!


Kit release time is always so fun!  I can't wait to see what everyone else created using the same products!  It's amazing to see everyone's different styles and interpretations!

Here is a page that I made using the main kit and some of the beautiful embellishments in the other kits, too!


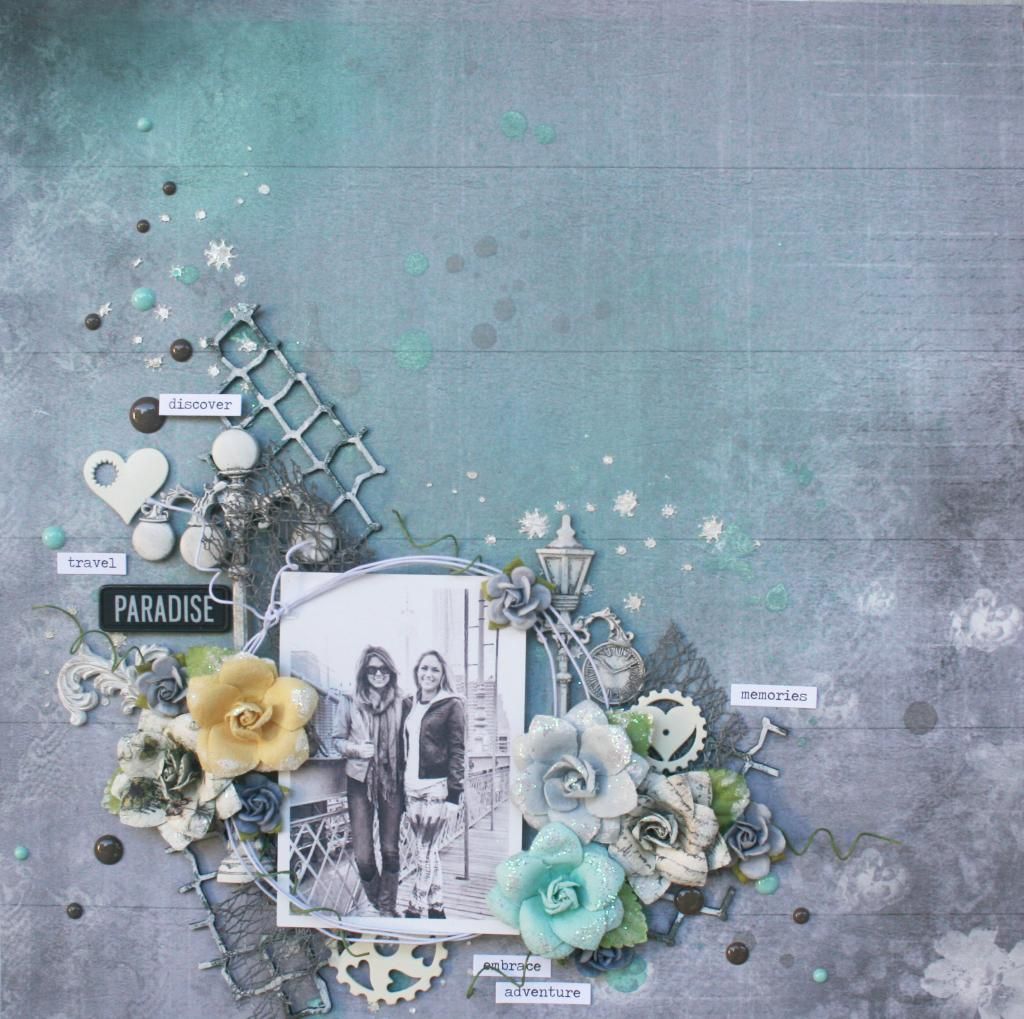
 I loved the greys in the papers, and couldn't resist the soft pastel flowers to go with them.

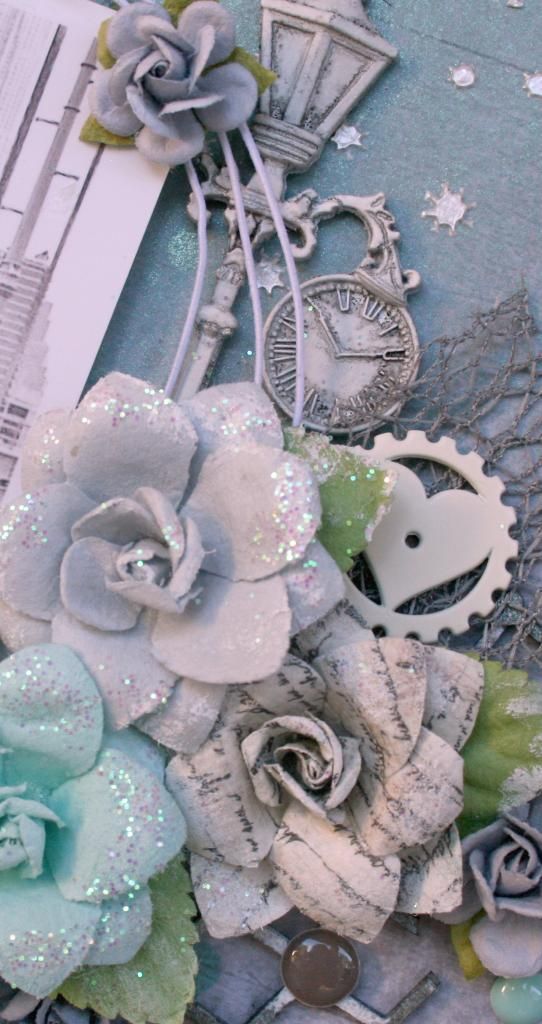
 Of course, there are beautiful chipboard, metal and trims in addition to the beautiful flowers!


Be sure to take a peek at the kits listed below and RUSH to Flying Unicorn to get your hands on these!!  They never last long!

http://www.flyingunicornstore.com/category_s/1422.htm

Baby its cold outside, but the creative fire makes it a warm and cozy inside! We are so thrilled to showcase our December Kit of the month with the newest collection by 13@arts Cozy Evening! Our kits are overfilled with with yummy goodies that will let you explore your passion and create those perfect memories. So without further adieu Flying Unicorn proudly presents Your Passion, Your Art - December 2014 Kit of the Month


http://www.flyingunicornstore.com/category_s/1433.htm


Our main kit is never complete without an off the page project to get you creatively thinking outside the page! This month bling Santa's ride! Custom his sleigh and make his ride the talk of North Pole!
 

http://www.flyingunicornstore.com/category_s/1422.htm

From the beginner to the avid mixed media artist our Mixed Art add on kit will surely please you. Our Mixed Art kit will always come with a canvas and mixed media art supplies to advance your skills as an artist.


http://www.flyingunicornstore.com/category_s/1433.htm


Flowers, vines,and embellishments oh my! Our Mixed Passion is a collection of everything pretty to add to the Main kit or the add on kits. The colors and embellishments will enhance your Kit of the Month creations or it can stand alone and you can create something magical! So turn the music, make some hot cocoa and lock your self away while you create some art


http://www.flyingunicornstore.com/category_s/1433.htm

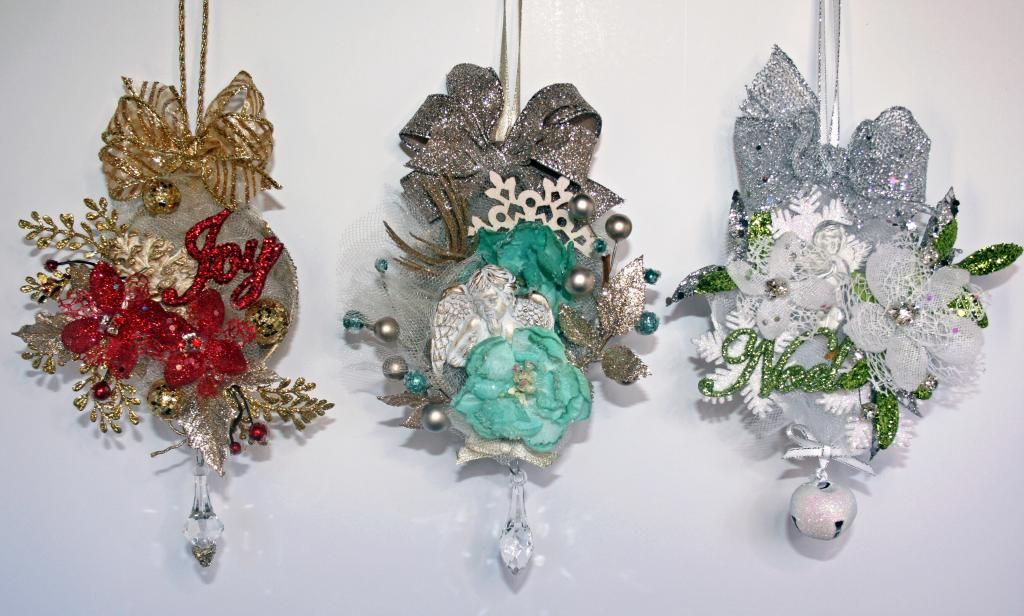
Our Small Art Big Passion is all about the love of making cards, tags atc's and anything in between.From Stamps, flowers, paper and embellishments in between the yummy goodies included will enhance any of the kits or stand alone .


We are thrilled to present great tutorials, techniques, videos and Build a Page using our Kit of the Month to help you grow in the passion of your art. So stay tuned there is so much more to come in the next week!

Kits and Add On Kits are limited so do not delay in getting yours! 
Photobucket

Monday, November 17, 2014

More November Kit!

This is another layout that I made using the BEAUTIFUL Flying Unicorn November kits!
There were lots of things to fussy cut in the Bo Bunny papers that were included in the kit. I used a few fussy cut frames to build the design for this page.

I added some long stitches to the base of the design.  This is an easy way to add detail and the look of stitching without take a ton of time.
Tip:  Try alternating where you put the stitches.  Put some over and some under different elements on your page. Don't line the edges up either.
 

I used several different embellishments around the photo.  With the different textures of the embellishments, it adds a lot of interest without getting too busy.
Tip:  Tuck things under the photo and lay things on top of the photo to mix it up and keep your page from being overly uniform.  Use foam tape to raise the photo to make the layering easy.


Here is one more close-up to show you the tips in action.  The final finishing detail was to scatter some tiny sequins and pearls to the design.


Photobucket

Saturday, November 15, 2014


Hi everyone! 

I'm in the mood to do some Christmas projects, so I made a Christmas Tree Canvas for the MMU challenge at Flying Unicorn.

I had this idea, to use lots of holly leaves to make a Christmas tree.

Here is what I came up with.


Let's get started!  This one is very easy to pull together.

To start, you just need to give your canvas a coating of gold metallic paint.  I used a sponge brush.
My canvas is 6 x 12.  


While that is drying, use some punches to make lots of holly leaves.  I mean LOTS of holly leaves!
Just use your scraps.  I have a lot of Bo Bunny Double Dot scraps, so that is what I ended up using.


I started with a LOT of holly leaves!

I put them all in a big pile and gave them a couple of mists with my Prima Gold Foil.
(forgot to take a photo of that!)


Next up, use a stencil and molding paste, special effects paste or anything you prefer to give some texture to the background.


Let it dry... then...

Use Fabri-tac to make a loose Christmas Tree shape on your canvas.


Now, for the fun part...
Just dump the leaves on the top of the glue.  Spread them out.  to form the shape of your tree.
Note:  You can see that I made sure along the edges that my leaves were pointed out, but don't worry about the inside.  Mine are every which way.    Having them on top of each other is good!

Be sure to use a little rectangle of brown cardstock to add a trunk.  You could also go all the way to the bottom of the canvas with the leaves.  Your choice.   


Now for some glittery accents!  Use Mod-Podge to add glitter to some more punched pieces.
I used a fine glitter for the smaller pieces and a chuky glitter to do the tips of some of the holly leaves.  


Embellish...  
Glue the glittered pieces to the existing tree shape.  This is the time to tweak your tree shape to make it all filled in and the exact shape you want.    After they are all dry, use your fingers to put bends in the loose tips of holly leaves.  This will make the piece more dimensional and will add places to tuck in the embellishments.

I added loose stones, buttons, beads and some glittered hearts that I had left-over from other projects.


For the final touch, I used the Prima Gold Foil mist to add some drops to the piece.


So for the challenge... 

Use a LOT of something to make a shape on a project.   I used a LOT of small holly leaves to make a tree for my project.    

Another example might be to use a LOT of punched pieces to make a star or a LOT of stars to make a bell.... the ideas will be endless once you get into the groove!

One last thing... Of course we are going to have a prize!  It is a surprise!!
 

 Be sure to check out all the Challenges at Flying Unicorn each month!  There are always great challenges and great prizes, too!

Monday, November 10, 2014

Getting Ready for the Holidays with 3 Birds Studio


Hi everyone!  I'm sharing a page that I made using 3 Birds Studio.  I'm ready for the holiday season to begin and with all the great choices of new products from 3 Birds, I couldn't resist making a Christmas page!
 

This layout starts with a fabulous sheet of paper from the Premier Page Kit.  I love the look of this paper for the outdoor photo that I used.  Combining this paper with a peach sticker and doilies, gave me just the base I was looking for.
Because of the colors in the photo, I chose to use non-traditional colors for the Christmas page.  I love the traditional red and green, but I also love to mix it up sometimes and use a different variation.


The title sticker was a natural fit because of the photo, too.  I chose it because it echoes the print on Mom's shirt. 
Tip:  I added foam to the back of the sticker to make it easier to layer and to match up with the dimension of the other embellishments.


More layering was added with the flat stickers that were used for design and the terrific poinsettias that are included in the quilling kit.  Here, I used pink centers to continue the non-traditional color choices.

The final touches include a big bow and more bits and pieces from the Quilled Card Kit Holiday season Edition.

Be sure to stop by the 3 Bird's Blog to see what is new and to be inspired!

 
Photobucket