Thursday, August 30, 2012

Makin' the Grade at Little Yellow Bicycle

You Did It!
 
With all the Facebook pictures of first day of school being posted right now, I thought that since my kids are out of school, it would be perfect to do a page that focused on my daughter's last day of high school.
 
 
This little owl was the perfect touch of whimsy for my big kid page.  So cute and fun!
 
 
The sticker strip seem appropriate here, too!  Just love what it says!  Instead of using it as a complete strip, I cut it apart to make it more of a journaling grouping.
 
 
Be sure to check out the Little Yellow Bicycle Blog for more ideas with Makin' the Grade! 
The team is showing so many great ideas for both the Big Kids and the Little Kids!  There is certainly something for everyone!
 
 
Photobucket

Wednesday, August 22, 2012

Little Yellow Bicycle New Makin' the Grade

Don't you love it when you find a fabulous school collection that is not just for the little ones?  Little Yellow Bicycle has certainly delivered with Makin' the Grade!  Of course, there are plenty of pieces for the younger kids, but the collecion rocks the older kid's pages, too!
 
I made this page of my daughter and some of her friends during their senior year. 
 
 
I saw these little clipboards at Walmart.  Because they don't have the big clip on the top, I decided to pick one up and try it on a page.  It's no bigger than some of the flowers and layers that I've done and it slides right into the page protector.  I couldn't resist adding a touch of ginham ribbon to it, too. 
 
 
The Paper Crafting Kit has everything you need to make these ribbon banners.  They are an adorable touch to the collection!
 
 
Be sure to drop by the Little Yellow Bicycle Blog for more ideas using the Makin' the Grade collection!  The design team will be sharing our ideas all month!
Photobucket

Thursday, August 16, 2012

New Bo Bunny Detour

It's another Limited Supplies Day at Bo Bunny!

Today, we were allowed to use only 3 sheets of paper, 1 sheet of cardstock, 1 sheet of stickers and one package of embellishments.  I really wanted to use the new Detour Collection for this one!  I have several pictures of Alex and his friends from Spring Break this year from a scuba diving trip to Curacao.  The Detour collection is such a great fit for so many of our vacation pictures, too!


Alex likes the pages for his books to not be really busy.  The Limited Supplies/Unlimited Inspiration assignments make a perfect fit for what he likes.  Using a small amount of supplies doesn't mean that your pages aren't finished, it just means that you have to think a bit differently. 


I love brads for those small details on a page.  Bo Bunny does so many great brads to match every collection!  I even used some of the tiny ones to make 'bullet points' on my page.


I also used a lot of the stickers.  I like to add foam dots to the back of stickers to make them do double duty as embellishments.  Stickers are a great way to title your pages when you don't want to do alphabet stickers or if you are a bit limited on space.

Be sure to check out the Bo Bunny Blog today for more ideas! 


Photobucket


Thursday, August 9, 2012

LYB and Epiphany Crafts Team Up!

Isn't it great when two terrific companies team up?  All this week, Little Yellow Bicycle and Epiphany Crafts have done just that!  What's more... there are plenty of ways to win some goodies from each of these manufacturers! 

I love the Splash collection and how it really compliments almost any summer photo.   I think that this collection almost scraps itself!  Adding the Epiphany Crafts embellishments to the Little Yellow Bicycle collection certainly makes for a winning combination!


I used both the Shape Studio Scalloped Circle and the Shape Studio Circle tools to make centers for my flowers. 


I punched holes through the centers with a Crop-a-Dile to add brads to the centers of the Epiphany Crafts embellishments.  The brads are included in the Little Yellow Bicycle Paper Crafting Kit along with so many more cute pieces!


I LOVE that you can see where you are punching with the tools.  It makes placing your punches on the paper so easy!  I wanted to pick specific patterns for my flower centers and Epiphany Crafts has made that possible, too!


Finally, I made some bubbles to compliment my title.  The shiny look of the bubbles goes perfectly with the shiny finish on the chipboard and the Clear Cut title piece.

So... want to have a chance to win???
Of course you do!!!

Get over to the Little Yellow Bicycle Blog and the Epiphany Crafts Blog to find out how!! 

Also... be sure to check out both blogs tomorrow for MORE chances to win!!!


Photobucket

Thursday, August 2, 2012

Limited Supplies-Unlimited Inspiration

At Bo Bunny, we have recently added some new blog ideas.  One of them involves using a 'recipe' for our pages.  This is a lot of fun!  The recipe is very limited and can show you some ways to really stretch your supplies without sacrificing your pages by having them look 'undone'.

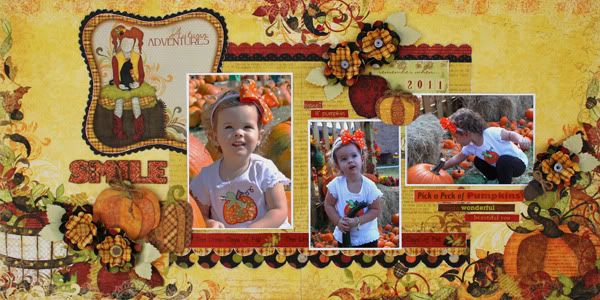
Here is my first go at this.  I have to admit that this one took me a little while to come up with.  The layout is very simple to do, but I wanted to make sure that I had the backsides to work with for extra embellishing, too. 

Smile

This is the brand spankin' new Bo Bunny Apple Cider!  It is so beautiful!  You can do ANY of your Fall photos with it.  So perfect for Halloween, Thanksgiving and outdoor photos.  Check out the sweet little girls with boots in the collection. Love it!

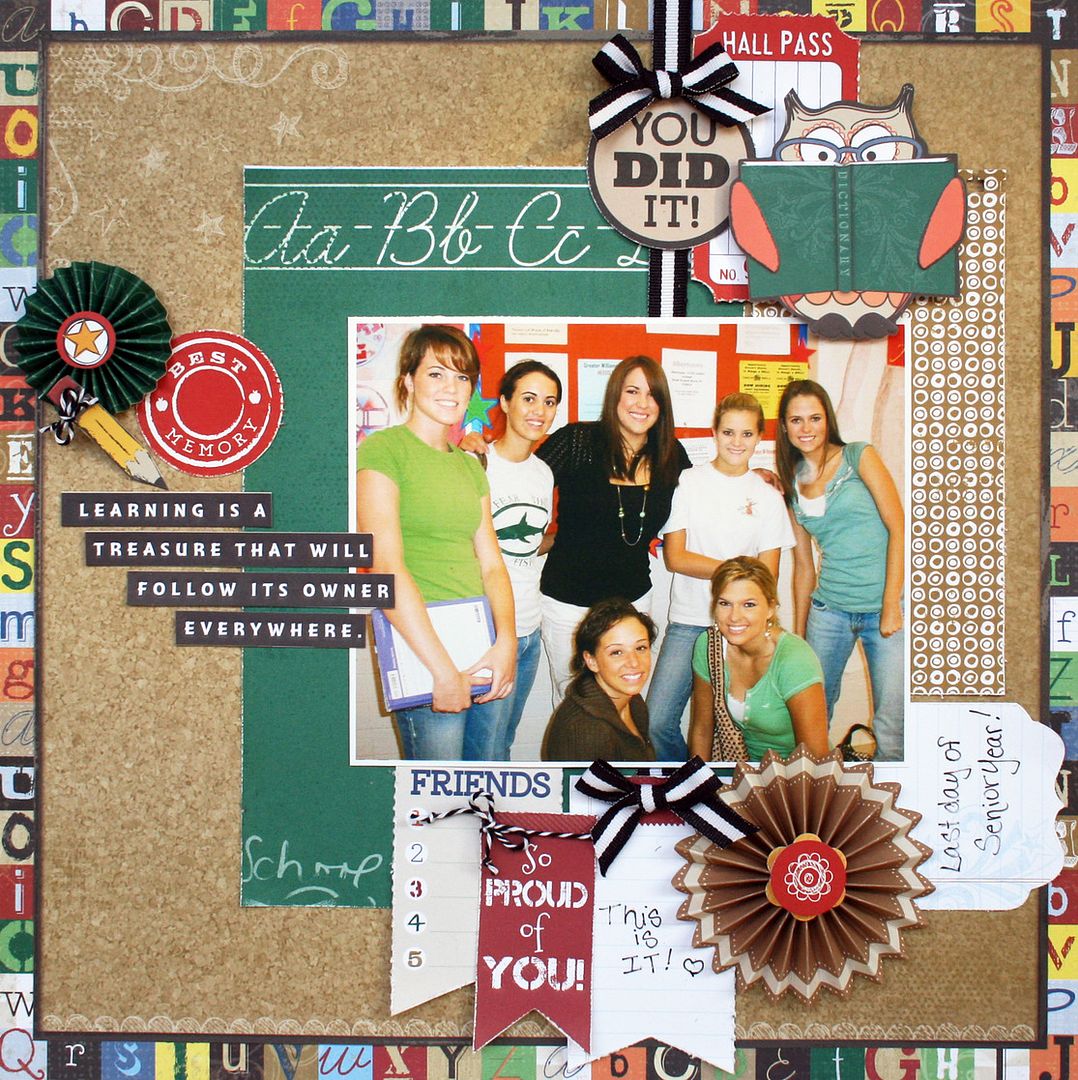
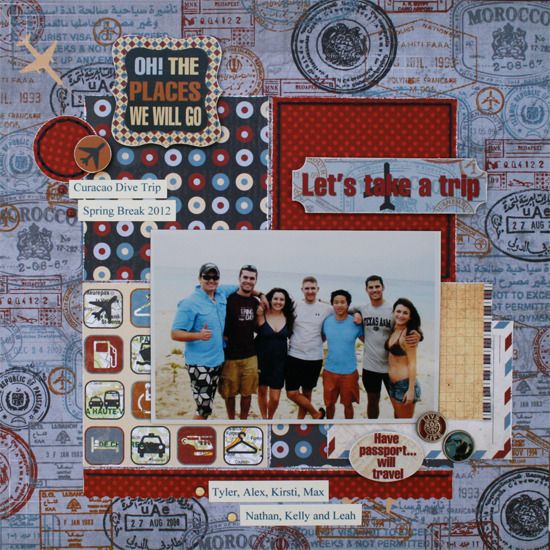
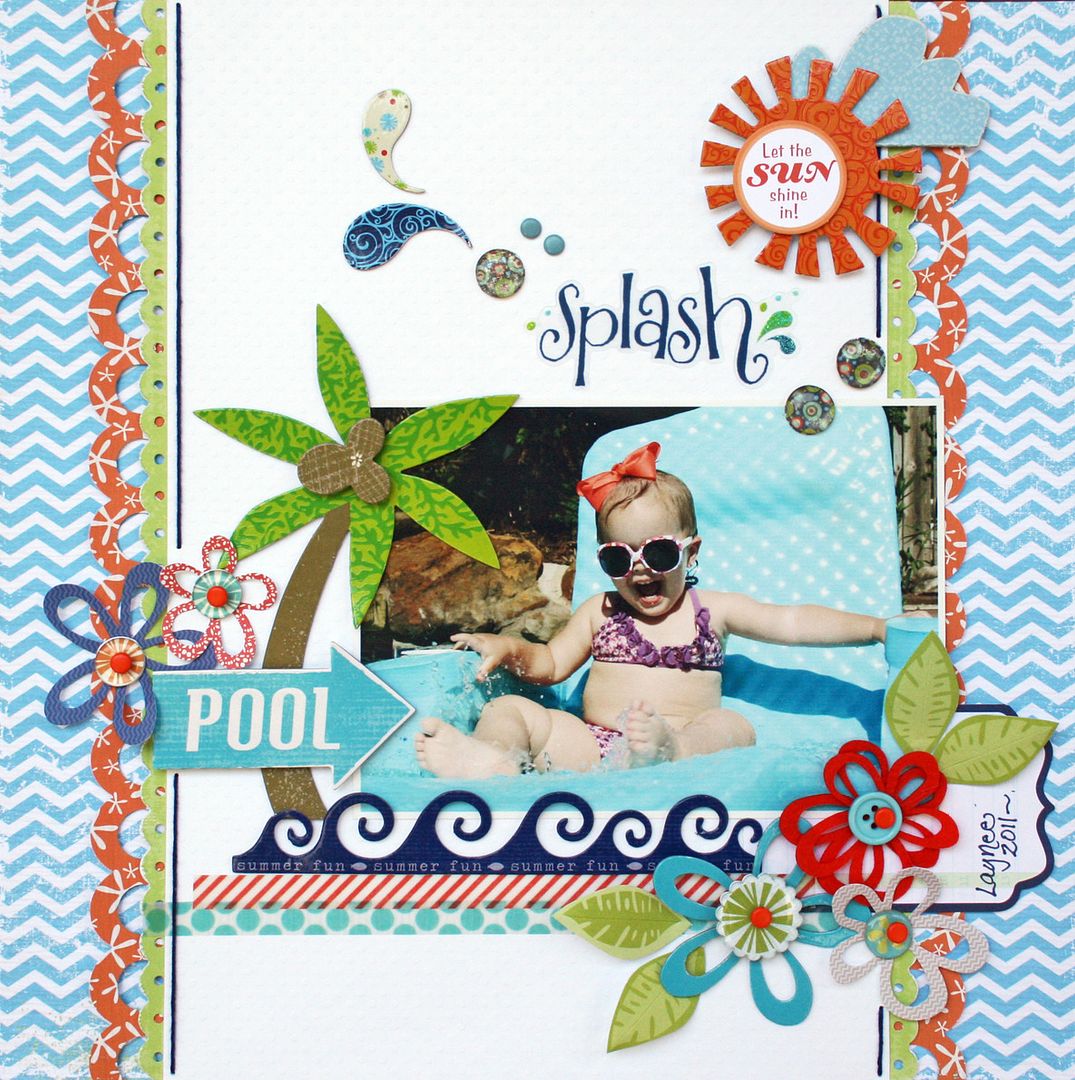
Because I was working with a limited amount of papers (4), I chose papers with beautiful patterns in the corners. I wanted to pull my design into the middle of the page and let the papers do most of the work.


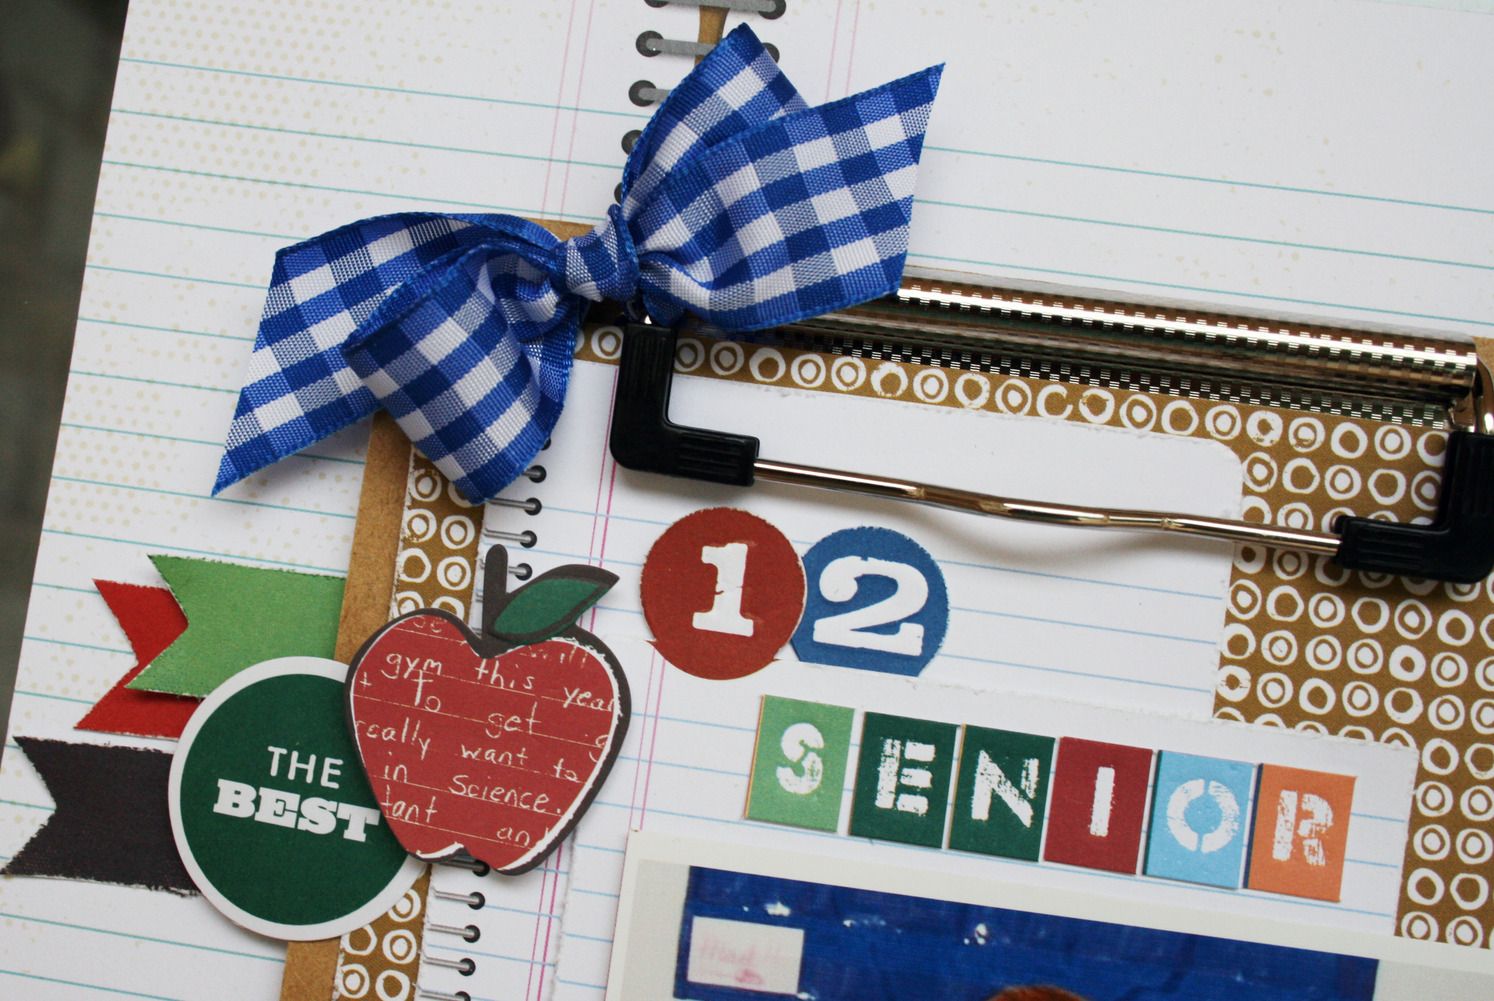
I chose to use the paper with writing on it for the center of my design.  I loved the backside of this paper, too.  It is the brown dotted paper seen along the lower border and the back layers of the punched flowers.

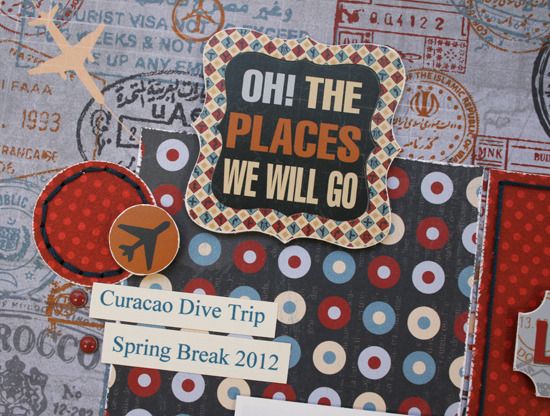
Don't forget all your tools.  I used a few punches and even pulled out my old scalloped scissors on this layout.  I used them to make a little border around the shaped cutout in the upper left corner.


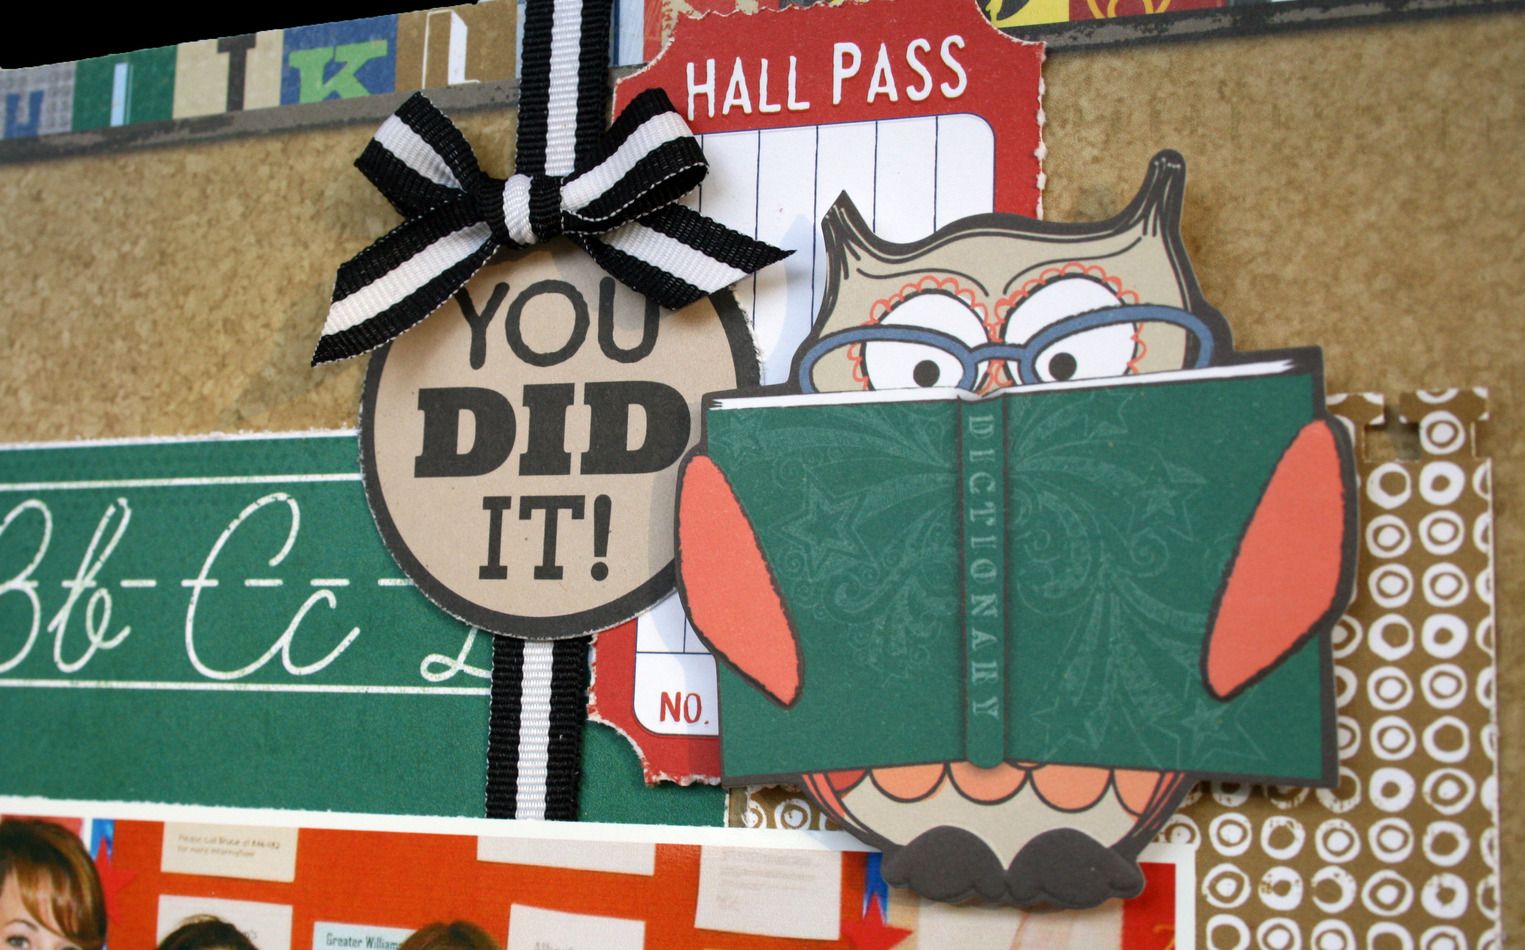
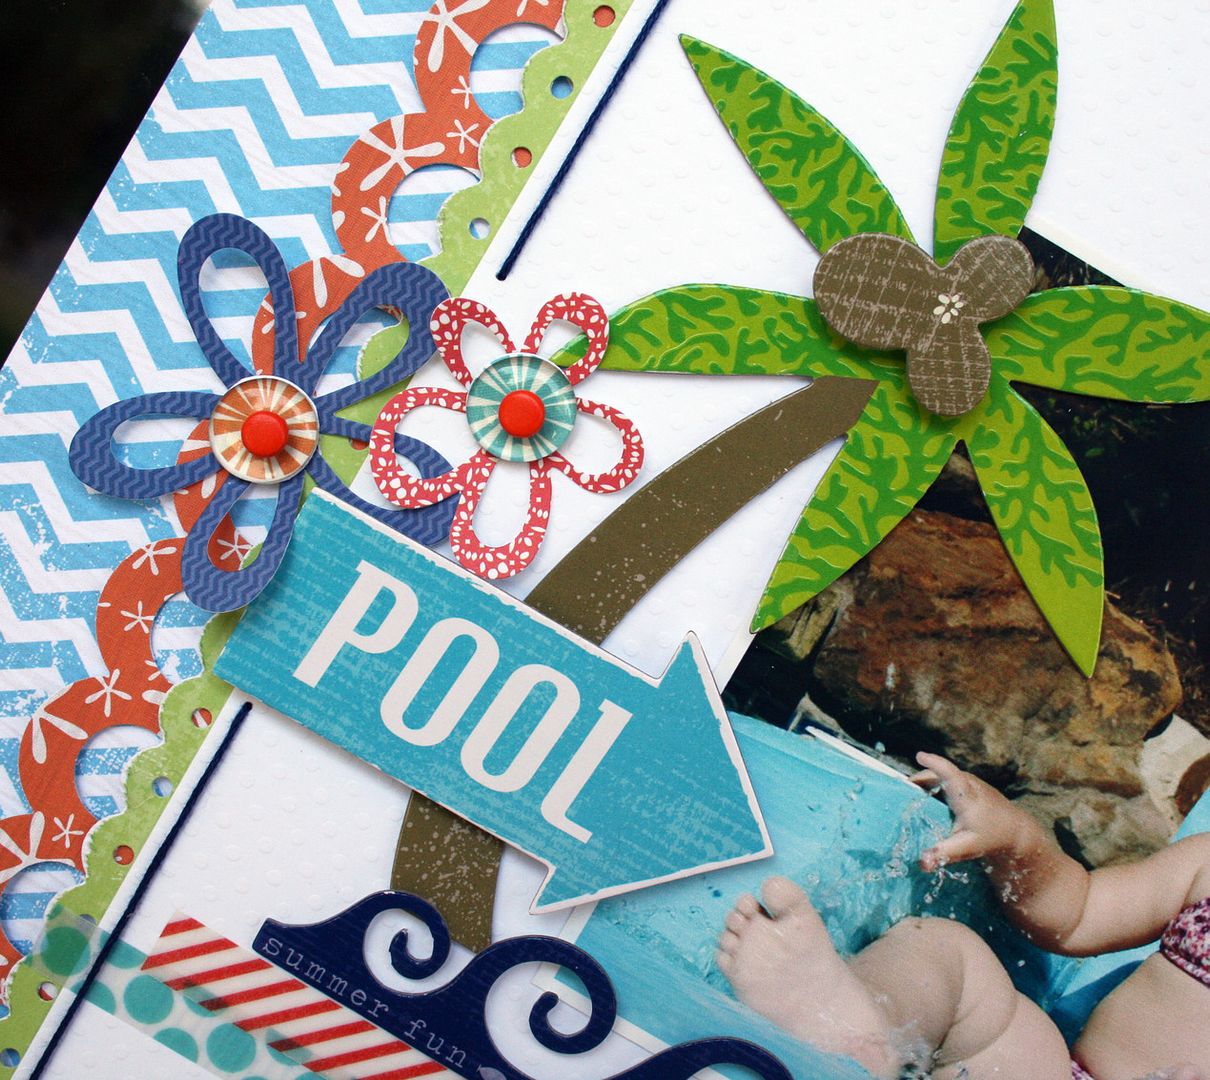
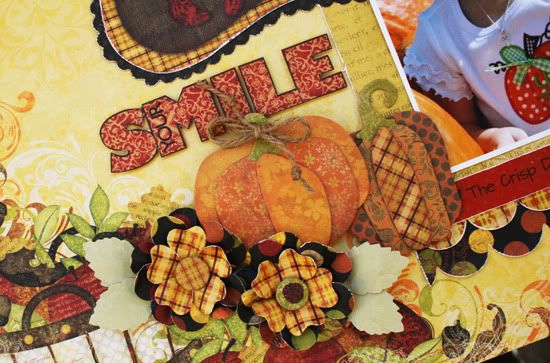
To stretch my supplies, I picked an additional paper that had shapes on one side and a great pattern on the other.  I cut out the shaped piece at the top and the smile word from the front side of the Apple Cider Journey paper, and used the back side to punch plaid flowers.

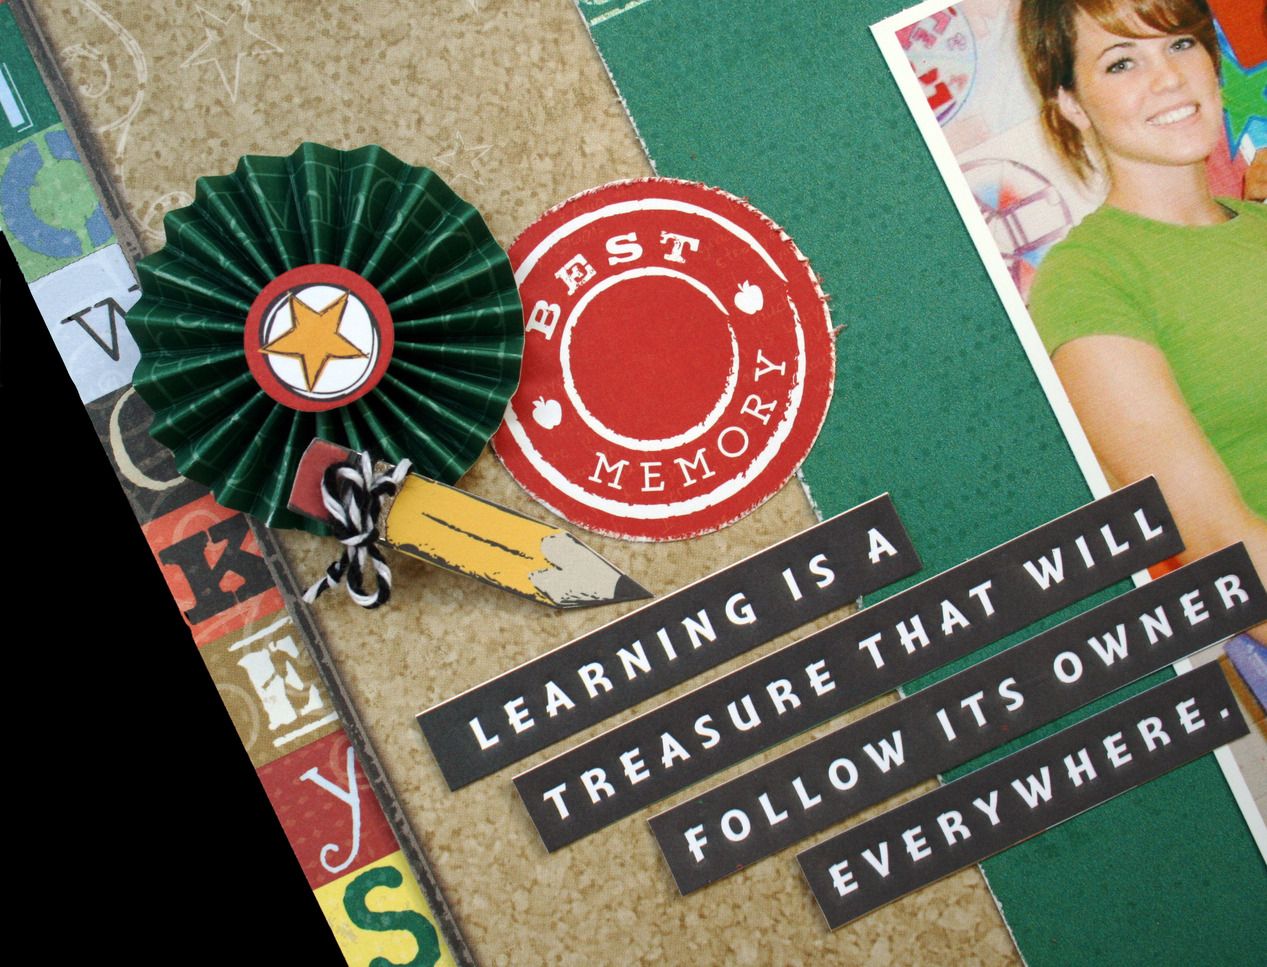
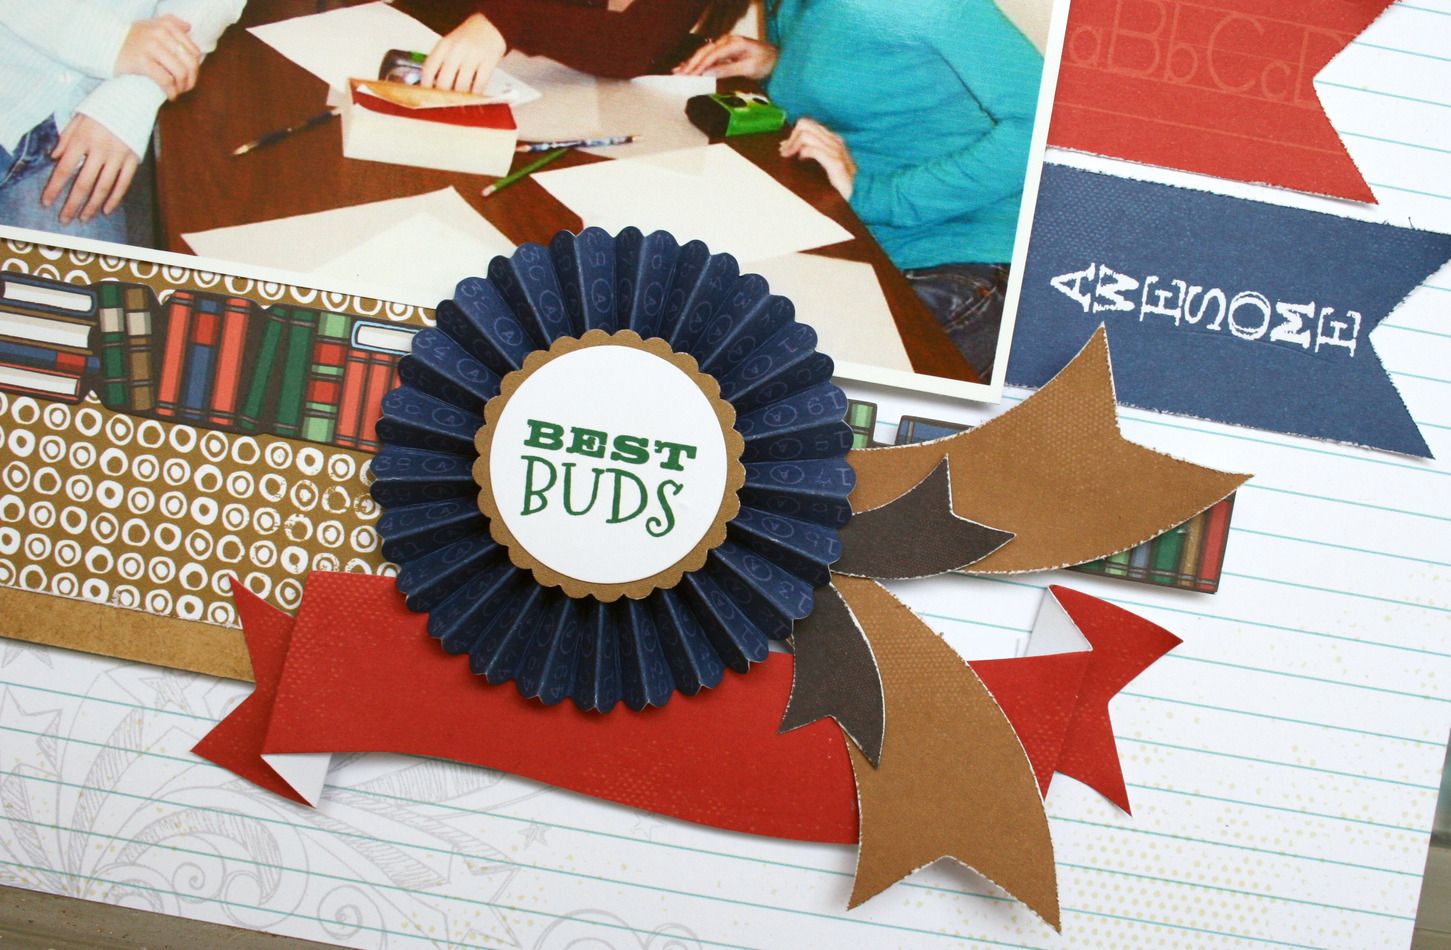
My one package of embellishments was the Layered Chipboard seen here.  The pumpkins and the flower centers are in the package.  I added a bit of twine for some extra detailing.


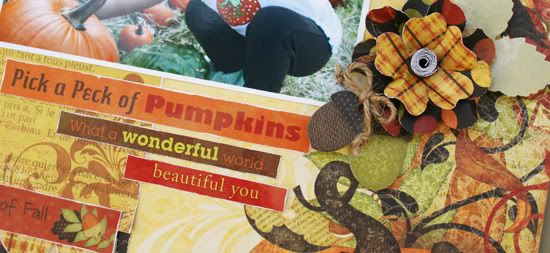
The apple, the journal card and the upper border were also cut from the Journey paper.  To stretch your supplies, be sure to check out all the details befor you start cutting to get the most out of all the fun images and designs. You will still have plenty to work with for punching!

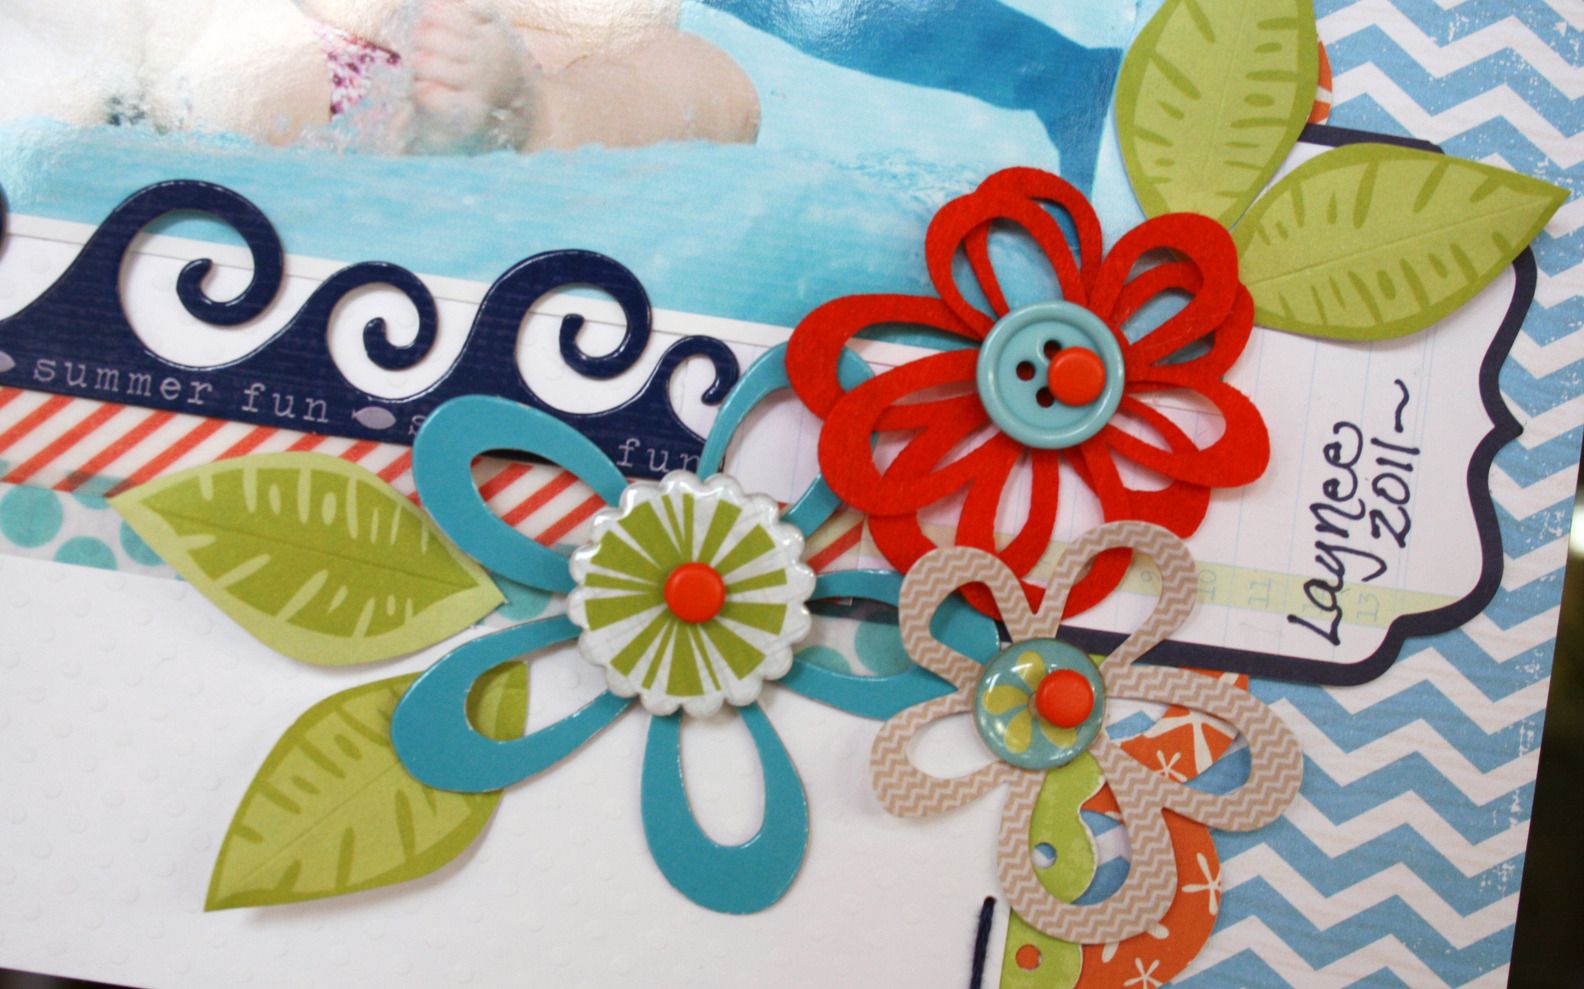
Don't forget the packaging!  The leaves on my page were cut from the packaging of the Layered Chipboard.


If you don't have any centers for your flowers, simply cut a strip of cardstock from your left overs to make them.  Roll them up by hand or with a quilling tool. 

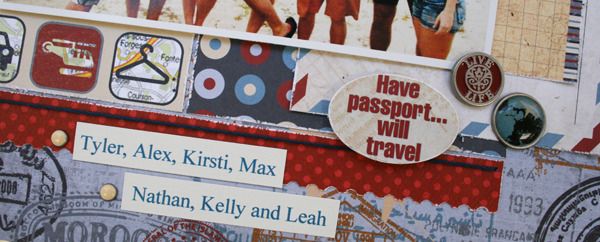
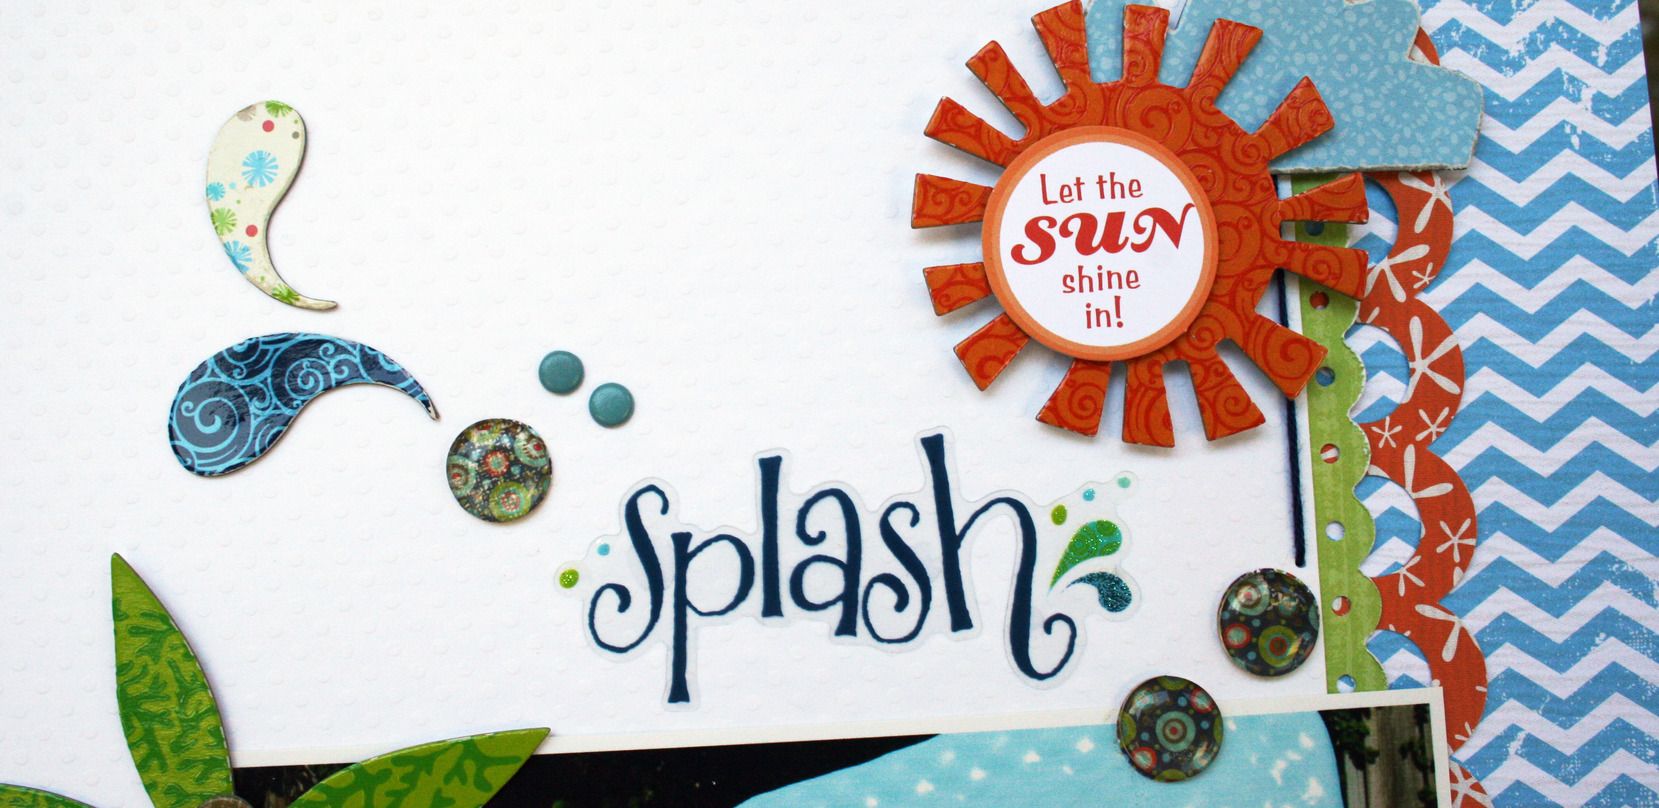
Several stickers finish off this layout.  I think the words stickers are just right to tell the story easily.  I also used a couple of the border stickers to layer with my punched border strip along the bottom.

Limiting your supplies doesn't mean limiting your design!  There are so many ways to add details by simply putting a bit of extra thought into it. 

Be sure to check out the Bo Bunny Blog to see more ideas!
  We are doing this regularly now and there are lots more examples there with 2 page layouts and 1 page layouts!


Photobucket