
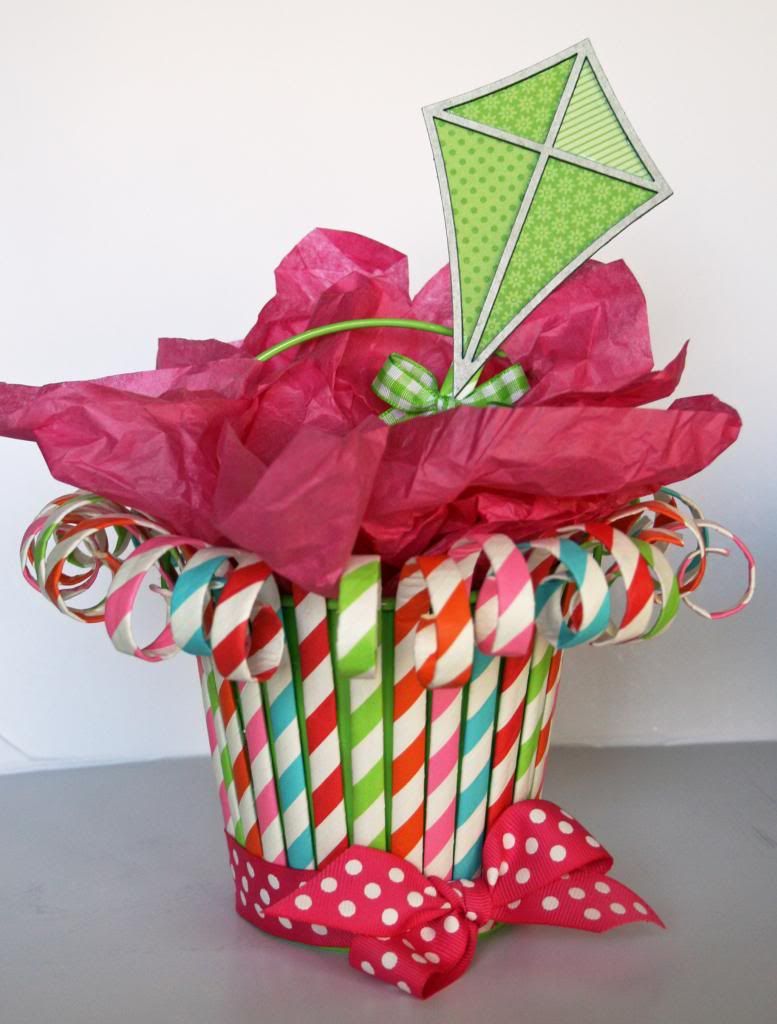
Hi y'all! I'm up today on the Leaky Shed Studio Blog! I used some adorable kites that they make for my project today. Be sure to take a look at the Leaky Shed Blog to see the matching card that goes with this little bucket. Here, I wanted to share a quick step by step to share with you how I made this.
I'm sure you already know that I seem to use little buckets often! They are so inexpensive and perfect for gifty items. Now, I can't seem to resist picking up all the cute paper straws that are popping up everywhere! I kept thinking that they would be so cute for crafting, but hadn't come up with an idea yet. Luckily, when I had this brainstorm, my little shopping sprees paid off and I had everything I needed!
Here is all you will need to put this together:
Bucket
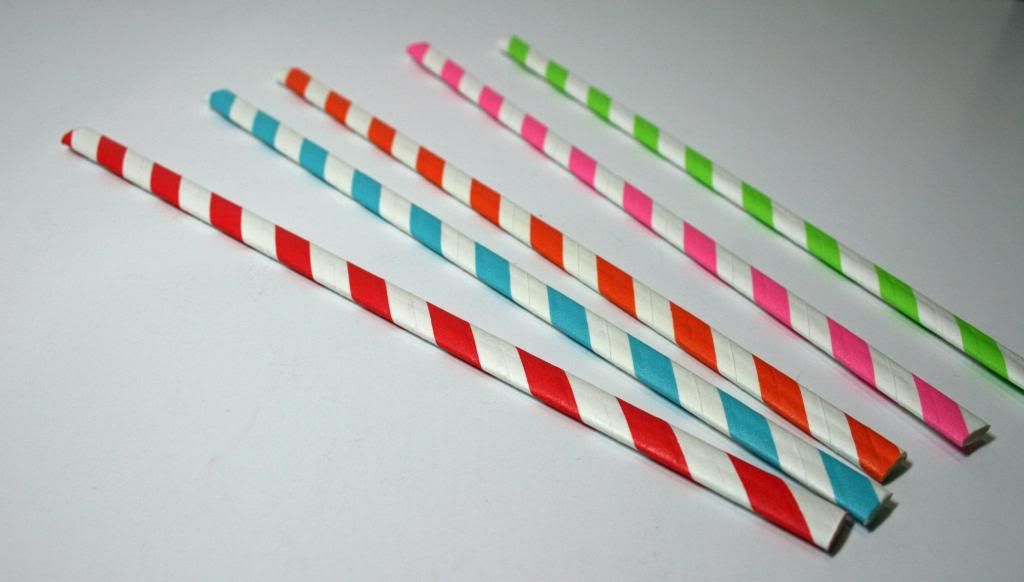
Straws
Fabri-tac
Ribbon
Quilling tool or something round
Rubber bands

First step is to flatten out the straws. It's really easy if you just lay it flat on the table and run your finger down it.
Next, you need to curl it. I used a quilling tool but a pen or pencil would work just as well. Be sure to roll them pretty tightly so that they will have a nice curve.

They will look something like this. Don't worry about if they are all exactly the same, at the end of putting together the bucket, you will be able to manipulate them to look the way your prefer.

Now, you are going to glue them to the bucket. If you don't have Fabri-tac, be sure to use a strong adhesive that dries quickly. Use rubber bands to hold them in place while the glue fully sets.
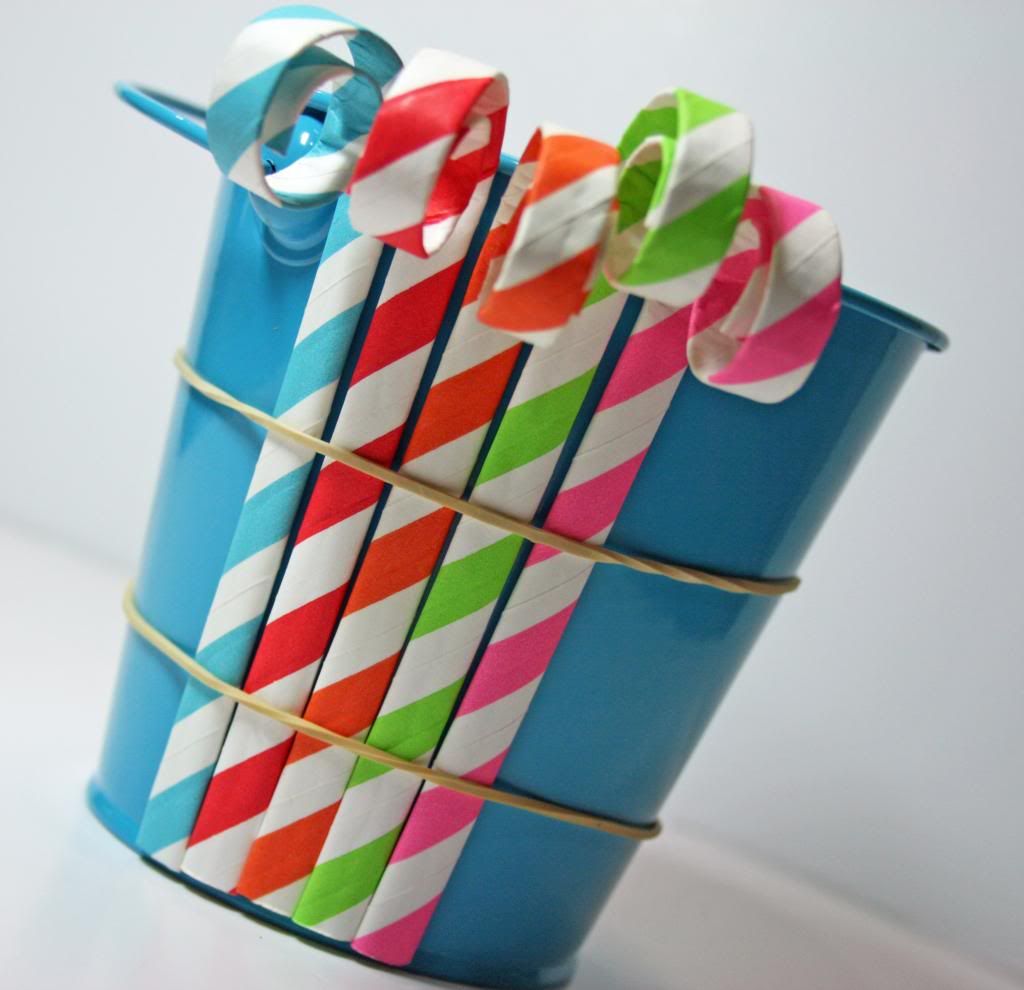
Work your way around the whole bucket, including over the bracket. Be sure not to glue below the handle itself, so your handle will still move.
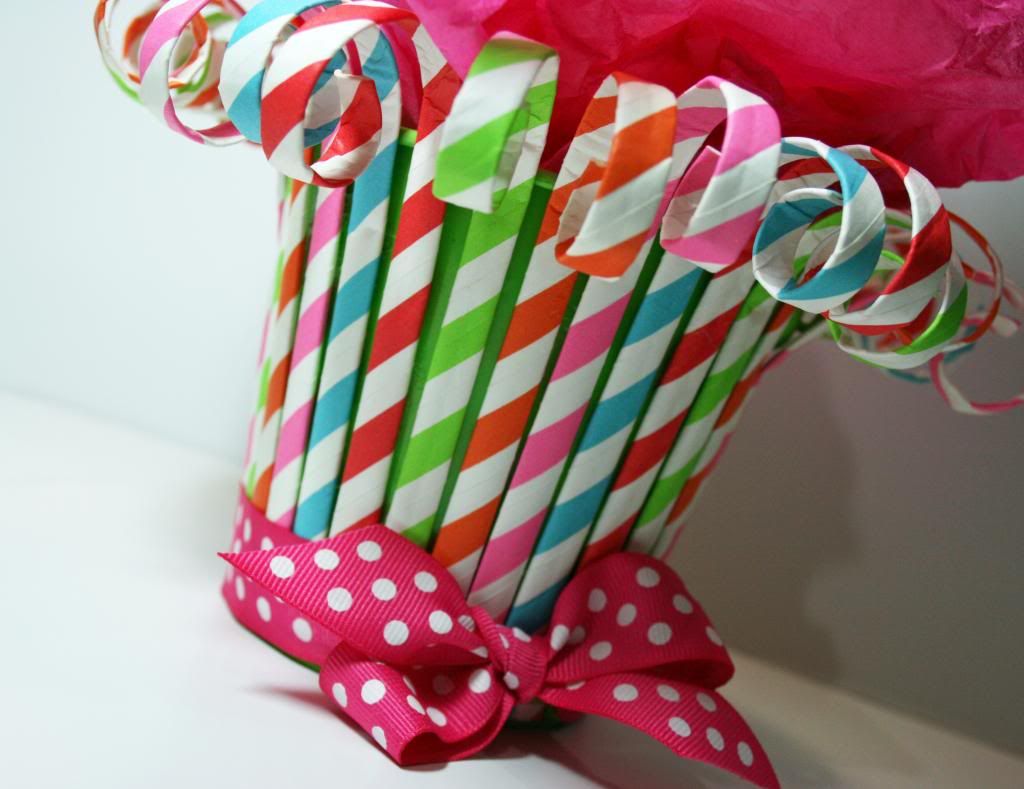
Finish with a bow, of course!
One last tip: Leave a rubberband around the bottom of the bucket and place your ribbon right over the top. It won't show and it will keep your ribbon in place.
Don't forget to take a peek at the coordinating card at the Leaky Shed Blog!


