Hi everyone! I'm sharing the project and the video of the class that I did today on Live with Prima! This is a fun and easy project that you can make with Prima products! In the class below, I included all the steps to create this project. I'm also including the template that I used to create the pumpkin.
Here is the video class. You can watch it right here!
I've included a side view close-up that lets you see the dimension and extra details for reference!
This is the pumpkin template that I used. Click this link to download and print the template: TEMPLATE LINK
Don't forget to follow Prima on Youtube! Look for Prima Marketing Inc. or just follow this link:
I had so much fun creating this whimsical centerpiece for Easter. This is a super fun and easy thing to make. I'm looking forward to using it on my Easter table.
Tonight on Live with Prima, I did a full class that you can watch right here on my blog! I've also included a template of the pattern that I used for the ears and nose.
These sweet little bunnies started out as a 2x4. The class also includes instructions on how to make the ruffled border that surrounds them.
Print the template 8 1/2 x 11.
I hope that you enjoy the class! If you make your very own bunnies, I would love for you to share them with me or to post them to Live with Prima on Facebook.
Although I've shown this project before on my blog, I wanted to share a link to the class on exactly how I made it! This is a fun and easy project that anyone can do and do quickly!
Here is the video.
And here is a close-up of the project so you can see the details.
I'm always so excited to teach on Live with Prima! For my class tonight, I'm going to show you how to make this Frosty Wintery Birdhouse. It is fun to make! I'm also going to show you how I used the brand new CHA release of the Prima IOD Moulds and Paper clay.
You can see this little bird is all snug and warm in his Frosty Home. He even has lighting provided by the terrific and fun to use, Lumies!
Tonight, I did a class on these cards for Live with Prima! It is always so fun to be on Live with Prima whether it's chatting with friends or teaching some of my favorite projects.
I want to give a HUGE shout out to all of you who take time to watch, comment and hang out with me! It means the world to me that you take time out of your day or night to watch!
Creating in
Faith Cards Supply List:
Creating in
Faith Cling Stamps Phrases 980702
A4
Watercolor Paper Pad 980269
Watercolor
Pencils The Basics 576714
Nikko-Michio
Flowers 582067
Rodanthe
Eplanade 577759
Butterfly
SIIC 579388
Wire Thread
Stark White 572068
Other:Watermark Ink Pad, White Embossing Powder
If you missed the class, no worries! You can see it here...
As promised, I want to share the tips and color combinations I used to convert these bright cards into Christmas cards. For these, instead of watercolor pencils, I used Prima Color Bloom Sprays. All the colors used are Prima Color Bloom.
Supply List:
Watercolor
Paper Pad 8.5x11 847746
Creating in
Faith Cling Stamps 980702
A Victorian
Christmas-Christmas Eve 583439
A Victorian
Christmas-Rudolph's Nose 583446
A Victorian
Christmas-Holiday Lights 583415
Memory
Hardware Pearls 990398
Color Bloom
Carmine 582579
Color Bloom
Frost 582890
Color Bloom
Lime Wedge 573850
Color Bloom
Mustard Yellow 580261
Color Bloom
Worn Leather 573829
Color Bloom
Empress Gold 580315
For this card, to get the top strip of color, I used Yellow Mustard with a touch of Frost. The middle vibrant red color is Carmine Red. The lowest strip is Carmine Red with a touch of Worn Leather.
For the following Card, the top strip of color is the same. It's a mix of Yellow Mustard with a touch of Frost. The center strip is, again, Carmine Red with a touch of Worn Leather. The lower strip is Lime Wedge with a touch of Frost.
Tip: The Frost (White) goes a long way. Start with your primary color and then add just a little Frost. With the Carmine Red, again start with the primary color (Carmine Red) and add just a little bit of the Worn Leather. You can always add more, if needed.
Tip: Color your white wire with any Bloom Sprays to match. I used Empress Gold to color this wire.
Hi everyone! I'm sharing my class video from Flying Unicorn!
While scrolling through the Flying Unicorn Store, I noticed the Lindy's Stamp Gang Magicals. I hadn't played with them yet, so I had to give them a try! The background was made with them and I have to say that I am going to have to order more!
If you missed it, here is the video of the class!
I also used lots of masking and other mixed media products, included my favorite Faber Castell Markers.
Plus, beautiful Prima flowers, embellishments and die-cuts!
Don't forget to tune in on Wednesday's at 8pm central time on Flying Unicorn's Ustream Channel to see what the team is teaching!
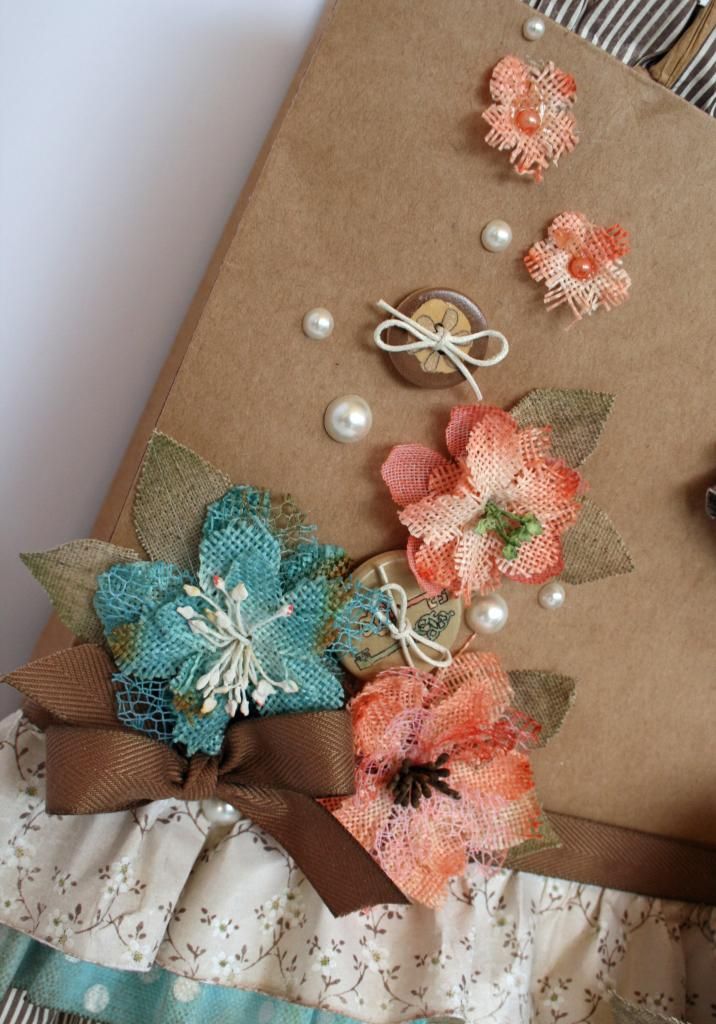
Hi y'all! This is the project that I did for Flying Unicorn University on Ustream!
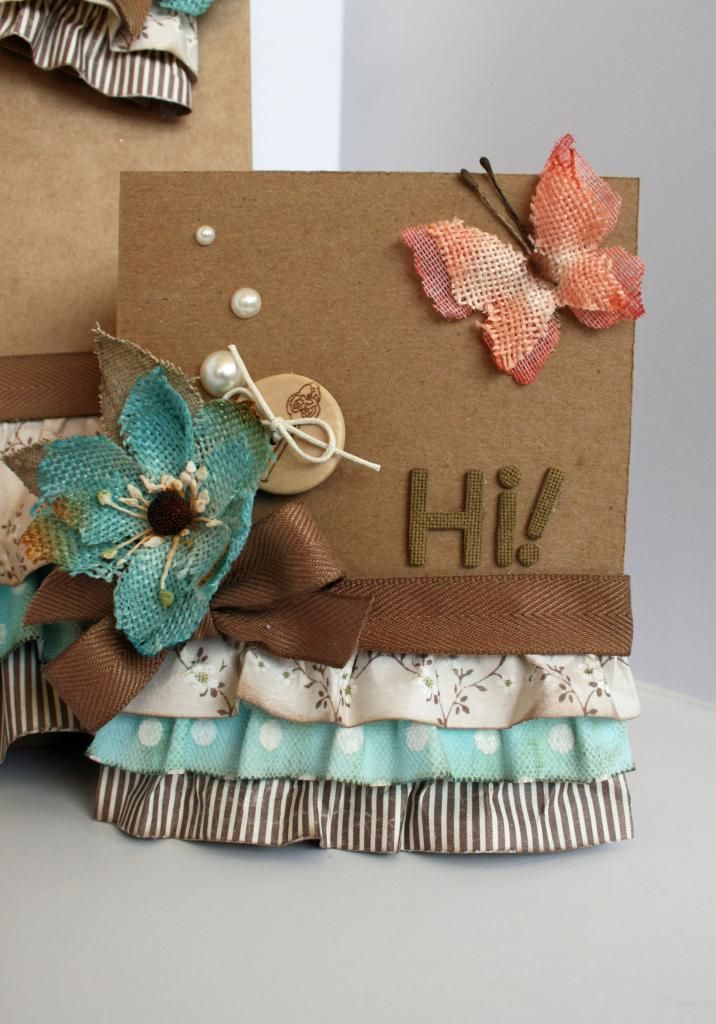
If you want to know how to make paper ruffles for your projects, this is the place to go!
If you have already watched, you know that we ran short on time, so I promised to share the card dimensions here on my blog. Well, I thought I did, but it didn't post! So, a bit late... scroll down to the bottom to see all the details!
If you missed the class, you can watch it right here!
A close up to show off the beautiful Petaloo Flowers!
And a close up of the tag!
Alright, here is a close up of the card.
The finished card is 4 1/4 by 5 1/2".
Each of the ruffles are 1 inch wide. I made them using the flat method shown in the class because the card is a bit longer than the tag and they lay nicer and straighter using that method. The strips behind the ruffles are still 1/2 wide.
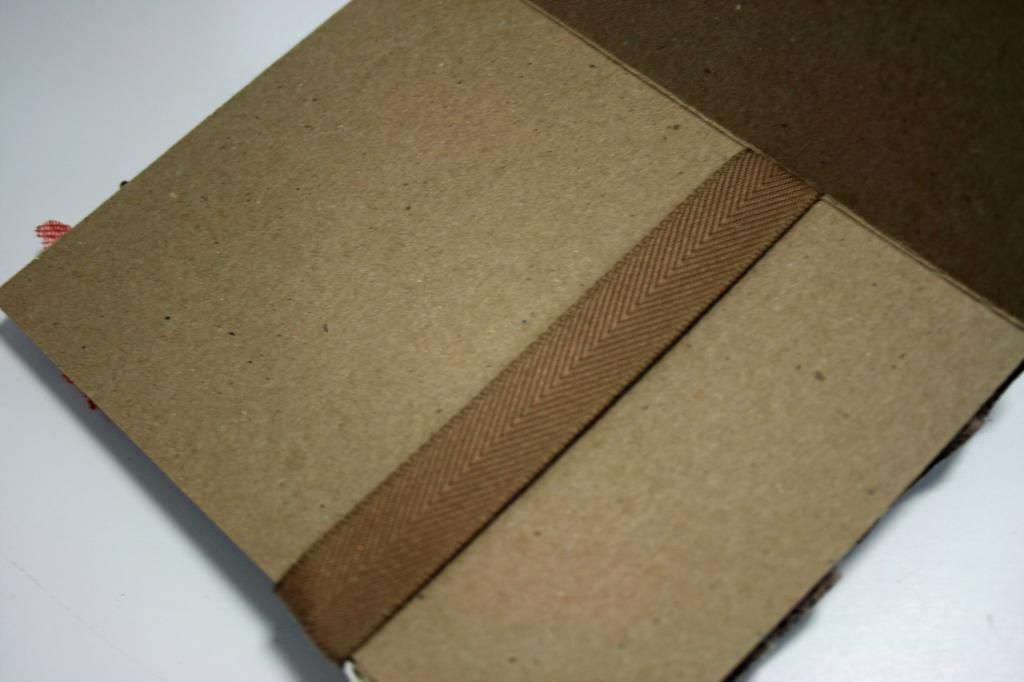
To keep the inside neat when attaching your bow, just simply cut a little slit along the fold to thread your ribbon through. Tie your bow and your ready to attach your embellishments and add a sentiment!
Thanks so much to everyone that watched!! I hope the rest of you will drop by to see me and the other designers on Wednesday Nights at 8 Central!