Hi y'all! At
3 Birds Design Studio, it's Pinterest Week! We are all doing projects that were inspired by things that we found on Pinterest. Be sure to take a peek at the
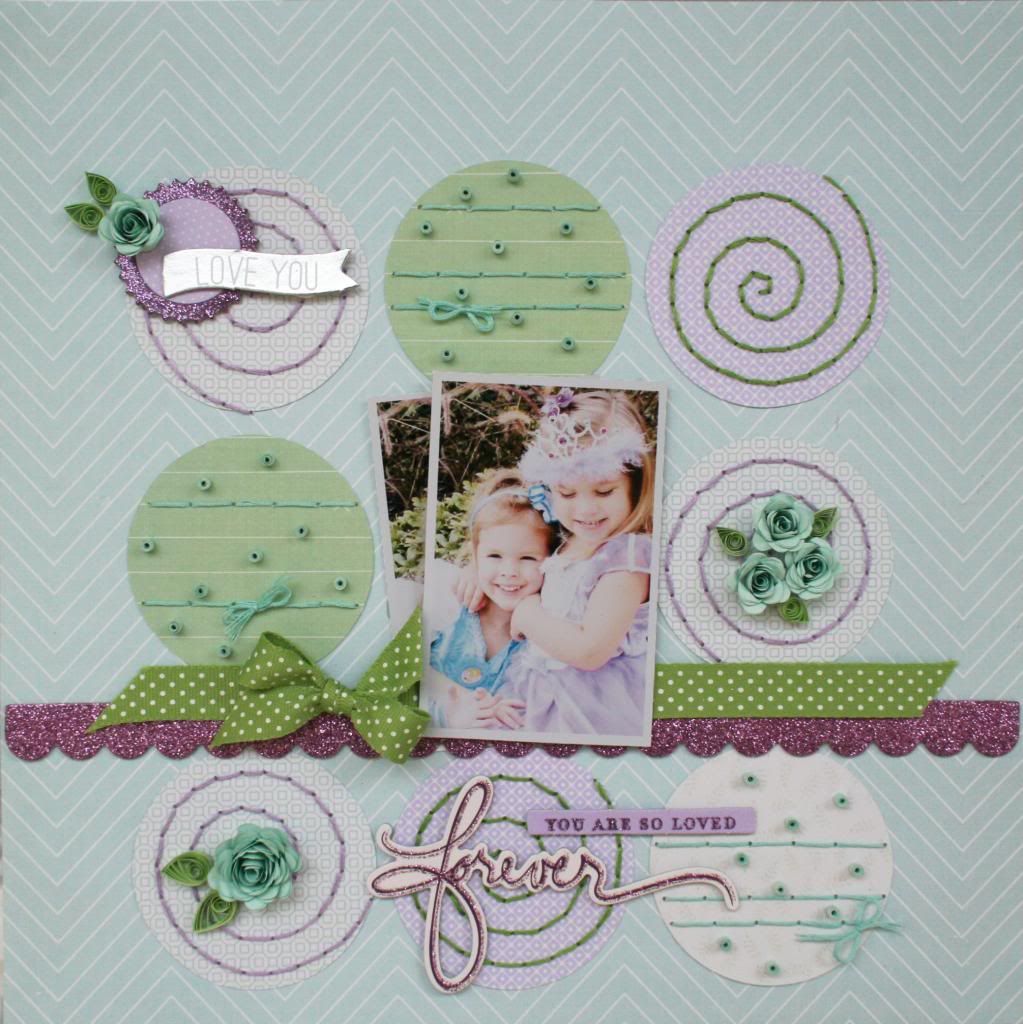
3 Birds Blog when you are finished here to take a look at my layout that was inspired by this same photo.
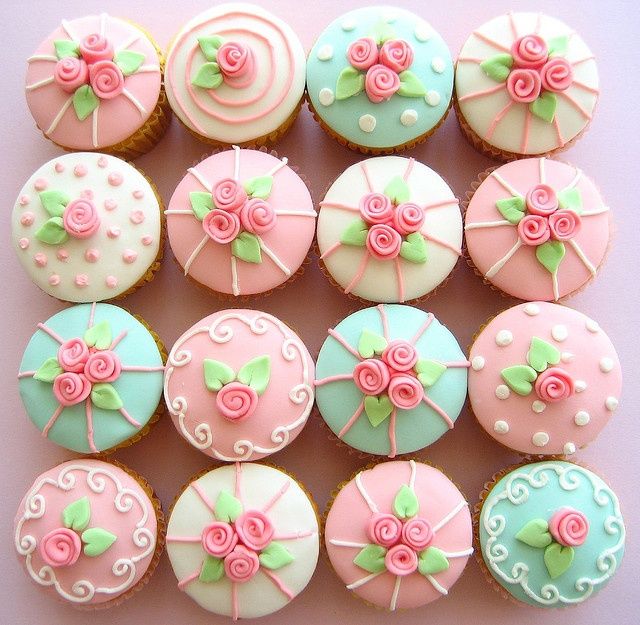
Here is the image that I chose to use to inspire me.
Cupcakes are so popular right now and they are not the cupcake that we all grew up eating. They are simply beautiful these days!
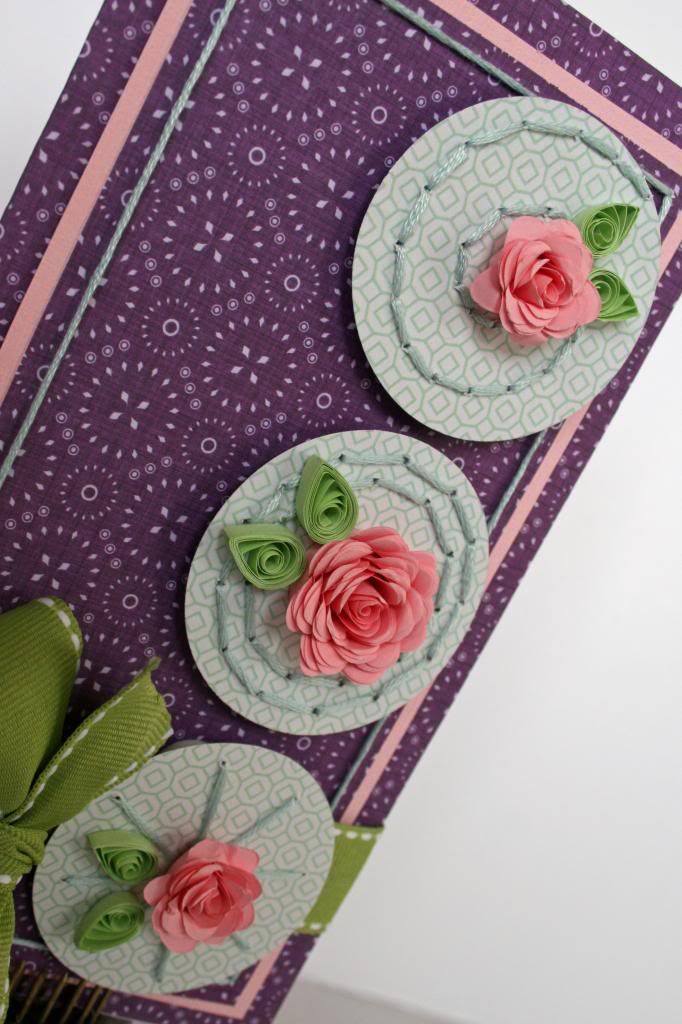
I mimicked the top of the cupcakes, but in shape with using circles and by using stitching in place of the icing.
Here is the card that I made.
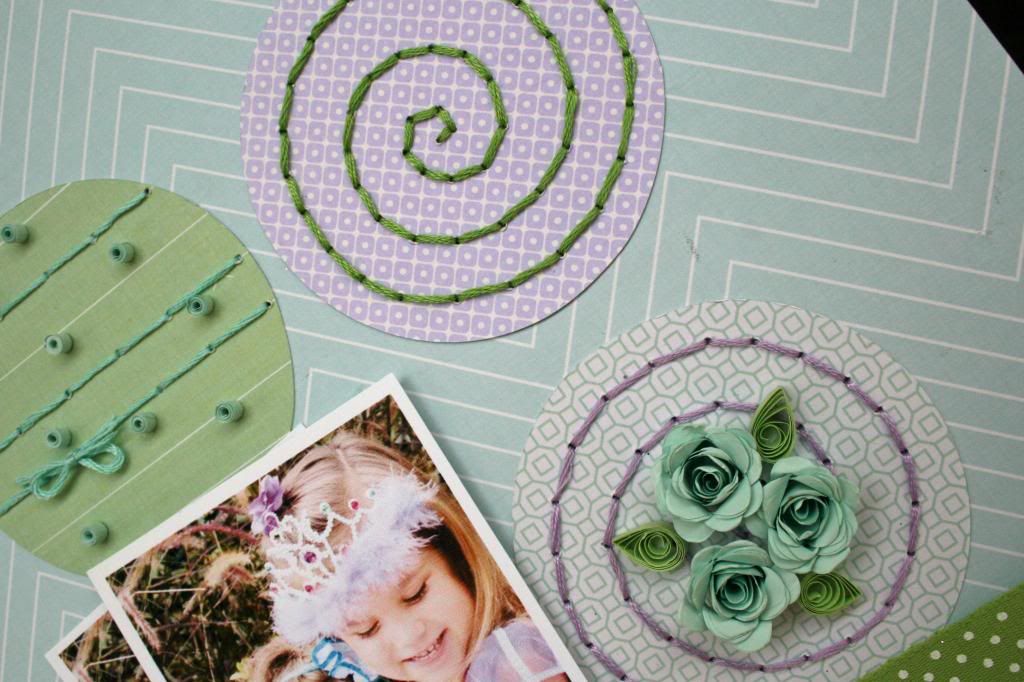
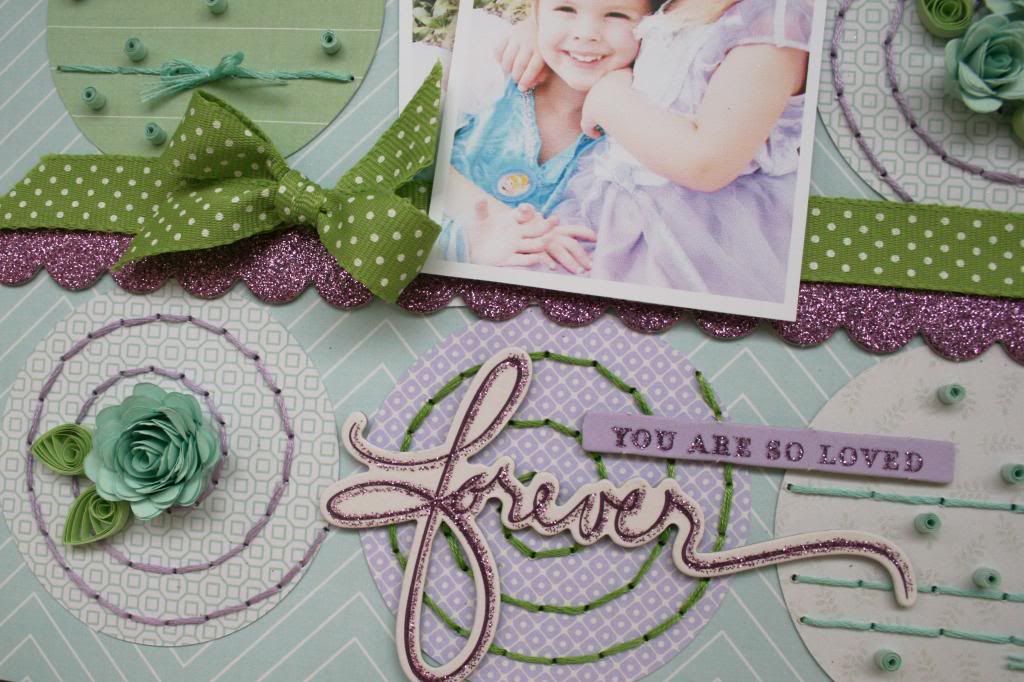
You can see that I added dimension by using foam under the circles after I finished stitching. Of course the roses and leaves were made using the 3 Birds Quilled Card Kit.
I wanted to share some tips today that I used to place the stitching on the circles.
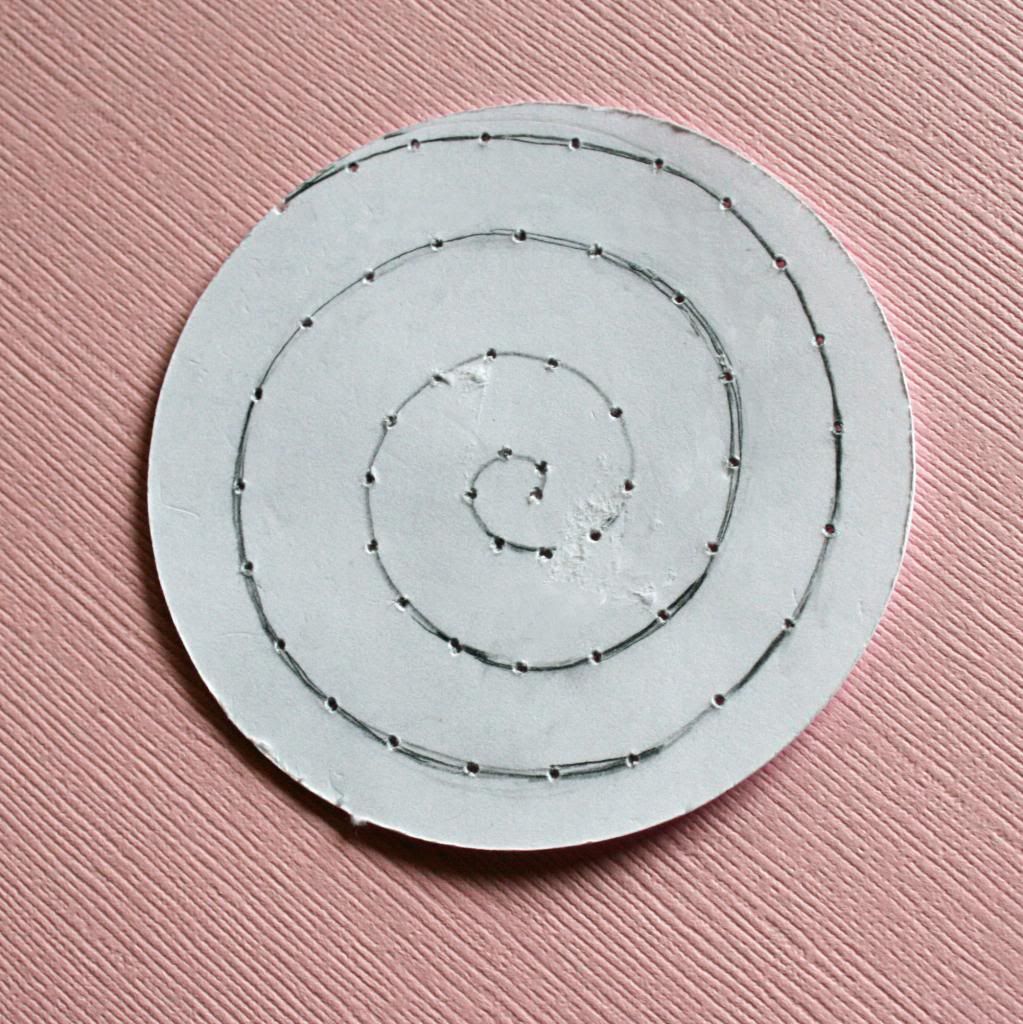
For the top circle, I simply cut a circle from white cardstock that is the same size as the circle in patterned paper. Draw you design on the paper and pre-punch the holes for your stitches. This is a simple tip, but it makes things like swirls a breeze because it's as simple as erasing, if you don't like your design. All that's left is to place it on top of your patterned circle and punch the holes through both layers.
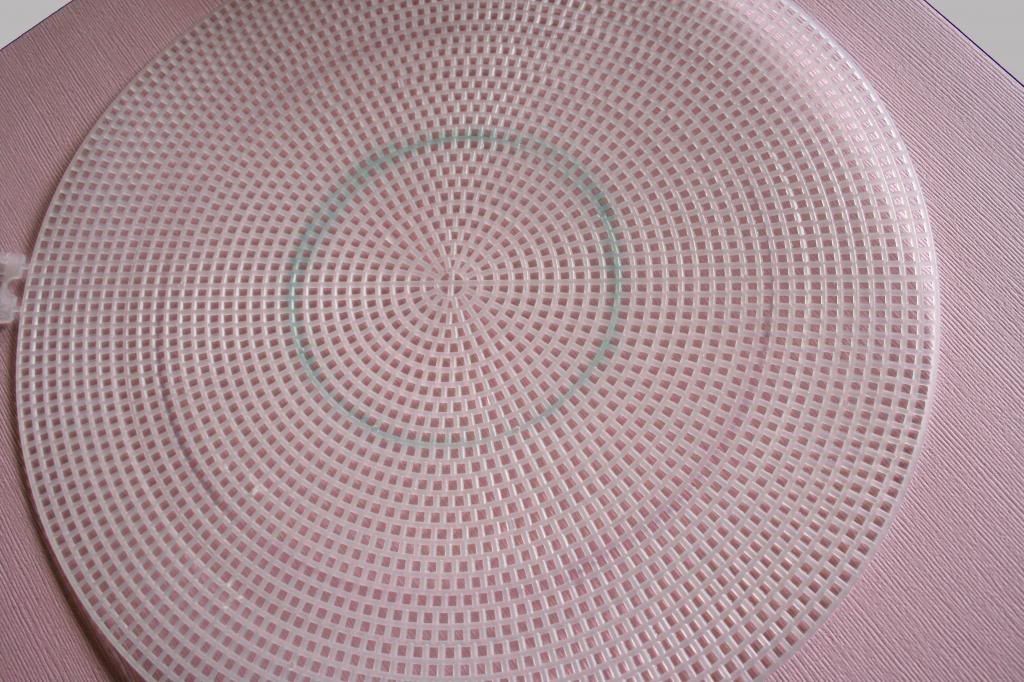
For the next circle on the card I wanted a couple of simple circles. I'm not really great at the eyeball thing for circles, so here is my solution. I picked up a plastic canvas at Hobby Lobby and I use it to make my circles. So easy! All you have to do is punch through the holes to your desired stitch length along the circle. (I used a marker to show you what I mean.) Unless you want tiny stitches, be sure to skip a few holes as you go.
Finally, for the last circle, since I wanted the design to be uniform, I just used another cardstock circle an folded it, as shown, to make my pattern. This would probably be easier to do with printer paper for a larger circle with more lines, but cardstock was perfect for one this size.
Hope that you got some ideas today that might make stitching a bit easier! If you have some more, please let me know! I'm always looking for ideas to simplify the process!