Thursday, October 30, 2014

November Release at Flying Unicorn

Oh Wow!  The kits this month were over the top beautiful!!  I had so much fun with them!  
 
Here is a page that I made of my daughter.  
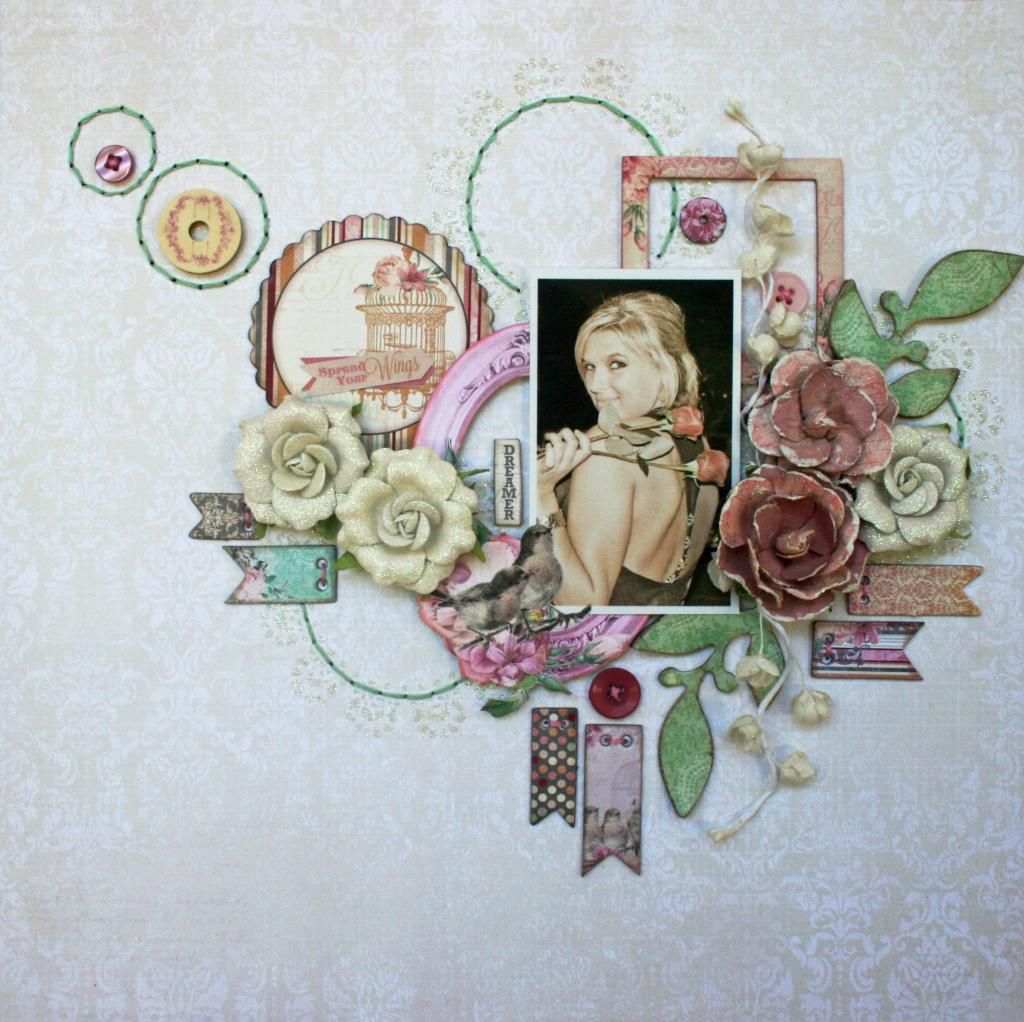

With the photo of her holding roses, it seemed a natural fit that I would use some of the gorgeous roses that were included in the kit!
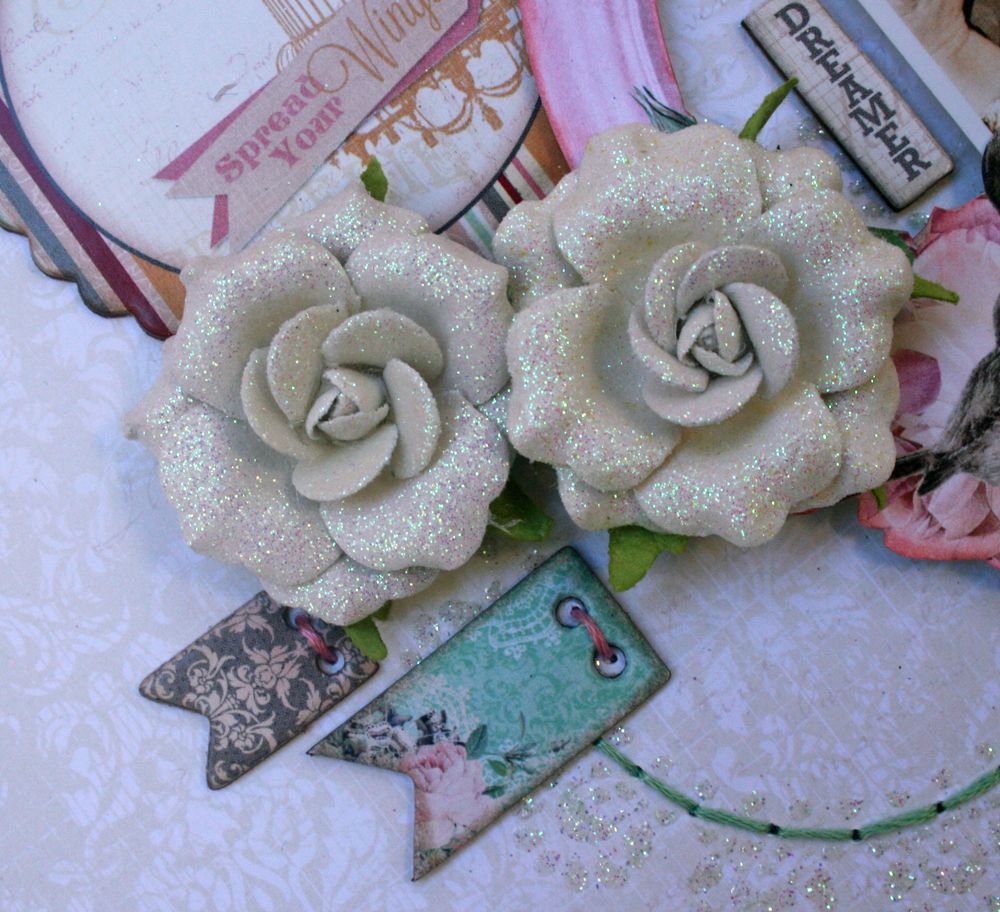
 
I also did a bit of fussy cutting and layered it with the photo and the chipboard.
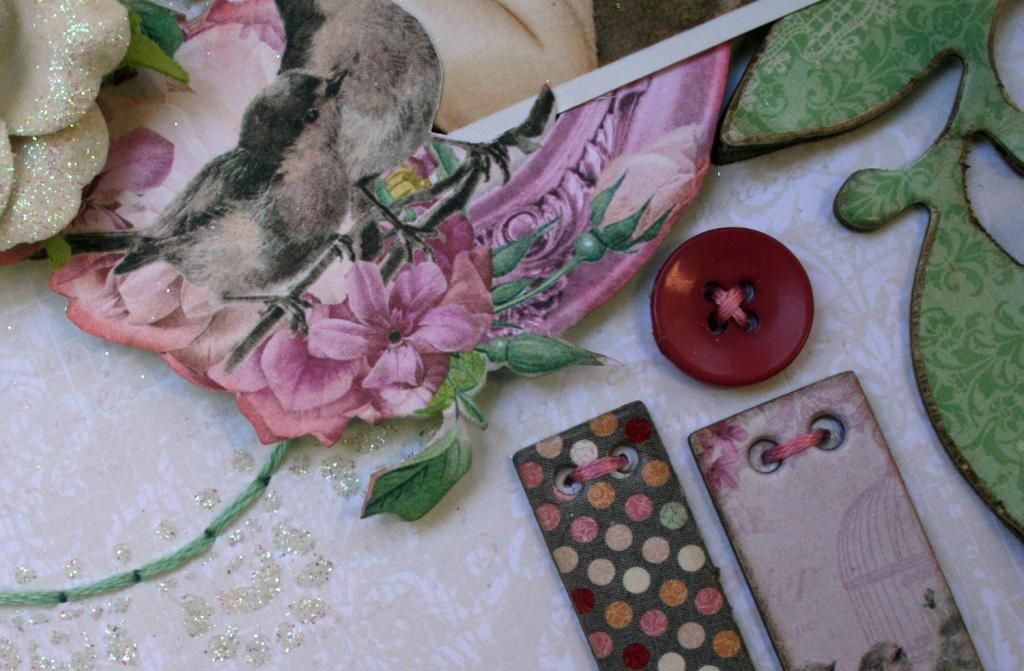


The stencils from Bo Bunny were really fun to work with, too.  They are sticky which makes your pastes, etc. perfect!
I used some glitter to add to my masked areas and even added some stitching to them.


Now for the kits...
Always HURRY to Flying Unicorn to get the kits!
This is just one of the kits available!  There are 4 every month, so you are sure to find the perfect fit for your style!

http://www.flyingunicornstore.com/category_s/1422.htm


It's here ..Our November Kit of the Month ! Jam Packed with yummy goodies our kit will let you explore your passion and create those perfect memories. So without further adieu Flying Unicorn proudly presents Your Passion, Your Art - November 2014 Kit of the Month

Photobucket

Monday, October 20, 2014

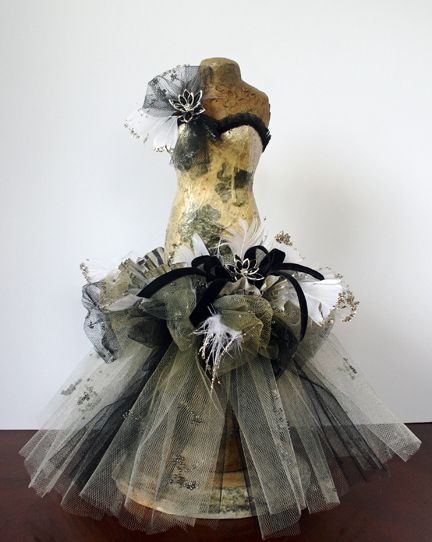
Dress Form Class with Flying Unicorn

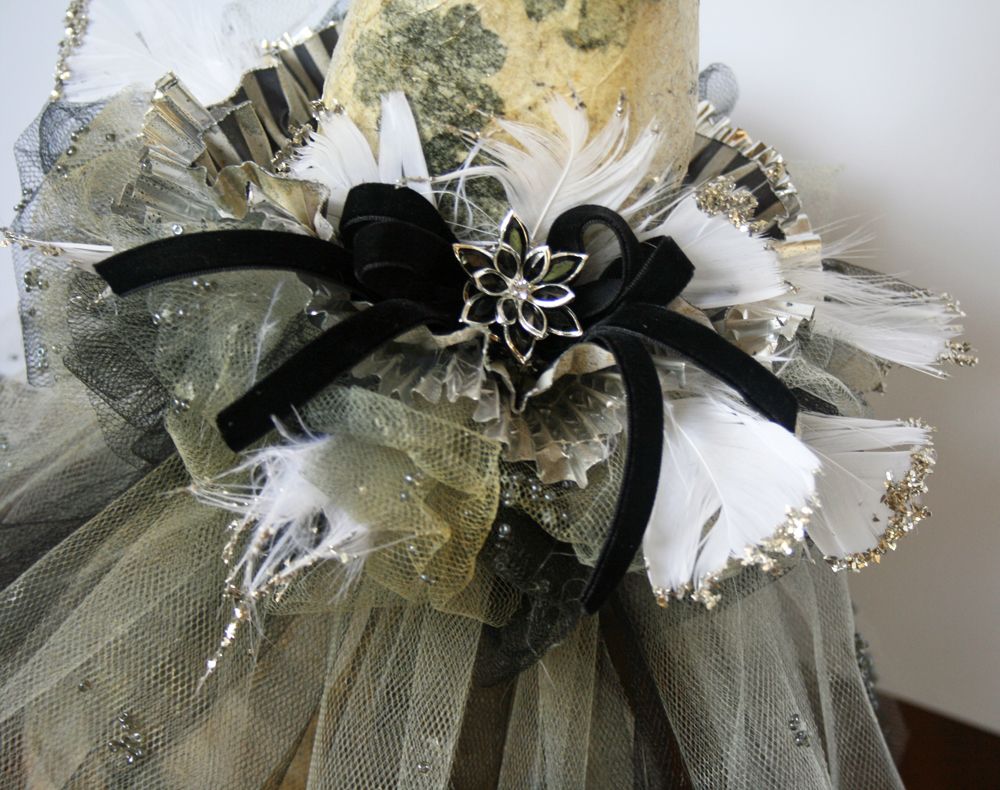
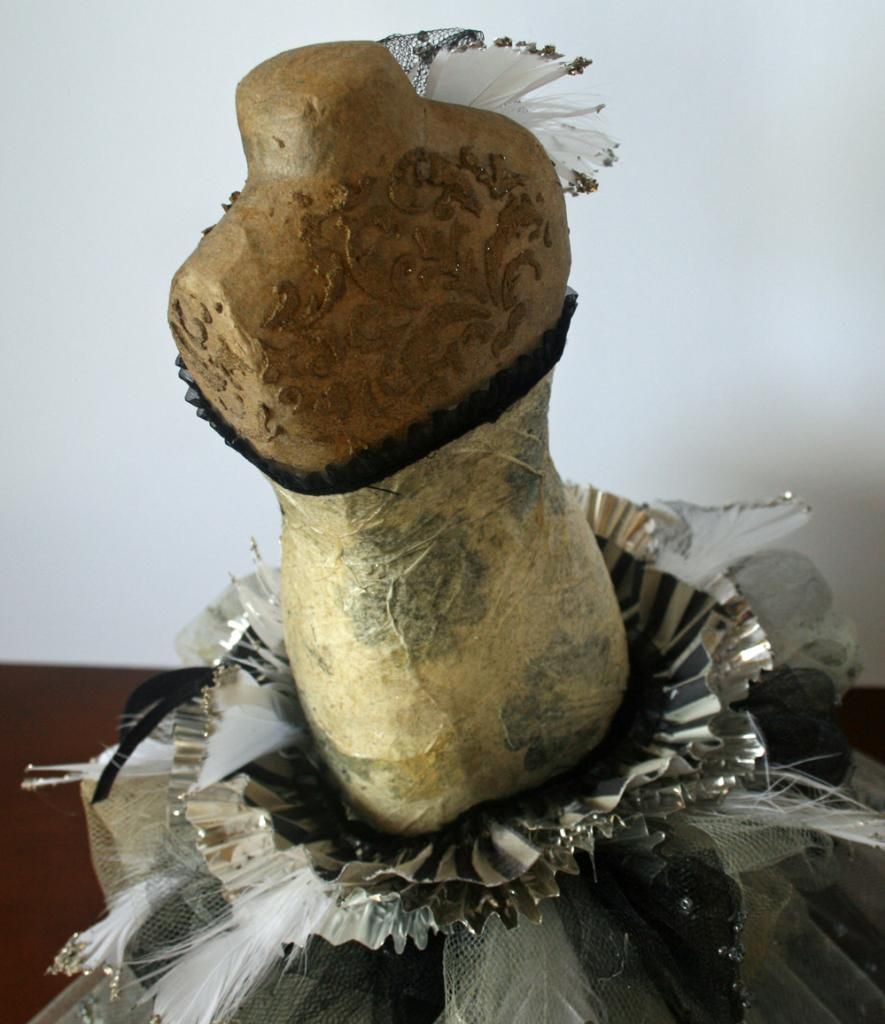
Hi y'all!  As promised, here are some close-ups of my class project.  I'm a little late posting them, so I would like to apologize to anyone who has been waiting!  We've been so crazy busy and had to go out of town.  But... here they are!  :)

If you didn't get a chance to see the show live, here it is!  I would love to hear what you think and to see anything you create based on my classes!


Here is the full length photo of the dress form.


This is the top of the form.  I shared every step in the class, so you can see all the techniques there.


The top of the skirt.  


Finally, this is the back of the dress form. 


A huge thank you to everyone who has been tuning in!  I truly appreciate it!!  

I'll be teaching live again on December 10!  Hope you will join me!

Photobucket

Monday, October 13, 2014

Flying Unicorn More from October

Another layout that I created using the Flying Unicorn Kits.  I really like the way this photo of my daughter sat on this dressed paper.


I added some masking to the back ground and used Viva Special Effect Paste along with the stencil that was included in the kit. 


To keep it from looking too distressed and to add some glam to it, I added some gold accents and glitters, too! 


Be sure to check out the Flying Unicorn Store to make sure you never miss a kit!  Don't forget that the Flying Unicorn Store carries so much more than just kits!

Photobucket

Sunday, October 5, 2014

Flying Unicorn October Off the Page

It's no big secret that I love altering, so when I saw this in my October Flying Unicorn Kit, I couldn't wait to play with it!  I immediately knew that I wanted to glam it up! 

I started by adding some sequin trim to the outside edges of the mask and I was on my way!


The tulle came next.  Lots of bows and different lengths were simply glued on.  I topped that with some ribbons, flowers and bling, then tucked in some feathers and I was all ready for the finishing touches.


I know that there are a lot of people who don't like glitter, but I LOVE it!  I used the Prima Glass Glitter to add lots of sparkle and shine to the tulle, flowers and feathers!

Now, I just need a party to wear it!

Be sure to check out the Flying Unicorn Store so you never have to miss a kit!  Also, there are also so many other items in the store you can buy!

Photobucket

Tuesday, September 30, 2014

Reveal at Flying Unicorn!


http://www.flyingunicornstore.com/category_s/1422.htm


It's here .. like Christmas morning Our October Kit of the Month is now available! Jam Packed with yummy goodies our kit will let you explore your creativity and creating those perfect memories. So withour further adieu Flying Unicorn proudly presents Your Passion, Your Art - October 2014 Kit of the Month


http://www.flyingunicornstore.com/category_s/1422.htm

Our main kit is never complete without an off the page project to get you creatively thinking outside the page! Our off the page is spooktacular with a wood coffin and a masquerade mask. Enjoy the boo-tiful creations from the Flying Unicorn team.


http://www.flyingunicornstore.com/category_s/1422.htm


From the beginner to the avid mixed media artist our Mixed Art add on kit will surely please you. Our Mixed Art kit will always come with a canvas and this month we have included an 8x10 black canvas ready for you to get your mojo going. Oh and an extra special wooden paint palette has been included for you to use or alter with paints Flying Unicorn Adornments and mists galore.


Flowers, chipboard, and vines oh my! Our Mixed Passion is a collection of everything pretty to add to the Main kit or the add on kits. The colors and embellishments will enhance your Kit of the month creations or it can stand alone and you can create something magical! So turn the music up order that pizza for the family and lock your self away while you create some pure yumminess.


http://www.flyingunicornstore.com/category_s/1422.htm


Our Small Art Big Passion is all about the love of making cards, tags atc's and anything in between.From Stamps, flowers, paper and embellishments in between the yummy goodies included will enhance any of the kits or stand alone .


http://www.flyingunicornstore.com/category_s/1422.htm


We are thrilled to present great tutorials, techniques, videos and Build a Page using our September Kit of the Month to help you grow in the passion of your art. So stay tuned there is so much more to come in the next week!


Kits and Add On Kits are limited so do not delay in getting yours!
Photobucket

Monday, September 29, 2014

Ustream Class with Flying Unicorn


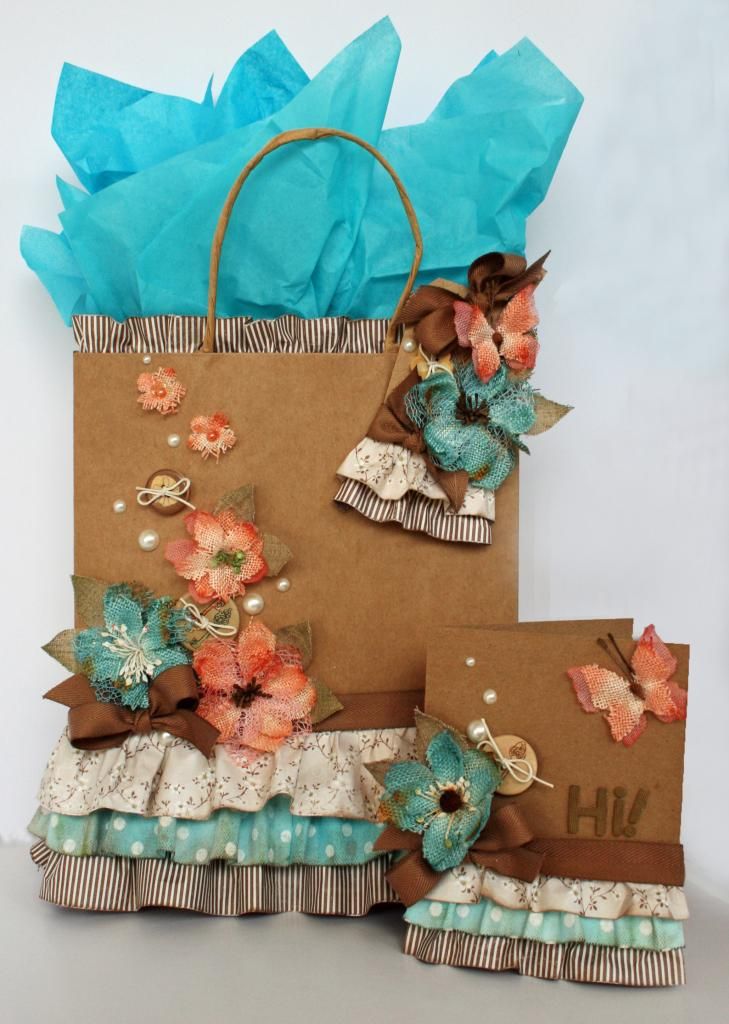
Hi y'all!  This is the project that I did for Flying Unicorn University on Ustream! 

 If you want to know how to make paper ruffles for your projects, this is the place to go!

If you have already watched, you know that we ran short on time, so I promised to share the card dimensions here on my blog.  Well, I thought I did, but it didn't post!  So, a bit late... scroll down to the bottom to see all the details!

If you missed the class, you can watch it right here!  


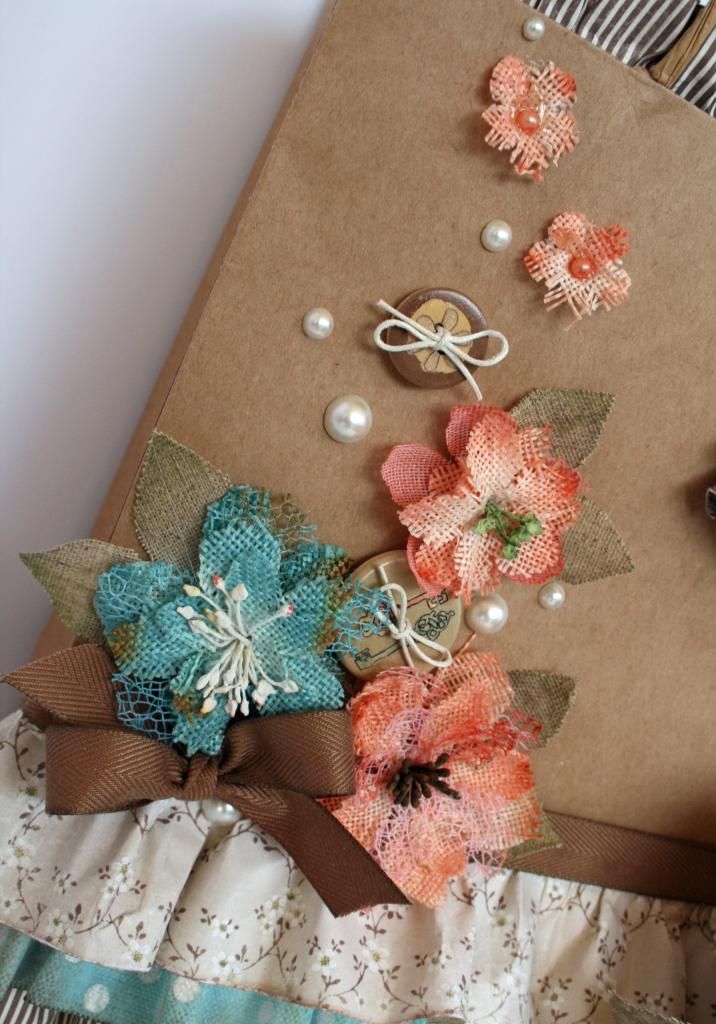
A close up to show off the beautiful Petaloo Flowers!

  
And a close up of the tag!


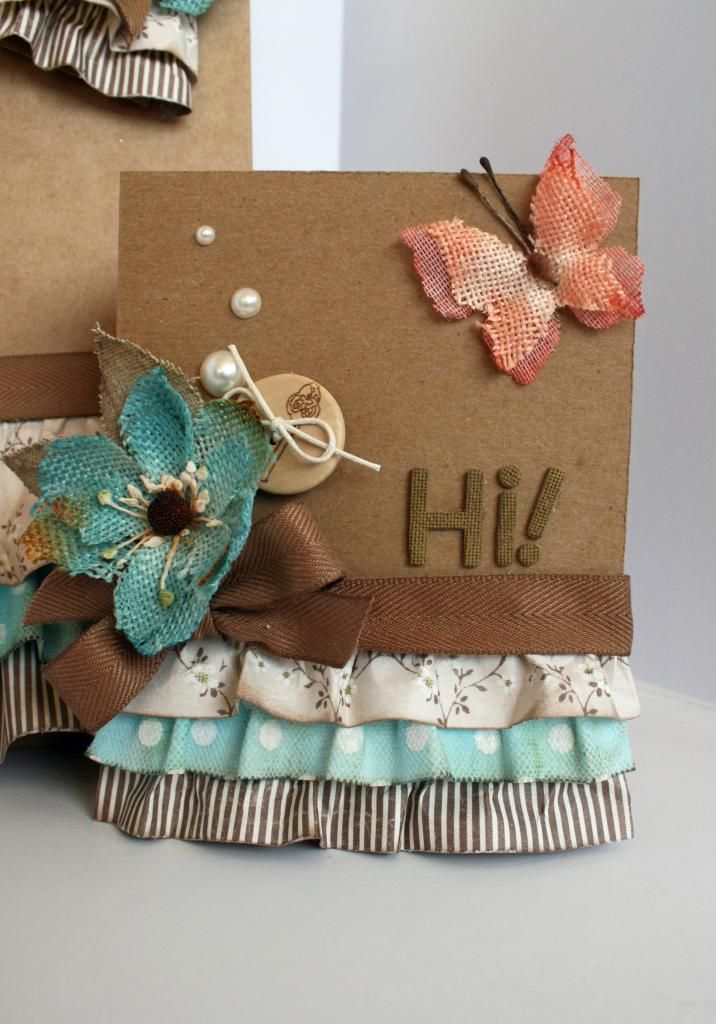
Alright, here is a close up of the card.  
The finished card is 4 1/4 by 5 1/2".  

Each of the ruffles are 1 inch wide.  I made them using the flat method shown in the class because the card is a bit longer than the tag and they lay nicer and straighter using that method.  The strips behind the ruffles are still 1/2 wide. 


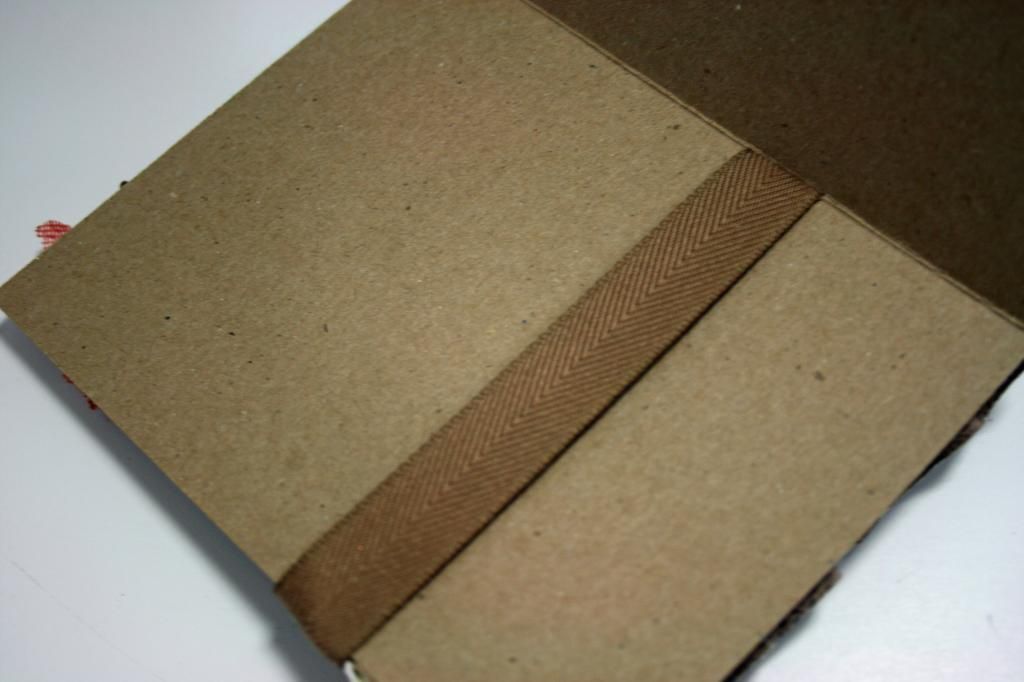
To keep the inside neat when attaching your bow, just simply cut a little slit along the fold to thread your ribbon through.  Tie your bow and your ready to attach your embellishments and add a sentiment!


Thanks so much to everyone that watched!!  I hope the rest of you will drop by to see me and the other designers on Wednesday Nights at 8 Central!

Photobucket