Tuesday, November 12, 2013

Leaky Shed Studio and Julie Nutting


I'm a big fan of Julie Nutting and actually purchased her book and played with her tips for drawing my own dolls.  Let me tell you, having them all cut out and ready to go is much easier than coming up with your own!  As you've already seen from some of the other designers, these little dolls are so versatile and there are endless ways to decorate them to suit your personal style.

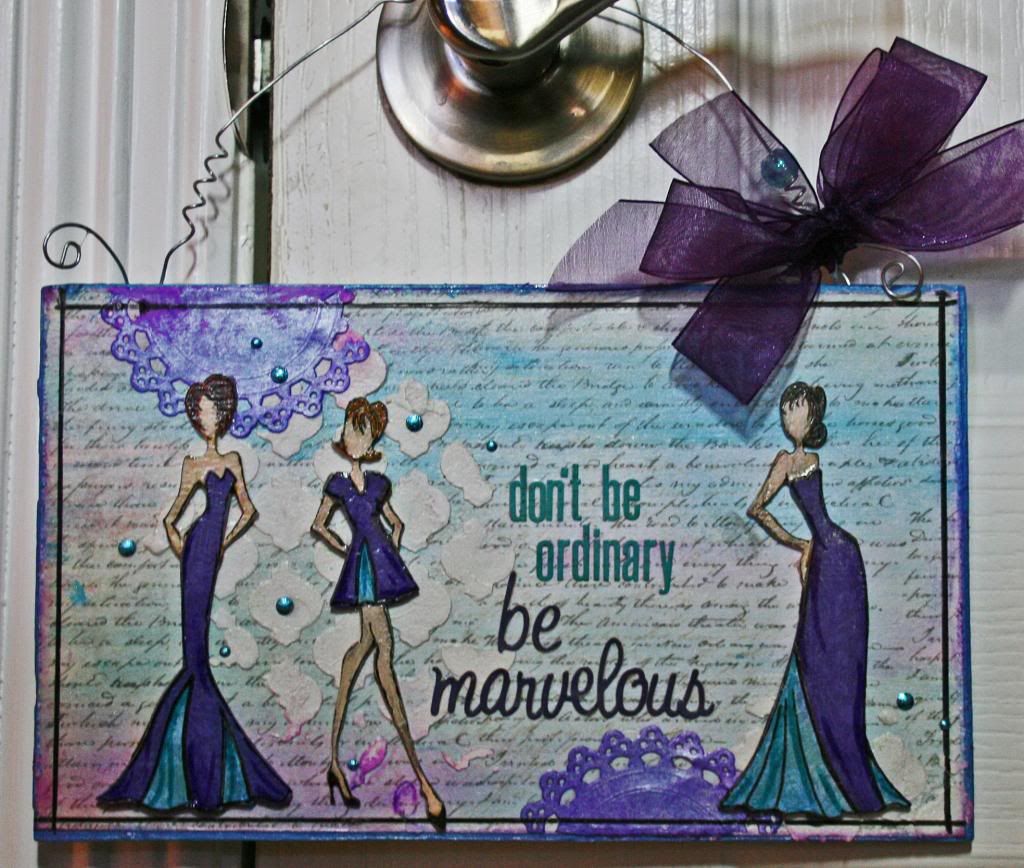
I made a sign using three of the chipboard dolls.

This sign is only about 5x8" so it makes a perfect little door hanger.  It is one I picked up at Hobby Lobby for about a dollar.  I am forever picking up little bits and pieces to alter.

Be Marvelous
 The background was created using modeling paste and spritzes.  I sprayed some of the blue and purple on when the Modpodge was dry and used a paper towel to rub across the paper to give it a hint of color.


I chose to paint the doll's bodies and hair and to make their dresses from paper.  

Tip:  Before I started decorating them, I ran them through my printer and made a copy.  I then printed the copy on lightweight cardstock to make a pattern for cutting the clothes.  It's a super quick and easy!
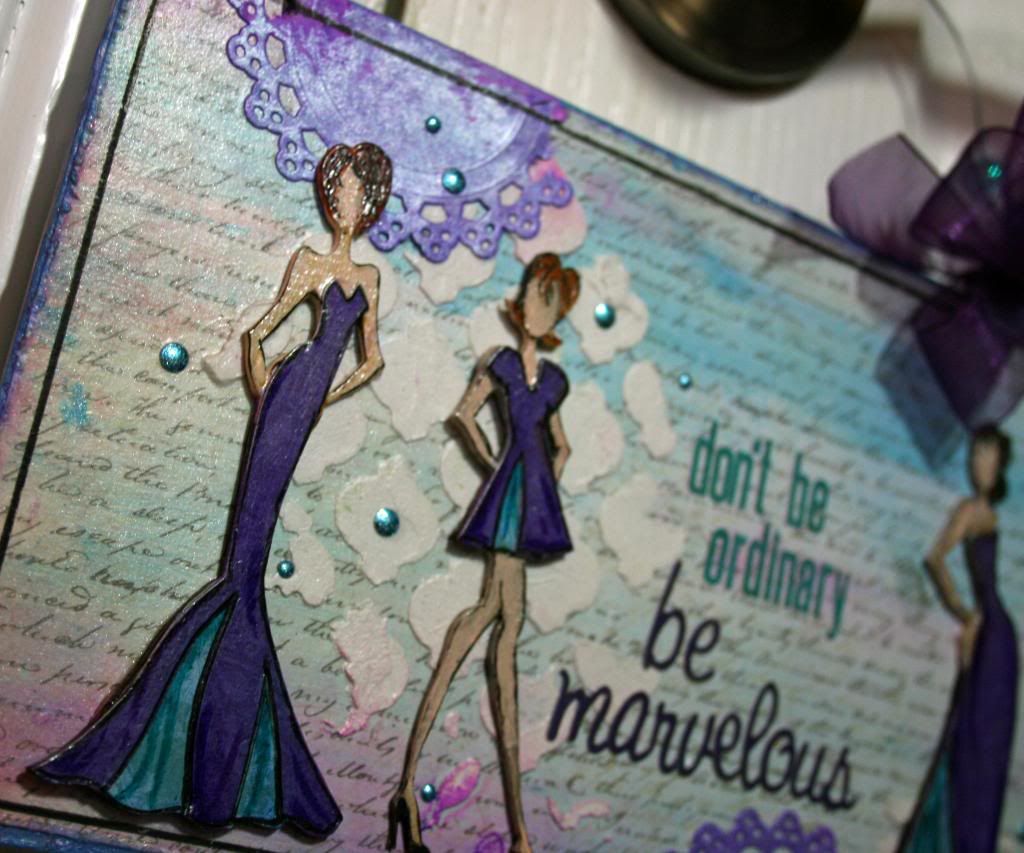


After covering them with paper, I used my PITT Big Pens to add some details to the dresses in purple and blue.  I used a fine Pitt Artists pen to do the outlining and the details on their hair.
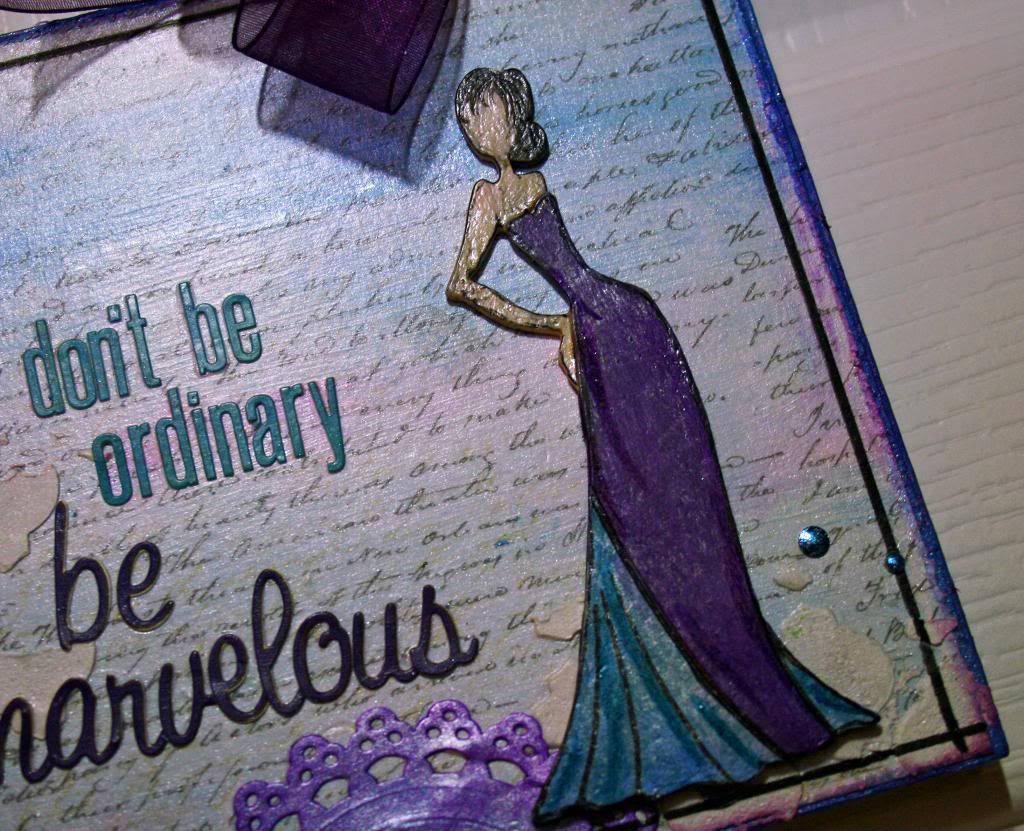
 
You can see that the outlining and details that I added are very loose.  I wanted some movement in the dresses but didn't worry about perfection.  Just a few brush strokes will do the trick.

To finish them off, I spritzed them with Perfect Pearls to add some sheen. 

Leaky Shed Studio Supplies:
Sassy 4"
Holly 4"
Spooky 4"


Photobucket

Friday, November 1, 2013

Leaky Shed Studio

Well, you have probably noticed that there has not been much going on with my blog.  I decided to take some time off from posting and design team work.  I wanted to play with my supplies, learn new techniques and frankly, get some much neglected things done around my house!  :)  You know what I mean, right? 
I have had a great time creating whatever motivated me at the moment.  I've even taken some online classes, started an art journal and even explored drawing again.  I'll get to posting some of my projects soon, but today...
I have some SUPER exciting news! 
I've been invited to join the Leaky Shed Studio Design Team!!
I couldn't be more excited about this!   In addition to making beautiful, quality products, I love that I can use them on a wide array of projects!! 
Of course, I won't be going on this journey alone.  Be sure to check out the 
to meet the other designers that are joining the team.


And be sure to
like the Leaky Shed Studio Facebook Page.
Thanks for sharing in my excitement and I hope to inspire you with my projects!


Photobucket

Friday, August 16, 2013

100 Days of Tombow

For its centennial year, Tombow created the “100 Days of Tombow” program designed to promote and support arts education and quality art programs nationwide by showcasing the talents of crafters throughout North America and providing an in kind gift valued at up to $10,000 of Tombow art products to the Council for Arts Education, a national nonprofit promoting and supporting arts education. 
I am really excited to have been asked to participate! 
Every submission for the “100 Days of Tombow” blogging program will result in a $100.00 product donation to the Council for Arts Education.  How Awesome!
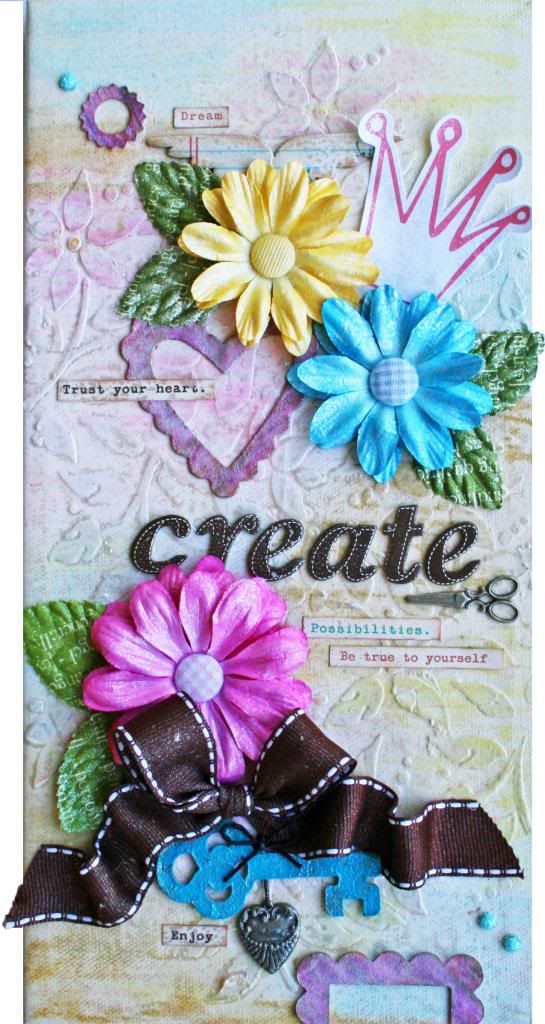
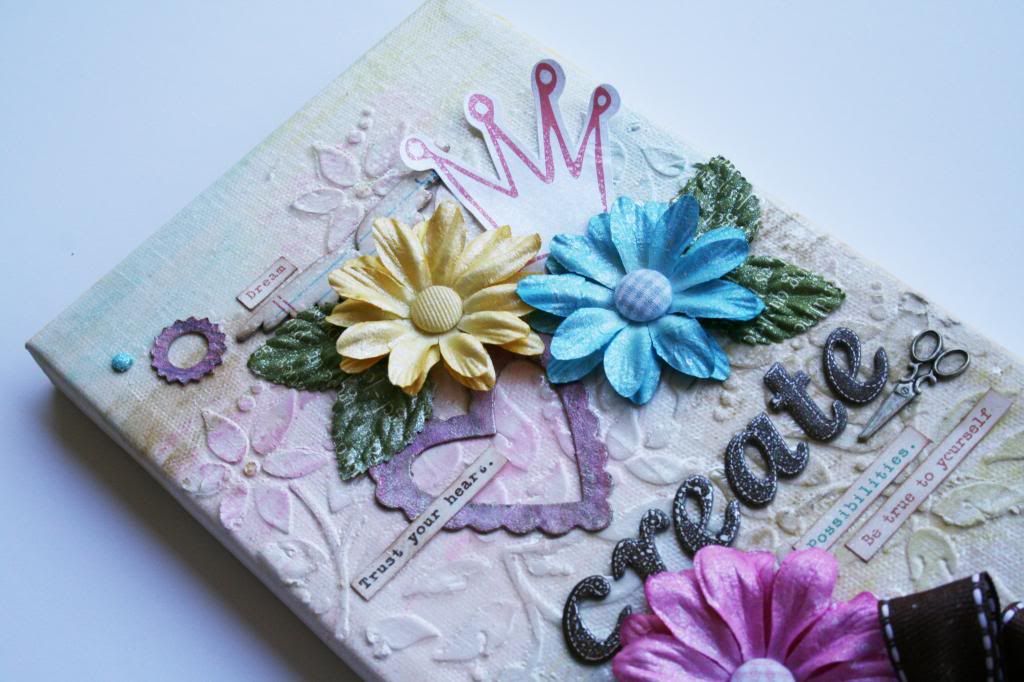
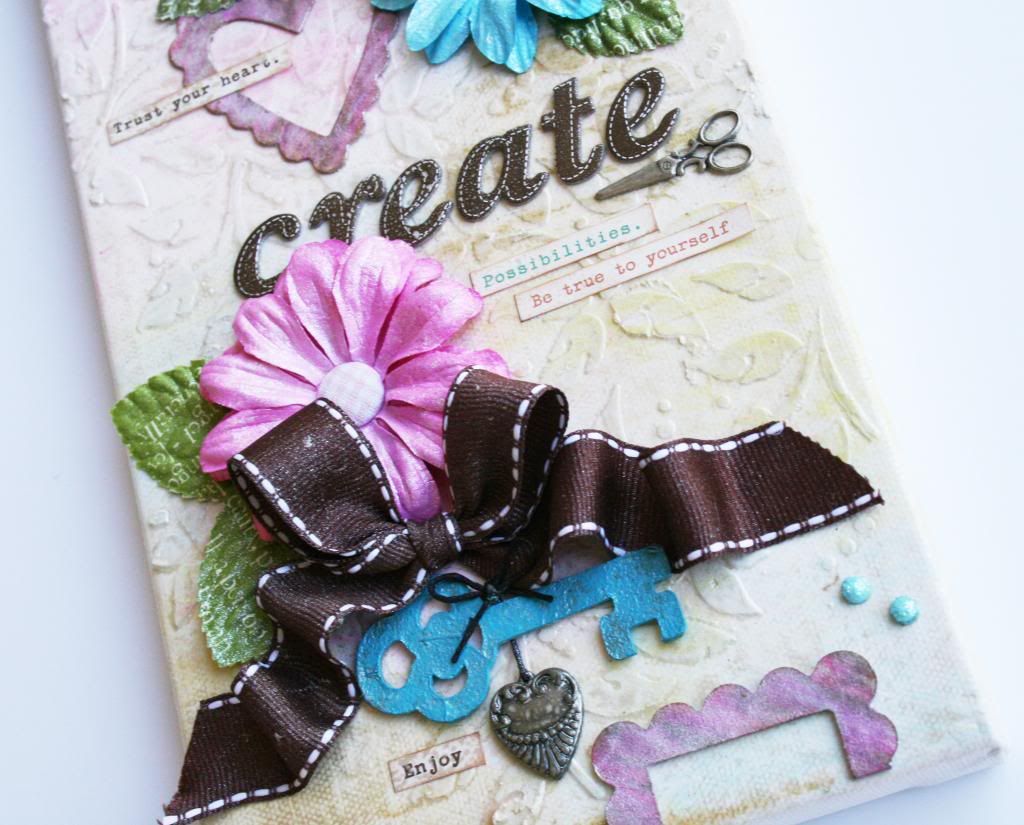
I made a canvas using the Tombow products that I was sent.  I also pulled out my Tombow Mono Aqua Liquid Glue.    Great products, great company and a great cause!

This is a 6x12 canvas. 

It is fun to make these!  I love that I'm using things in my stash that I haven't used in forever!  It is a great way to use some of your left-over supplies.
It has lots of my favorite things!  Chipboard, flowers, ribbon and jewelry findings are front and center on it. 


Now, on to how I used the Tombow Markers to color my background and chipboard elements.
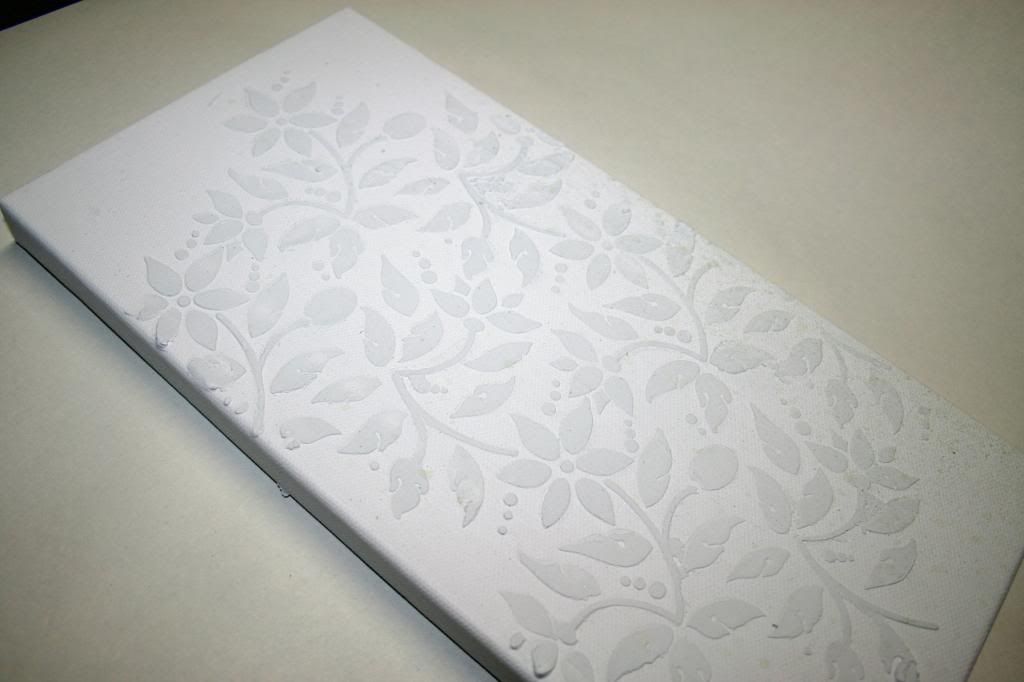
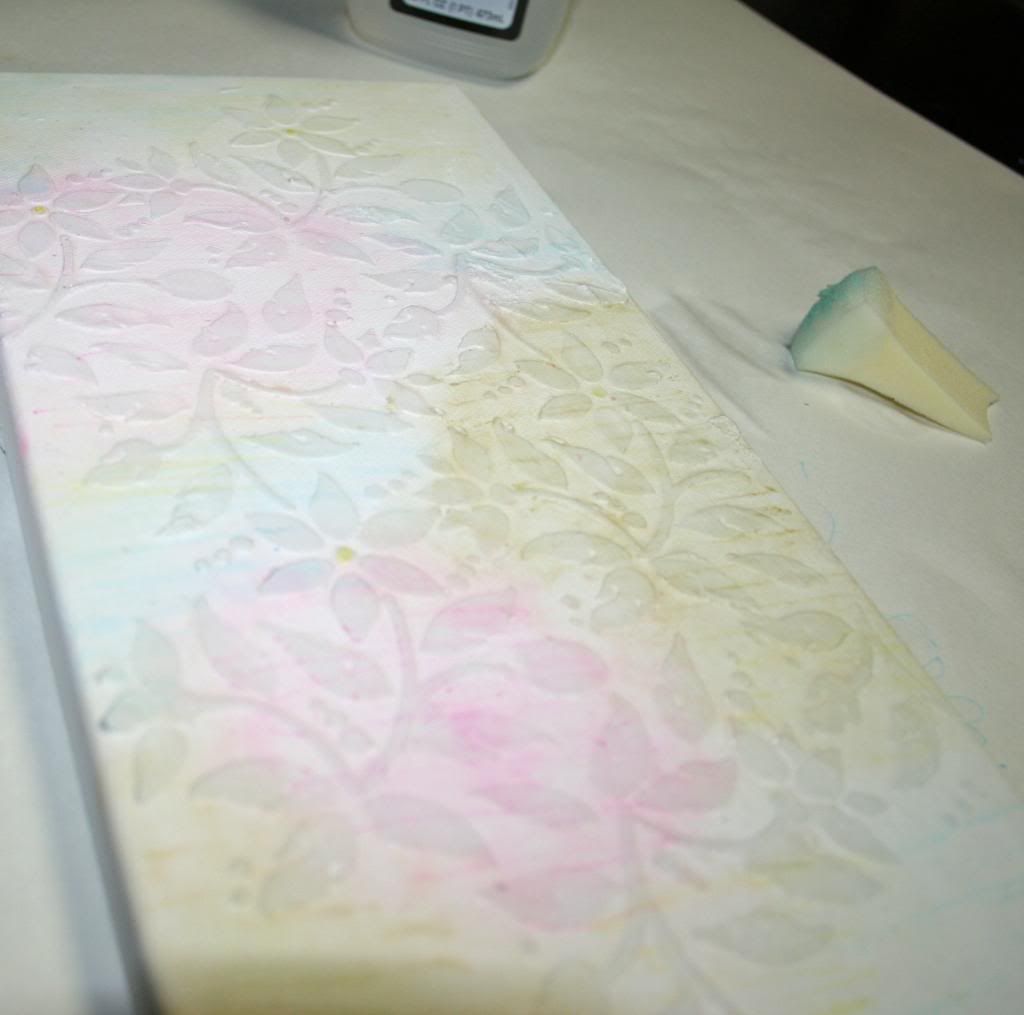
The background started with modeling paste and a stencil to give it a touch of dimension.  I gave it a quick coat of gesso and let it dry.  I then gave it a quick coat of mod-podge. 

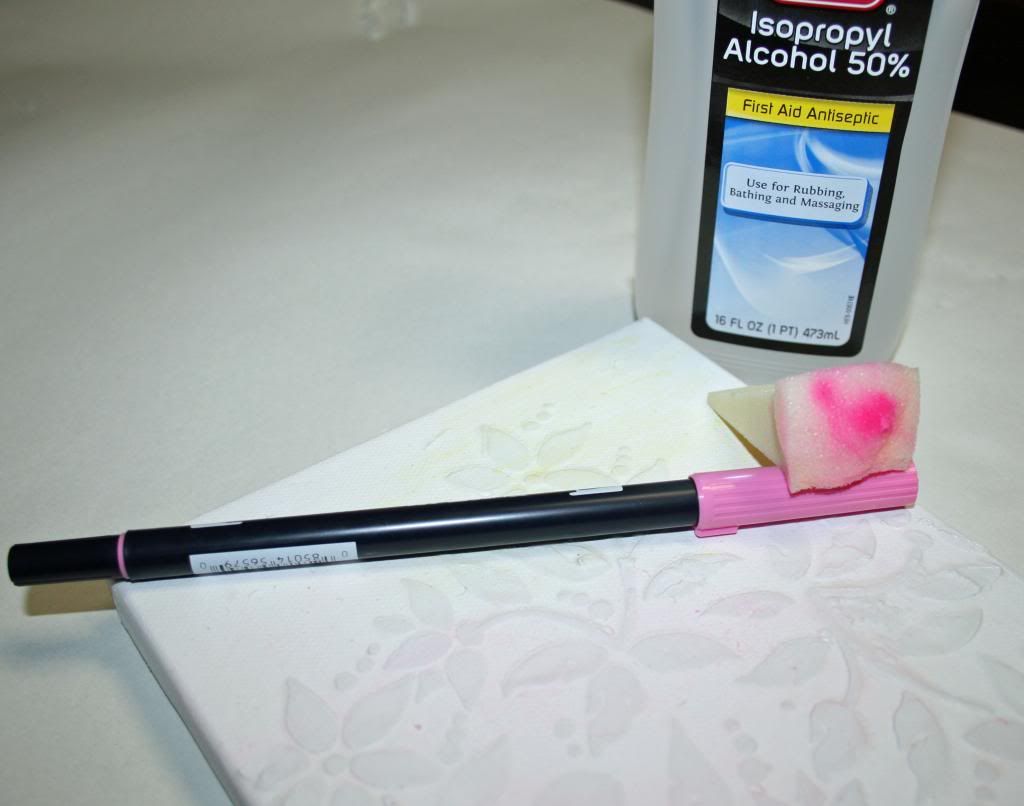
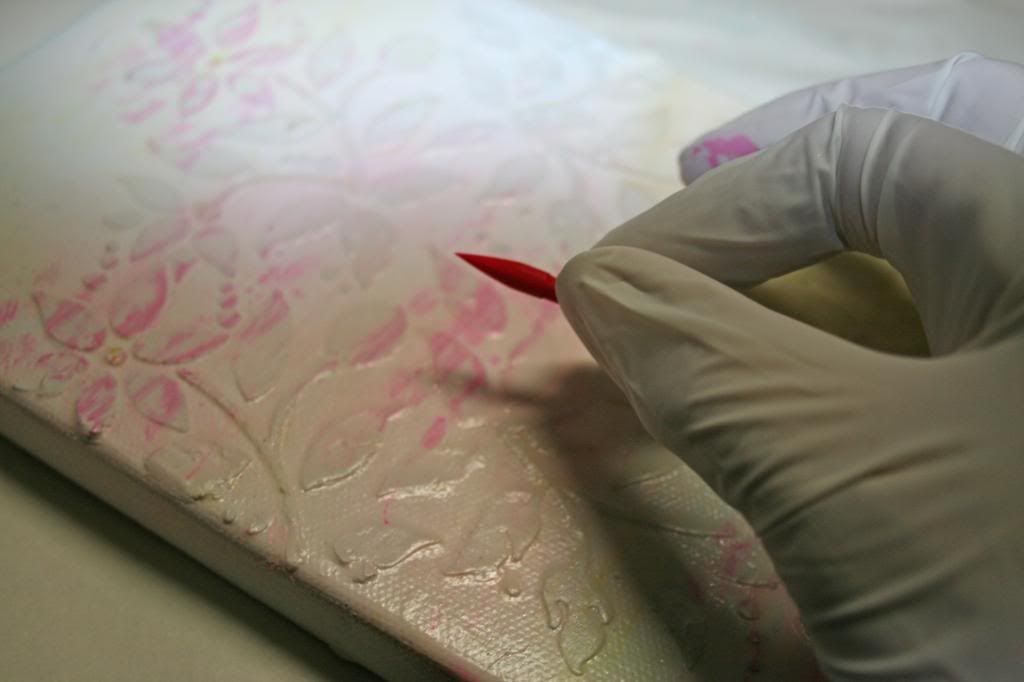
Next, I took a make-up sponge and colored on the end with the pink marker.  After that, I put alchohol on it and dabbed in various sections on the canvas.
Tip:  To get more color, repeat this process.  You might find that it leaches the ink from your marker tip, but no worries!  Just place it with the tip down for a bit and the ink will flow back into the tip. 

I did this with three different colors, as shown.
I used pink, green and blue.
Coat with mod-podge again.

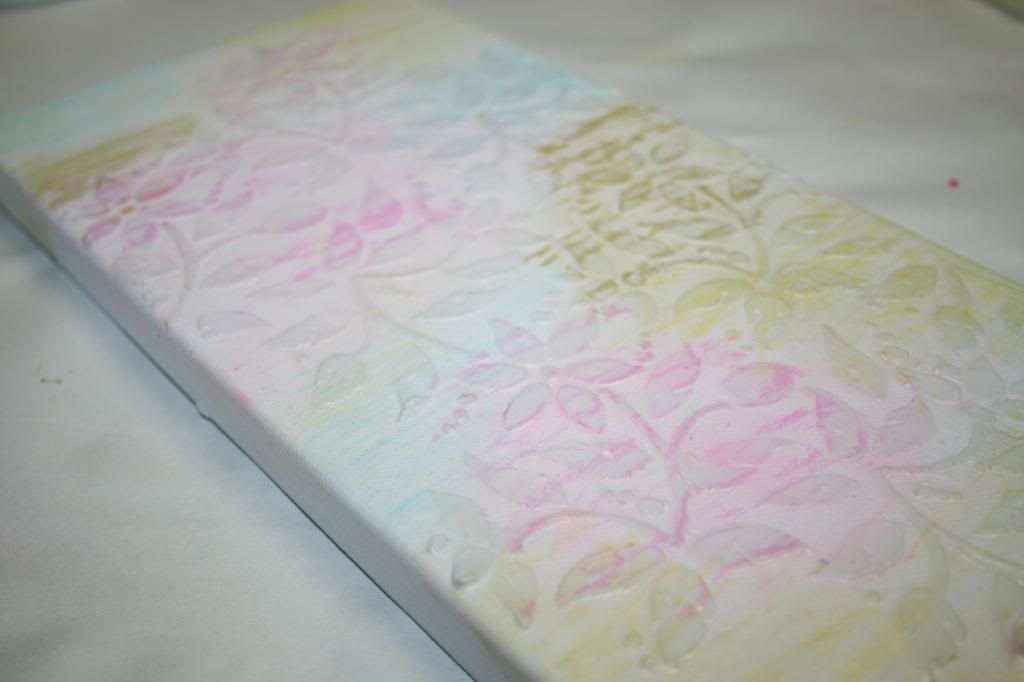
Next, I pulled out the larger tip on the markers and lightly ran them across the sections of sponged paint to add more color. 

This is the canvas when it's all ready to embellish.  I loved the soft look that it ended up with.  The 2nd step also made the modeling paste stencils stand out more.

And... about that chipboard... that I forgot to take pictures of!   Oh well, it isn't hard and really didn't require pictures, but... I wanted to show them!  :)

I used raw chipboard and gave them a quick coat of gesso.  After they dries, I took the pink, blue and brown markers and just quickly drew lines at an angle on them.   I then gave them a spritz of Perfect Pearls Mist and used my fingertip to smudge them a bit.


To finish it off, I gave the whole project a few spritzes of the Perfect Pearls Mist.

That's it!  Super quick and easy! 

Now, be sure to go by the Tombow Blog to see other projects that bloggers have done!  There are lots of great ideas and be sure to give a shout out to Tombow to wish them a Happy Birthday!

Photobucket

Thursday, August 8, 2013

Little Yellow Bicycle Vintage Summer

Summer Lovin' with Little Yellow Bicycle
Who doesn't love Summer?  It's my favorite time of the year!   So when we were doing summer lovin' projects at LYB, I was excited!  If you remember my birthday post, you will see the versatility of this collection.  It can be used so many ways!

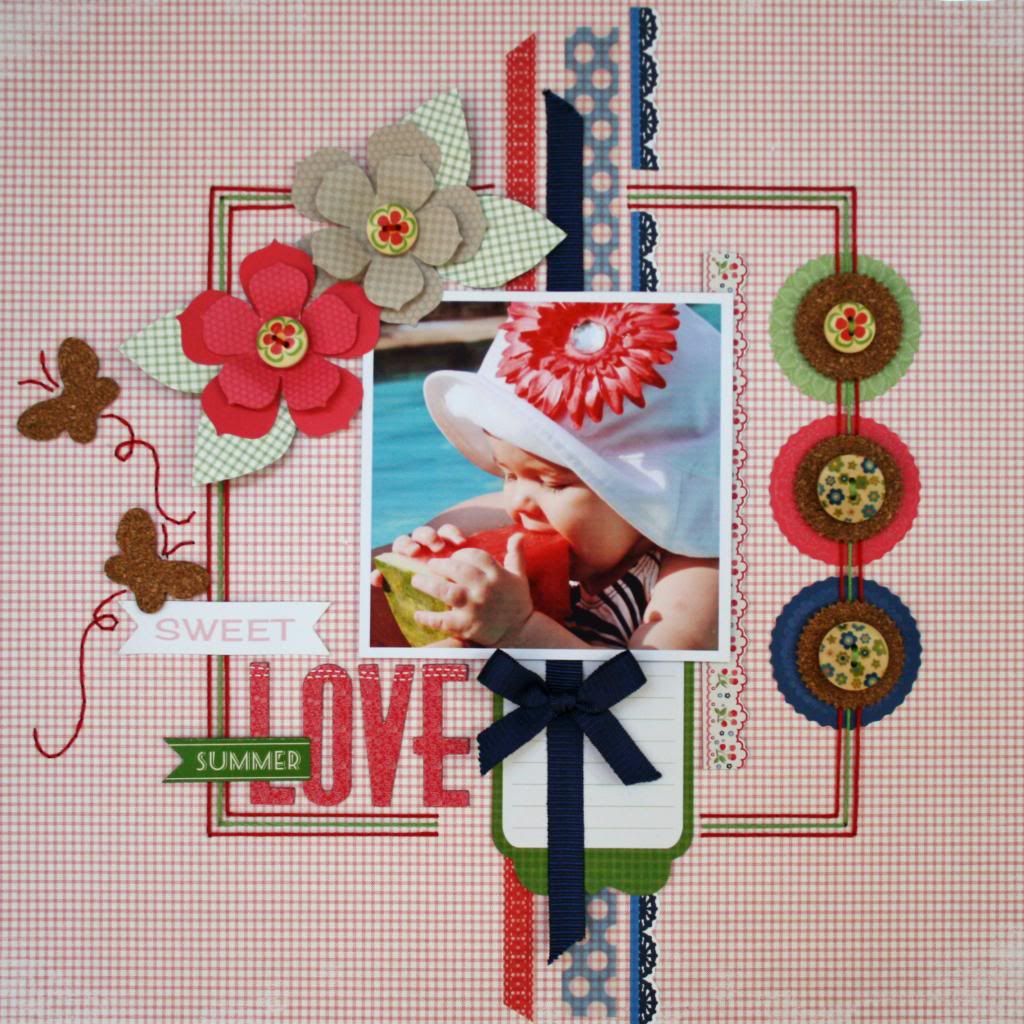
Summer Love

I love this photo of a friend's little girl.  She is so adorable and with the water, watermelon and those tiny hands, it's a 'make me smile' photo for sure!


I did some stitching on this page, but don't be discouraged!  I used the technique that I like to use when I'm not wanting to spend a long time!  If you look closely, you will see that, again, I've made LONG stitches!

Tip:  Thinking about making a square or a few squares?  Take a peek in your stash and chose papers that already have a print that is easy to place the stitching holes.  This checked paper made the 3 squares super quick and easy!


The butterfly trails were stitched with regular stitches.  Unfortunately, I haven't found a quicker way to do those!

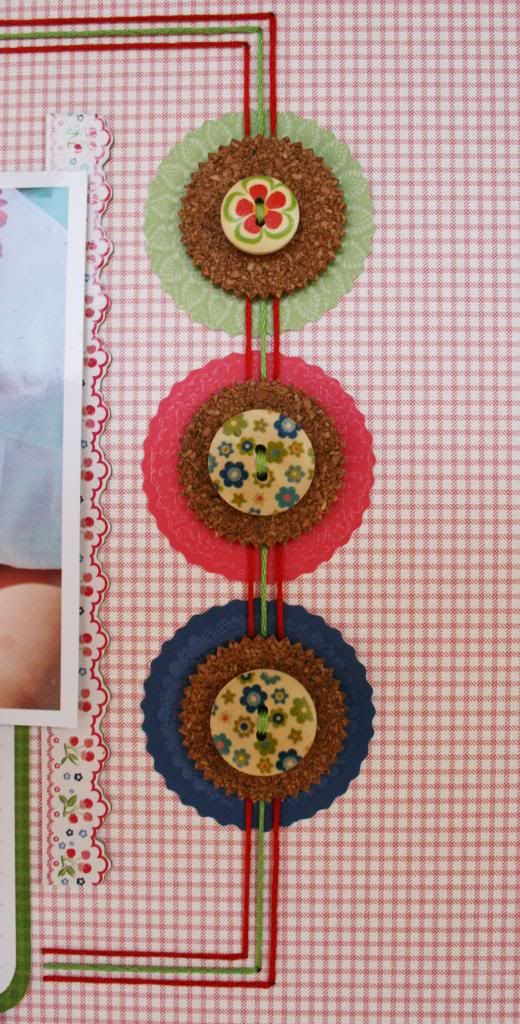
Also, for the centers of the paper flowers from the flower kit, I used some buttons from the Naturals Collection.  I also used some of those buttons on the layered circles shown below.


The cork is another Naturals Element.  LOVE the cork!  It makes me happy!  :)

Tip:  Instead of stitching through the button holes, I just positioned them to look like I did them at the same time.  I love the Beacons Fabri-tac to hold heavier elements.  It's like hot glue that isn't hot!  It also dries really quickly for those of use with patience issues!

Be sure to check out the LYB blog to see some great summer projects!


Photobucket

Friday, August 2, 2013

Little Yellow Bicycle Vintage Summer

Hooray for Birthdays!

I love the red, white and blue in Vintage Summer from Little Yellow Bicycle!  My son's birthday is on July 3rd, so we almost always had red, white and blue themed parties when he was growing up.   This collection fits perfectly with all of those photos. 

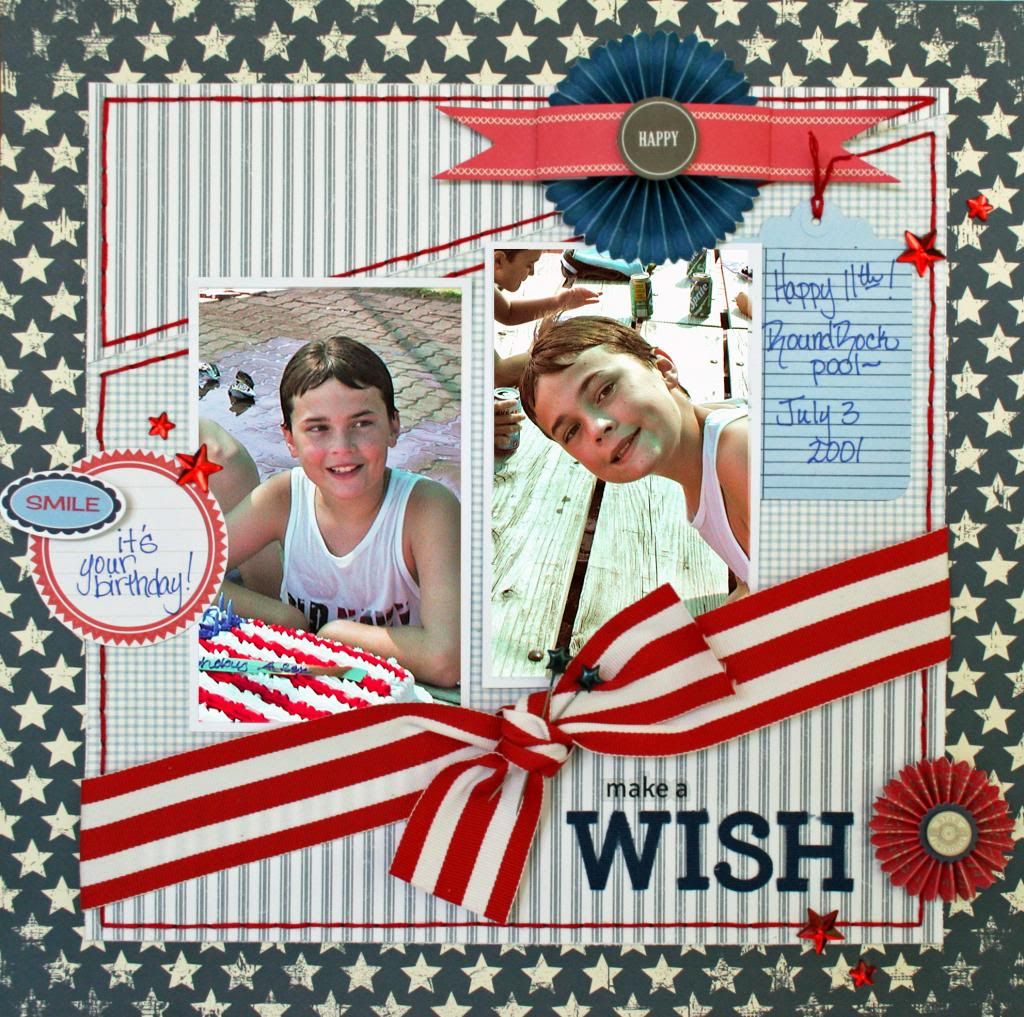
Make a Wish

If you notice the date on this page, you will see that I'm a little bit behind in scrapbooking my photos.  ;)  In my defense, I didn't start scrapbooking until he was a sophomore in high school! 

I am so crazy about the ticking pattern in this collection.  I sew, too and have always been drawn to ticking in fabric, so I had to use it for this page. 


Because this paper remeinded me of fabric, I decided to give it a bit of pieced look and do a LOT of stitching!  It took a while, but I like the result, so I am happy with it.


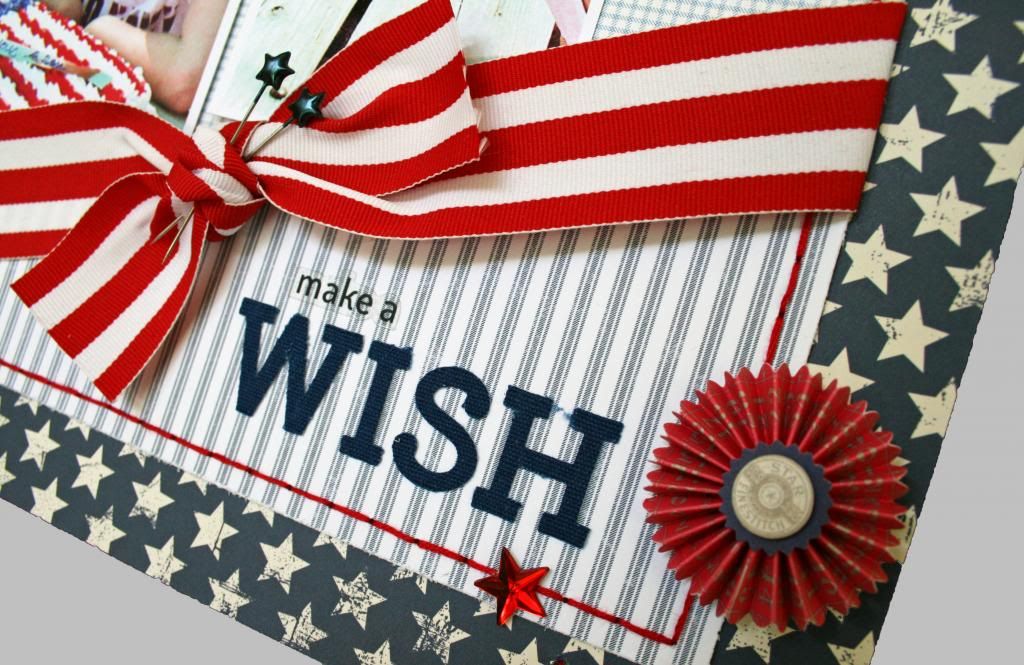
This ribbon is 1 1/2" wide, so instead of a bow, I chose to just do a simple knot so it wouldn't be too large.  It also made sense to use a knot for a boy page.

Tip:  Look through your stash for extra embellishments.  The red stars have been in my stash for years!  Even though they are old, the made a fun little accent. 


The title is a mix of the denim letters from the Naturals Collection and clear word stickers. 
Tip: Next time you are limited on space, give a thought to using small and large stickers.  It makes a longer title fit when you might not have planned well!  lol  (Can you tell that I didn't?)

Be sure to take a peek at the Little Yellow Bicycle Blog to see what the team is up too!  The blog is loaded with lots of great ideas using the Vintage Summer Collection!

Photobucket