Showing posts with label Swap. Show all posts

Monday, January 5, 2015

Creating with 3 Birds Studio and Therm-O-Web

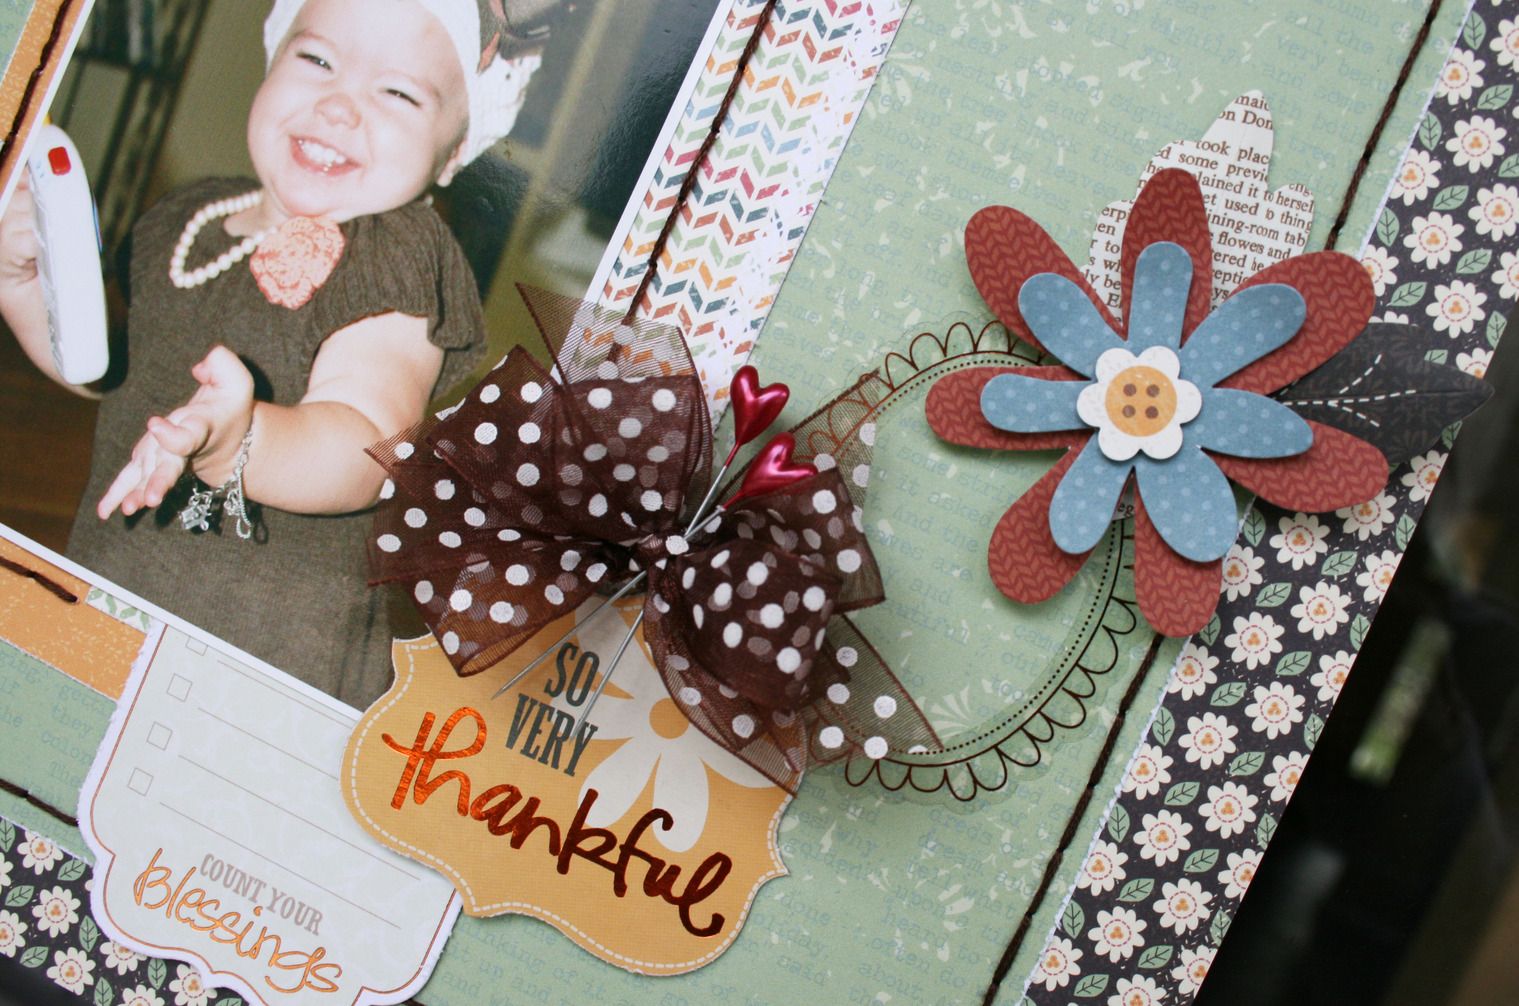
Hi everyone!  Recently, 3 Birds Studio and Therm-O-Web teamed up and this is a layout that I made using lots of new 3 Birds products and lots of Therm o web products, too!   What a great combination of products to make page making easy!


I took a bit of a different approach with this layout.  I decided to use a whole lot of things from one embellishment kit  to build the complete design on a simple sheet of white cardstock.  For this photo of my daughter on New Year's Eve, the Touch of Glimmer Kit was the perfect choice.  All the foil and glitter accents worked just right for the look I was going for.


This close up shows some of the details of the great pieces that are in the Embellishment Kit.  In addition to pieces that are pre-made for you, there are some great pieces that you can put together yourself.  The Fabric Fuse Liquid Adhesive worked great to make the paper bows that I used. 
 

I added lots of extra dimension using the 3D Foam Squares.  I also used the Sticky Tape Runner to adhere the flat pieces. 

Don't forget the Zots!  I especially like them to adhere some of the heavier embellishments.  They are perfect for adhering chipboard.
 
As you might have guessed, this was a really great swap between companies!!  There are so many terrific products from each of them that it made it so easy to pull this page together and to make it stick!

Take a look at the Therm-O-Web blog and the 3 Birds Blog this week to see what both design teams did with all these products!


Photobucket

Thursday, July 24, 2014

3 Birds Studio and Xyron!


At 3 Birds Studio, we have been hopping and sharing with Xyron all week!  What a great swap with great products!

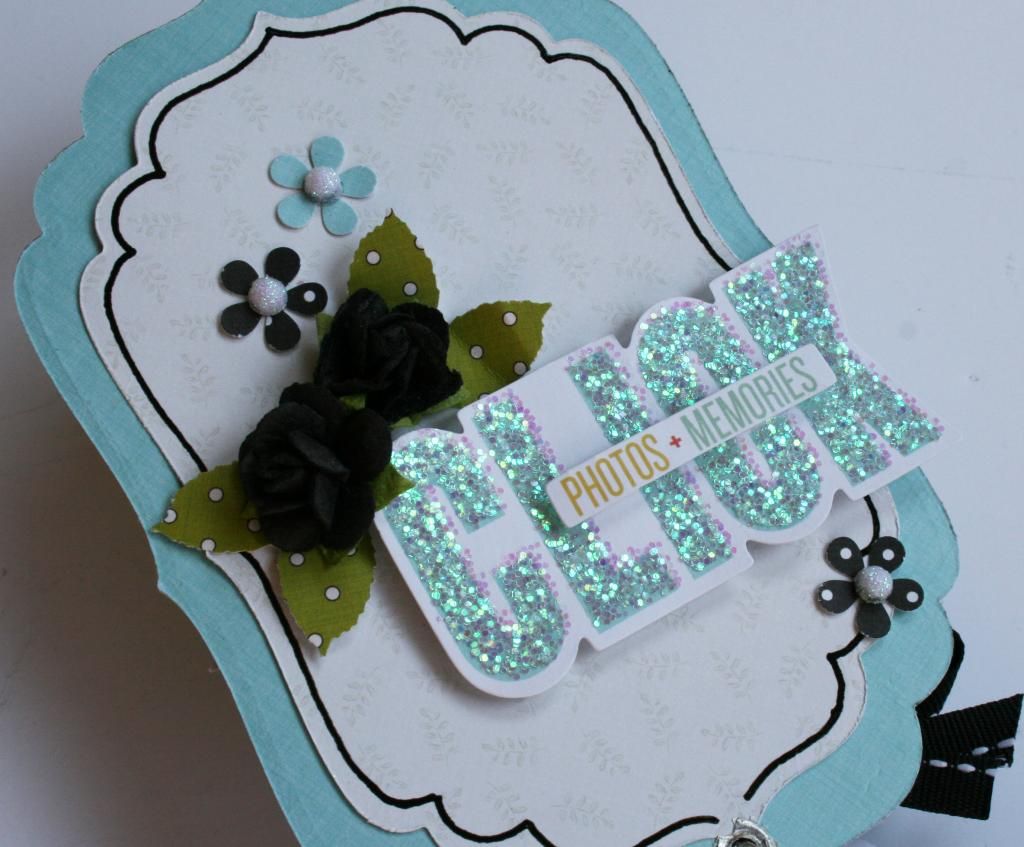
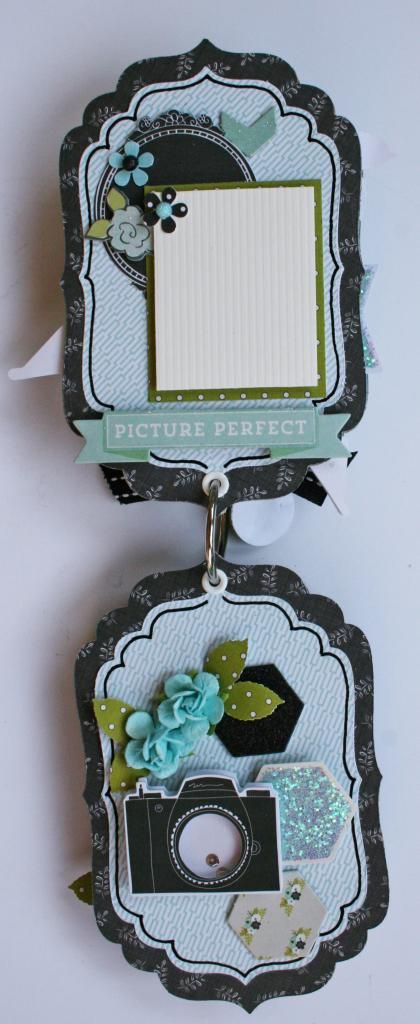
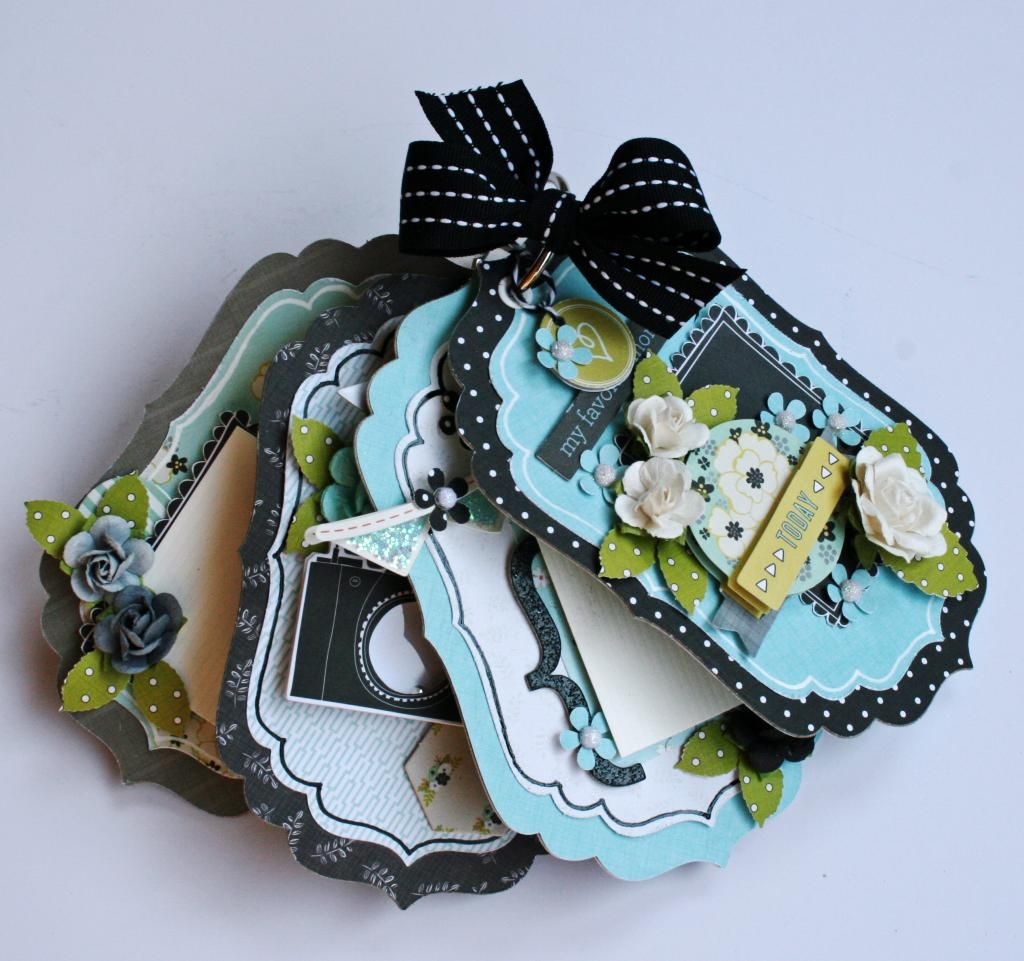
If you haven't yet, be sure to go to the 3 Birds Blog to see how I used the Xyron Creative Station to make this little album!  I have included step by step instructions on the 3 Birds blog.

My blog post today is all about the embellishing!


As you can see there is a lot of dimension to this little album.  I honestly love adding all the details and the added dimension just adds more interest to me, which is a good thing in my book!

After finishing the cover and adding the bow, the first thing I added was a little chipboard piece that I turned into a charm to hang from the ring.  I glued a tiny punched flower to it to make it coordinate with the cover and the inside pages.

When using one ring, you can choose the way your mini album will open.  For this one, I chose to have it open vertically.

I love all the little glittery pieces that are included in the 3D sticker set and the chipboard set.  So, naturally, some of those pieces had to make it into my album.  

I added a few punched flowers and leaves to the little roses and these pages were complete.  


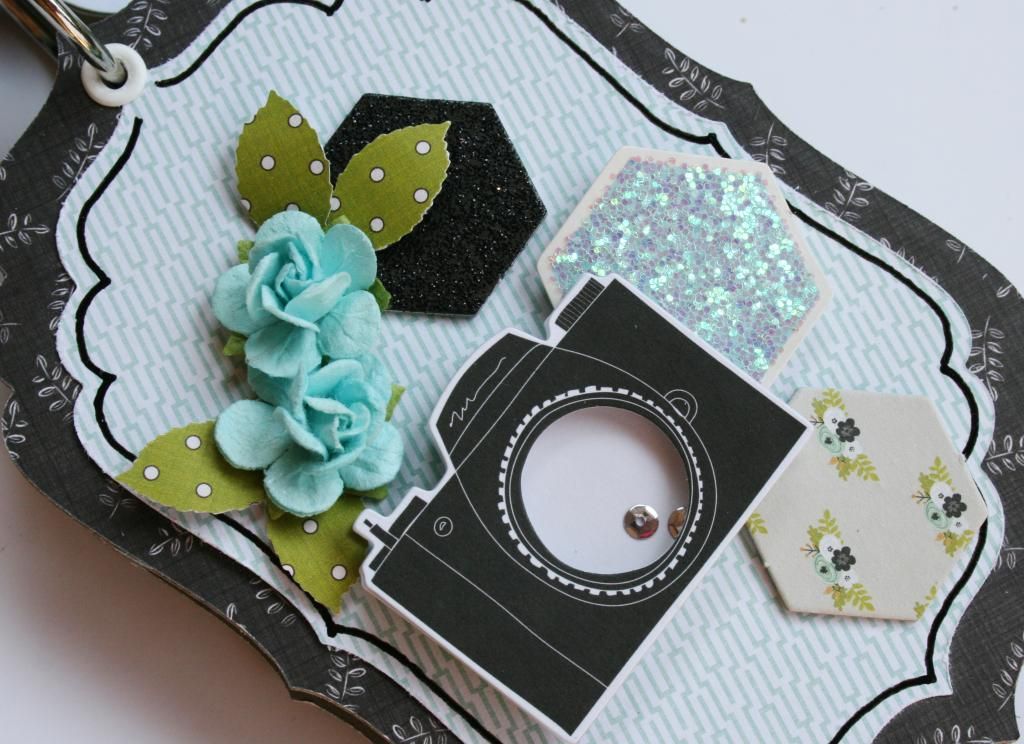
Ok, since I hardly ever get a picture that does the glitter justice and today I did, I had to include a close-up!!  :)  Notice that the sticker is raised?  These already have foam on the back which makes layering easy!


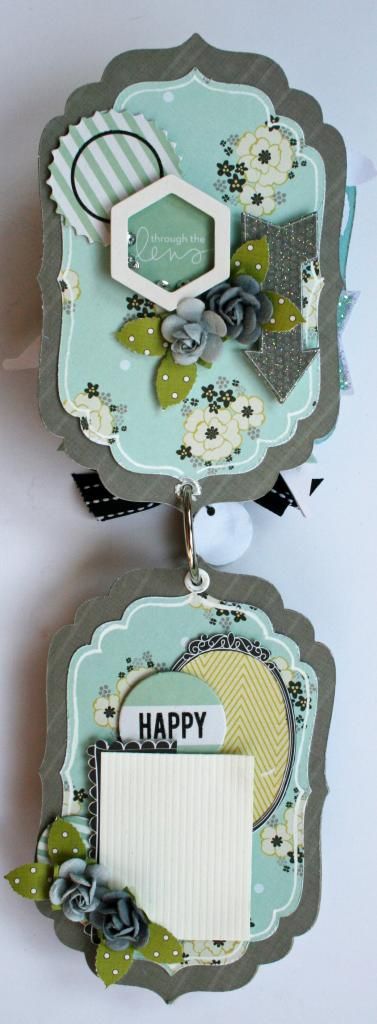
For these pages, I went with some more of the glittery piece, punches and another 3D embellishment.  The black circle on the top page was cut from one of the papers.  There are lots of fussy cutting options in the paper pads!


Another glitter close-up!  I was on a roll!  BUT... what I really want you to see is that little camera!  How cute, right?  There are all kinds of little shaker boxes included in the 3D embellishment collection!


The last pages combine several of the same elements that are shown on the cover and the first pages.  One last thing that I want to share with you is that I used things from both the Graceful Seasons and Midday Medley Collections.  Each collection stands alone to make beautiful projects, but also has so many coordinating elements, too!


Now...  For you...  I have some really good news!

Did you know that you can win some great products from both 3 Birds Studio and from Xyron?  
Well, you can!

Head over to the 3 Birds Blog for all the details!  

Also, don't forget to stop in at Xyron to see what their team has been up to using the 3 Birds Collection!

Finally, if you missed us on HSN yesterday, not to worry!  You can still purchase 3 Birds Products on the HSN website!


Photobucket

Tuesday, May 28, 2013

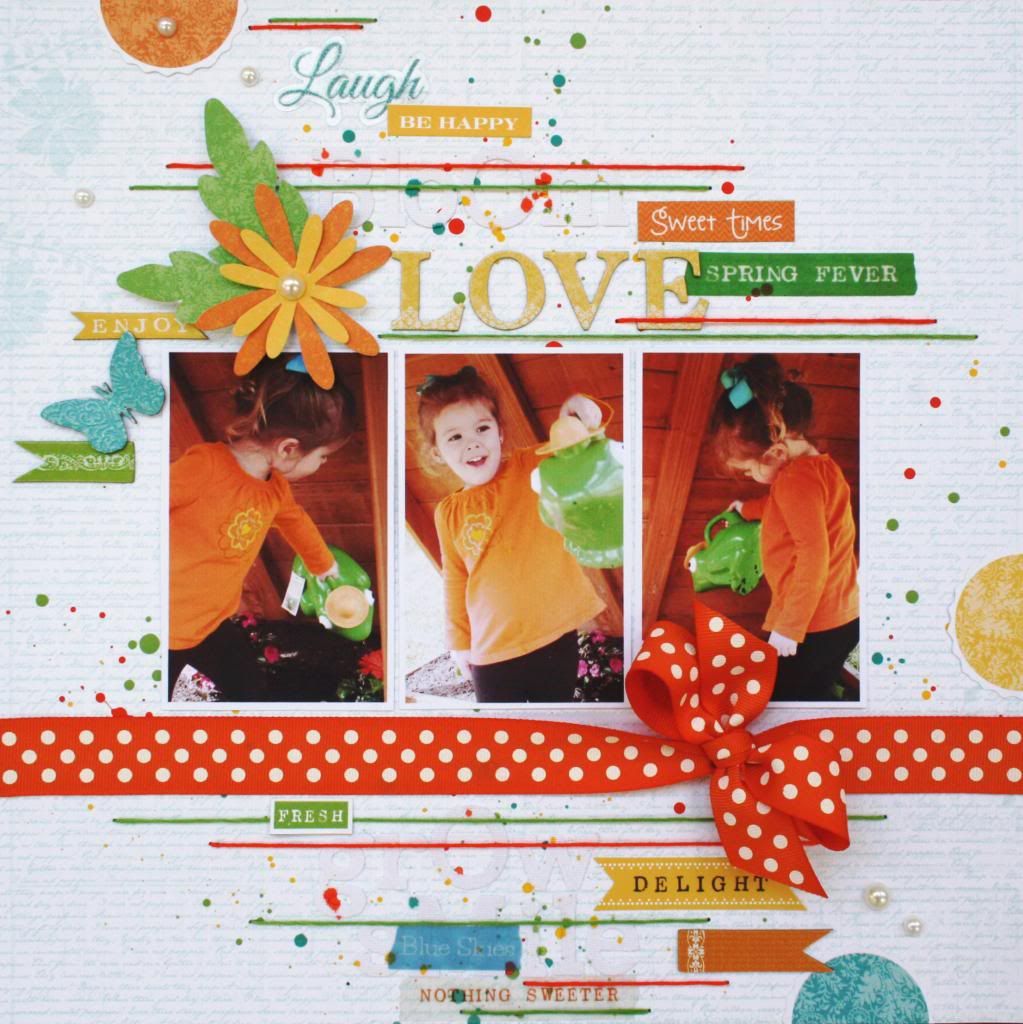
Little Yellow Bicycle - Alphabet Soup

We are playing with all the different alphabets at Little Yellow Bicycle
There are so many ways to add alphabets and words to tell your story. 
 
Although, I had the hardest time getting a photo of this in the full size project, the close-ups show the detail that is obvious IRL.  So frustrating sometimes!  :)
 
LOVE
 
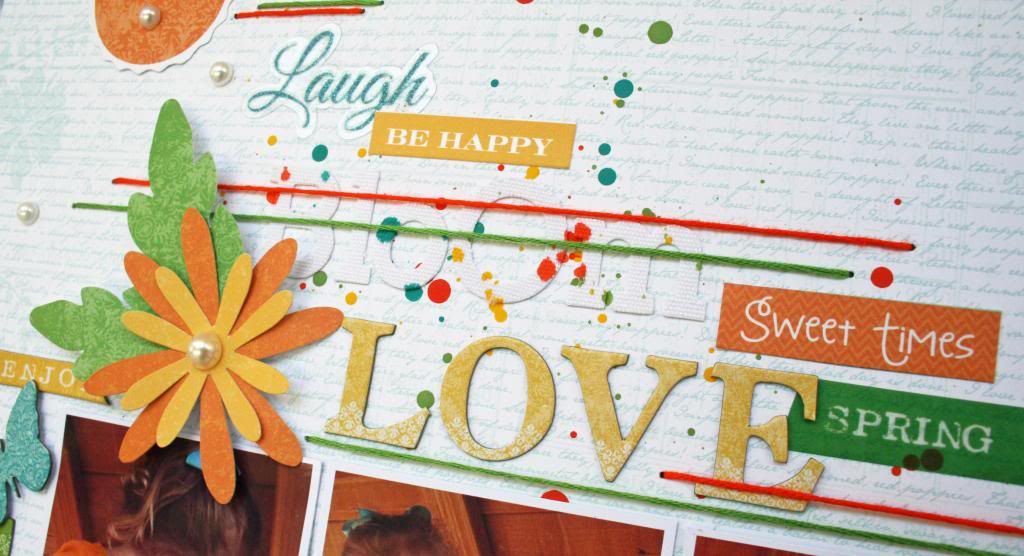
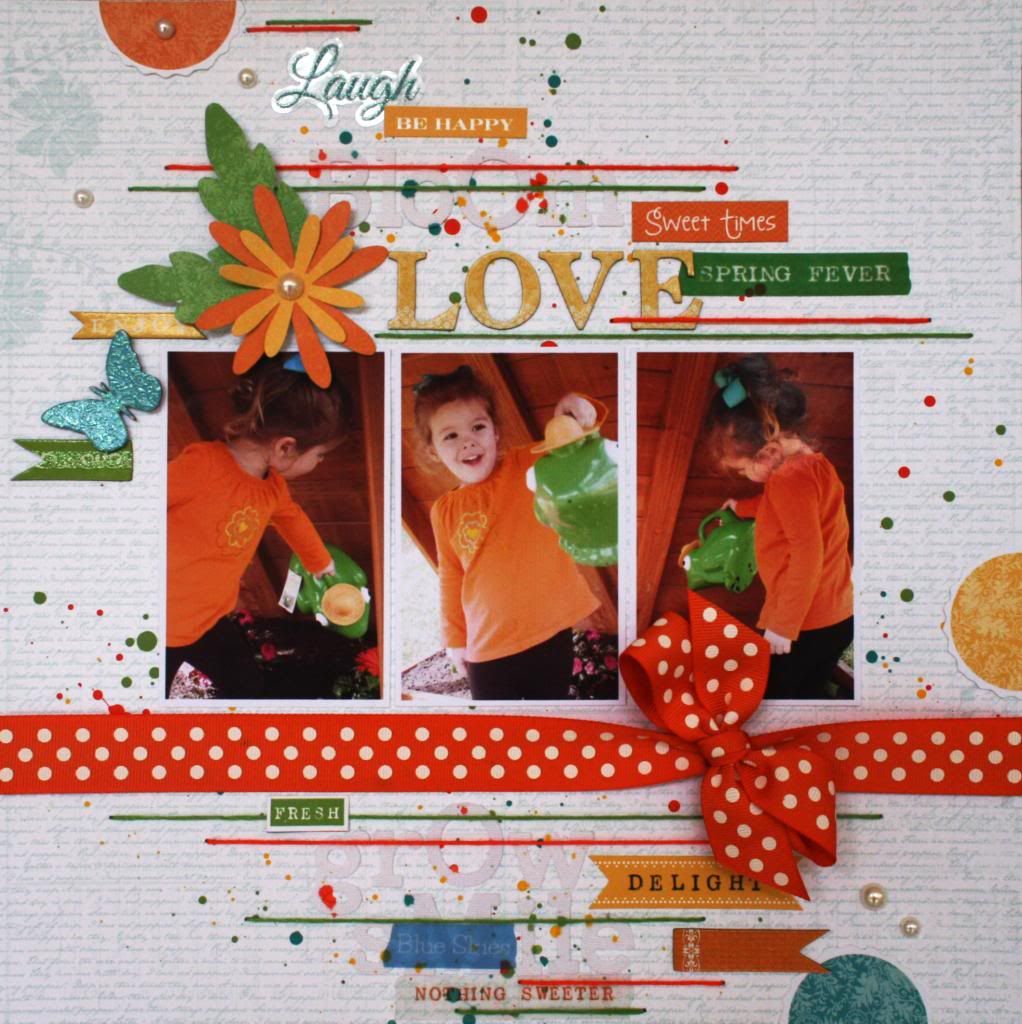
I used a combination of Chipboard, Clear-cuts, Favorite Pieces and even Canvas Naturals on this page. Because I really played up the words, I only used on sheet of paper for the background.


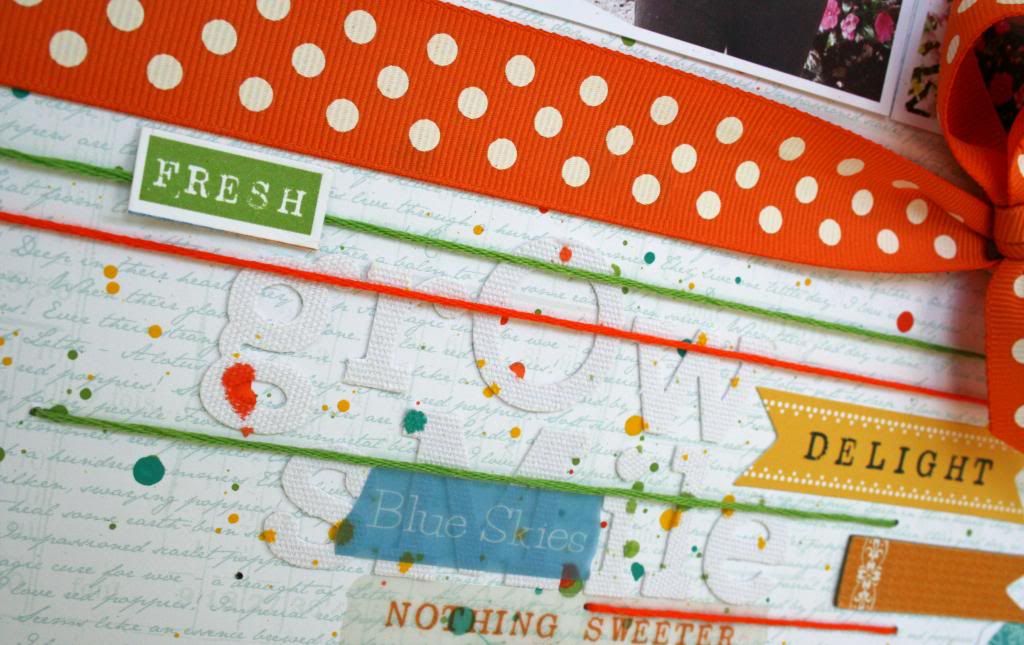
So, here you can see a bit of the white on white that I achieved by adding  canvas letters to sections of the page.   I used floss to overlap the words in some places for more interest and color.
 
 
To get the splattered look, I used acrylic paint that I watered down for a thinner consistency.  I just flicked the wood part of my paint brush to get it to splatter.  The canvas letters were already in place when I splattered.  I added the fresh verse and chipboard letters after it was dry.
 
 
Be sure to take a look at the Little Yellow Bicycle blog for more great ideas! 
Photobucket

Friday, May 24, 2013

Bo Bunny and Xyron, Again!

 
It's another day with Bo Bunny and Xyron
 
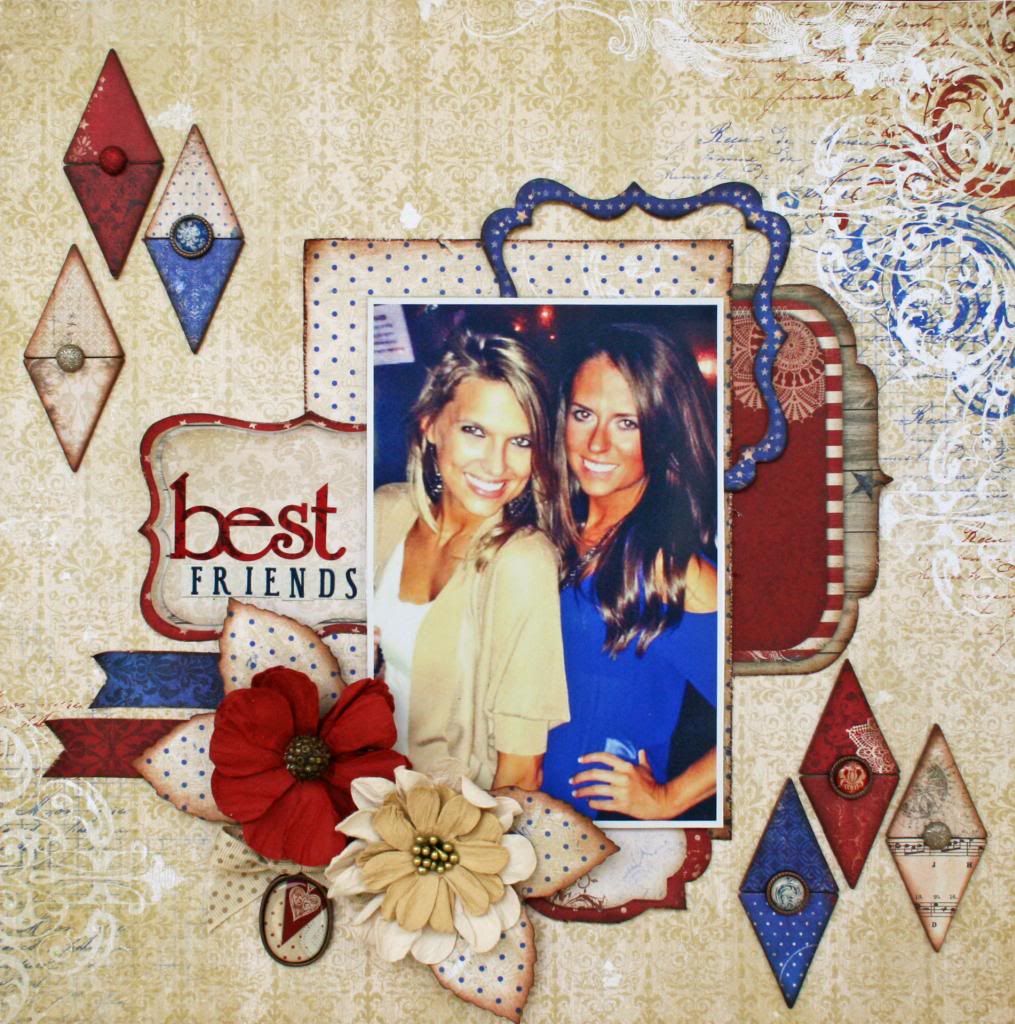
Today, I'm sharing a layout that I made using the new Anthem Collection.  Although, this collection has lots of Red, White and Blue, it can be used for so much more that American and 4th of July pages. 
 
Best Friends
 
This is my daughter and her best friend.  They have been friends since they were little girls.  Although they went to different colleges, they have always kept in touch and still get together.  In fact, they spent last weekend here at my house!  It's always a treat to have the girls here!
 
 
You can see that my page is not what you might typically expect from the Anthem Collection.  In fact, I LOVE it for the colors and the patterns that are so versatile! 
 
The Xyron Mega Runner is perfect for putting a page together quickly and easily!  I even used it to attach the trinket and it's holding!
 
 
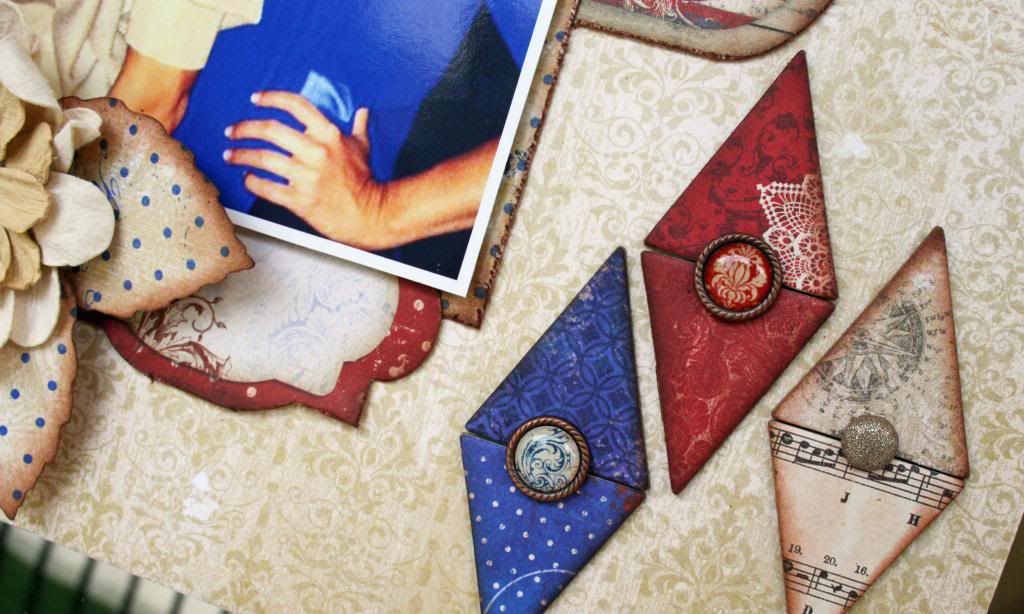
I wanted to do something a little different with the banner pieces that are included in the 12x12 Chipboard.  I chose to make them diamonds to give my page a hint of the harlequin effect.  I popped a brad in the center for more detail.
 
 
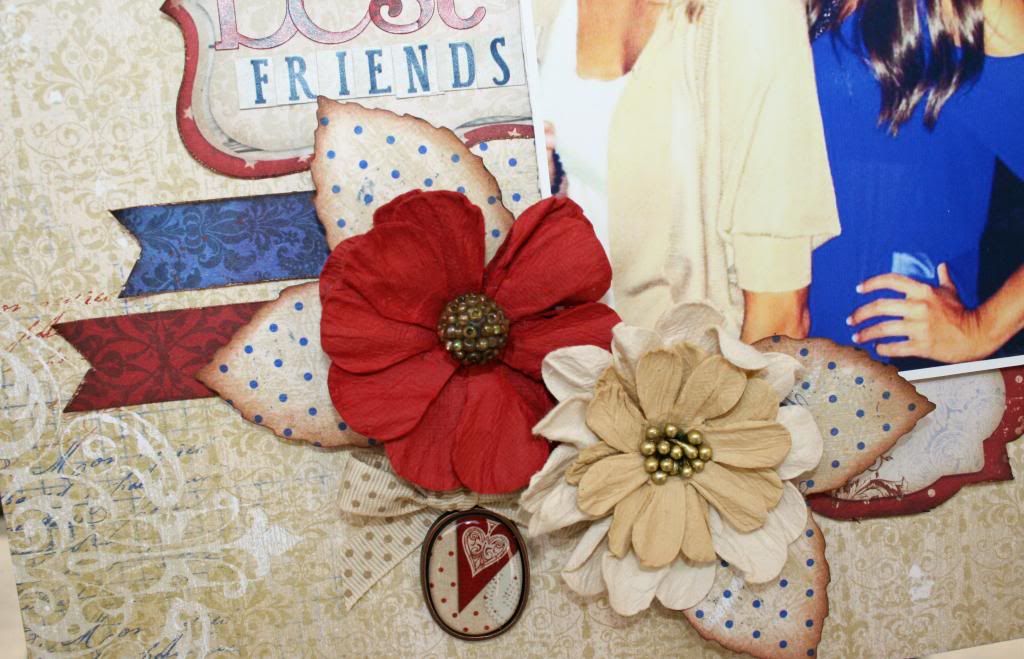
Don't forget that Bo Bunny makes beautiful Blossoms now!  These are so pretty! 
I also used the Xyron Mega Runner to attach the Noteworthy pieces and the leaves.
 
Now, don't forget the best part for you!
Both Bo Bunny and Xyron are having Give-Aways this week! And... I get to give away a prize, too! And... both Juliana and Sarah are giving away a prize, too! LOTS of ways to win this week!

YOU GET TO CHOOSE!

I am giving away a collection pack of your choice!

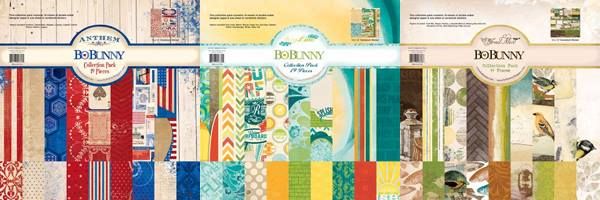
You can choose from Anthem, Key Lime and Trail Mix! It's all up to you!


You have until Friday at Midnight Central Time to leave a comment here for your chance to win.
 
Be sure to check out my post from yesterday for another chance to win! It is a great way to get to enter twice! 
 
THEN, go by Juliana's and Sarah's Blogs to see what they have created and a chance to win on their blogs!

Here's your checklist:
~Visit & comment on blogs until Friday by midnight.
~Visit, like & comment at Bo Bunny and Xyron on facebook.
(There just might be something good happen there, too!)
~Wait for the drawings and see if your name shows up.
~Enjoy fun prizes.
Easier still....
 
And...one last thing...
Bo Bunny Has a Secret!
 
 
Don't forget that we always love to see what you are creating! Share you pages and projects with us on the Bo Bunny Facebook Timeline!
 
Photobucket

Friday, October 26, 2012

Little Yellow Bicycle and Xyron Blog Hop

We are so excited to share our projects created with Little Yellow Bicycle’s Acorn Hollow Collection and Xyron Adhesive.
...
 
If you haven't tried Xyron adhesives, you are missing out!  They are not only easy to use, they are terrific for putting your paper and embellishments in place... and KEEPING them there!
 
Here is a layout that I made with both Little Yellow Bicycle Acorn Hollow Collection and Xyron adhesives.
 
This fall collection is absolutely adorable!  It is perfect for all of your fall projects!  Both the Biker Chicks and the Xyron team have been working with it all week!  Be sure, after the hop, to take a peek at all the other ideas on each of the LYB Blog and Xyron Blog!
 
 
The Xyron Create a Sticker Machine is terrific for adding adhesive to the LYB Clear Cut Shapes.  You can see by this close-up how great a job it does both adhering the Clear Cuts to the page and staying clear behind them! 
I used the 2 /12 inch Create a Sticker Machine for this one, but there are different sizes to fit your needs.  I am addicted to the Xyron X (1 1/2") for adhering letters and small bits and pieces.  It is also the BEST way to add strips of ribbon to your pages!
 
 
Don't forget the Xyron Glue Sticks!  They are a great way to adhere the paper flowers or chipboard to your pages, too!
 
 
Now, on to the BLOG HOP!!
 
You know you want a chance to win some great products from both of these terrific manufacturers!!
 
Leave a comment here and on each blog you hop to and you have a chance to win the entire
 BRAND NEW Once Upon a Christmas collection
from Little Yellow Bicycle. Leave a comment on our Facebook page and you add another chance to win. Then head on over to the Xyron Design Team blog to check out their fabulous creations and enter their giveaway for our Acorn Hollow Collection! Be sure to "like" them on their Facebook Page for an extra chance to win!
 
If you've made it this far, you are almost home! 
Your next stop is the Xyron Design Team Blog!
 
 
If you started here, hop over to the Little Yellow Bicycle Blog to get started on hop!
 
Good Luck!!
 
 
Photobucket

Thursday, August 9, 2012

LYB and Epiphany Crafts Team Up!

Isn't it great when two terrific companies team up?  All this week, Little Yellow Bicycle and Epiphany Crafts have done just that!  What's more... there are plenty of ways to win some goodies from each of these manufacturers! 

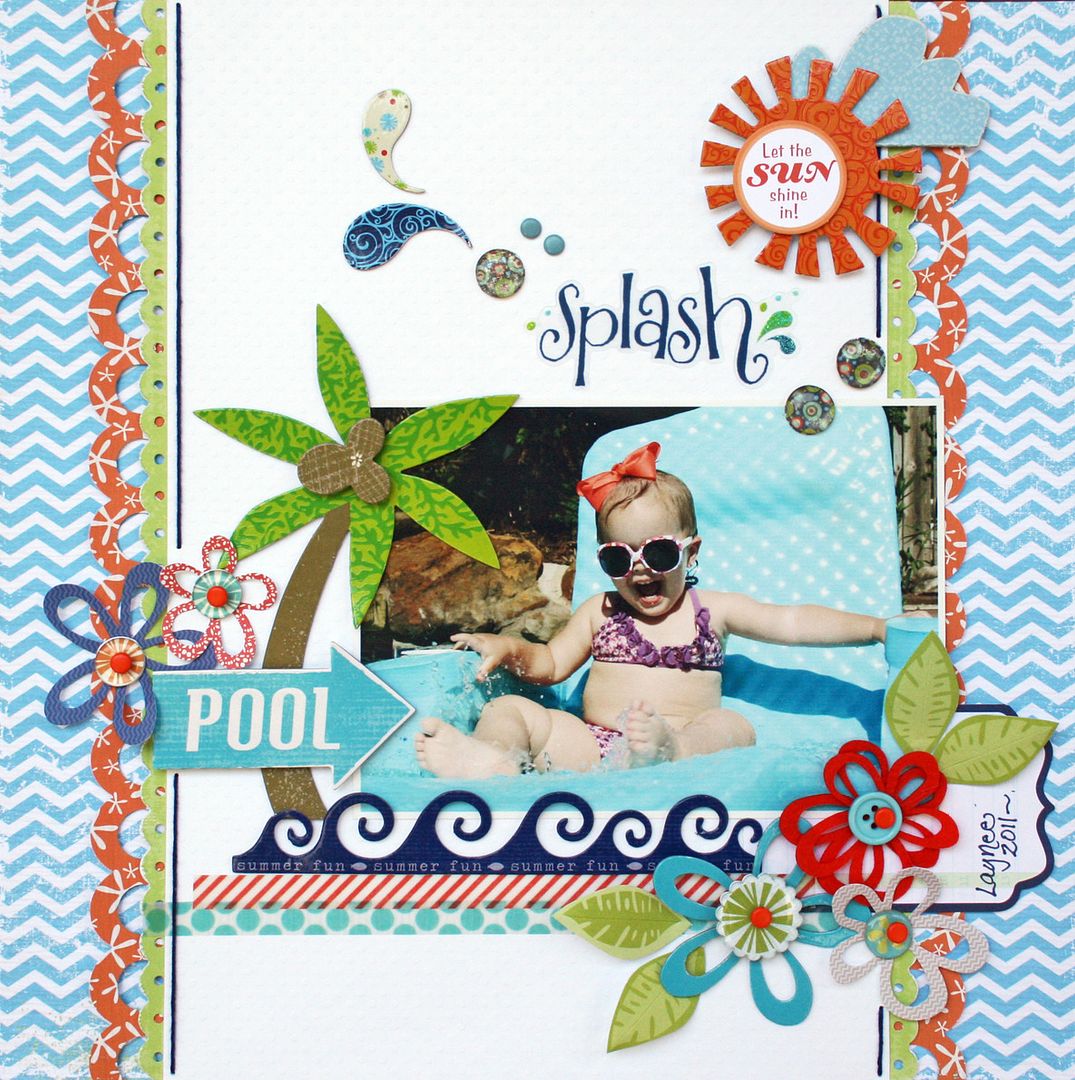
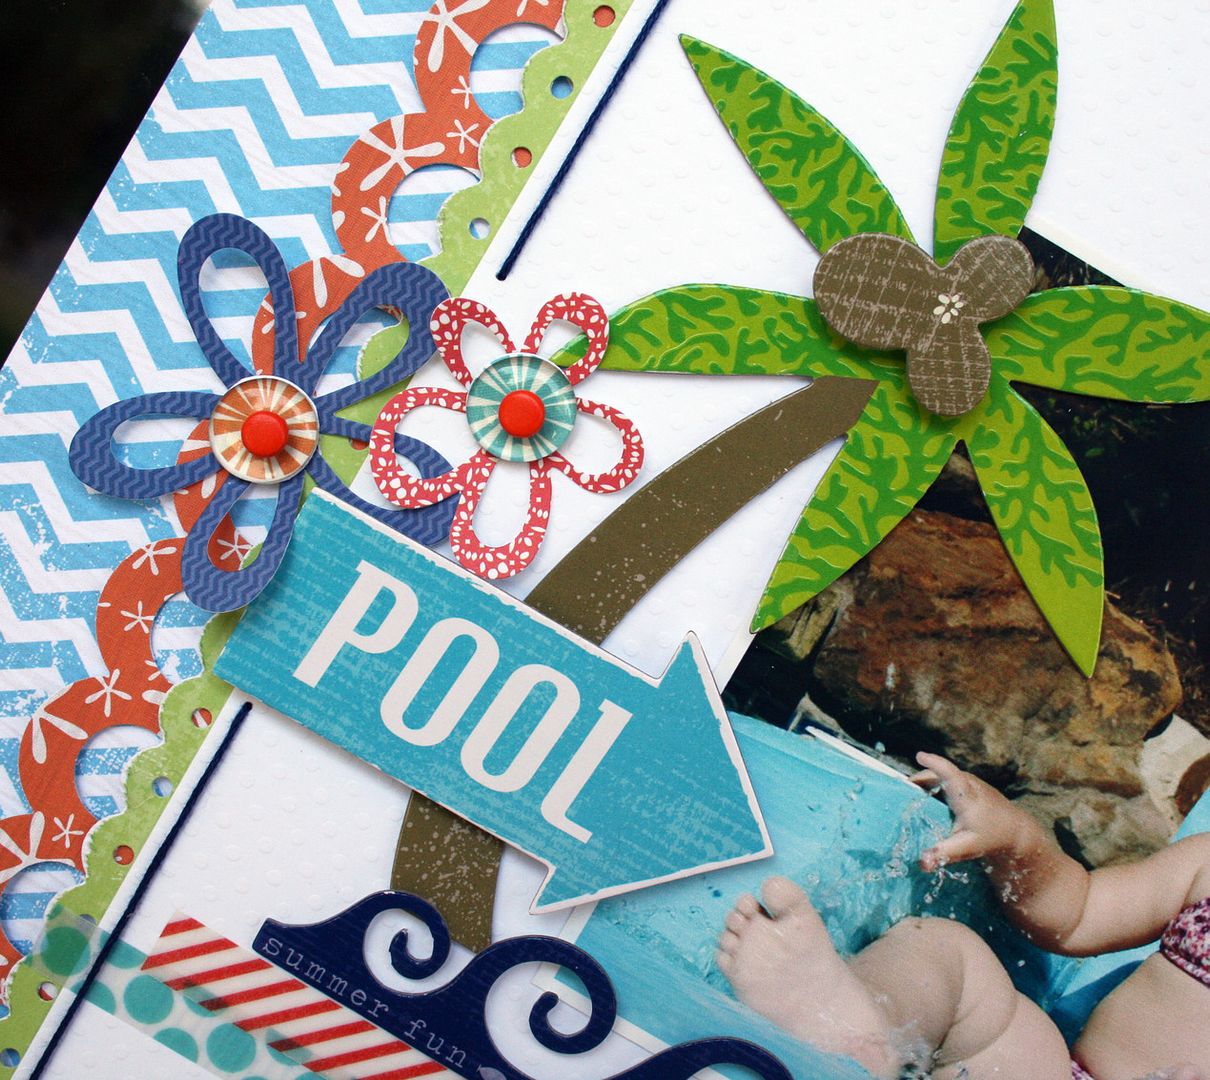
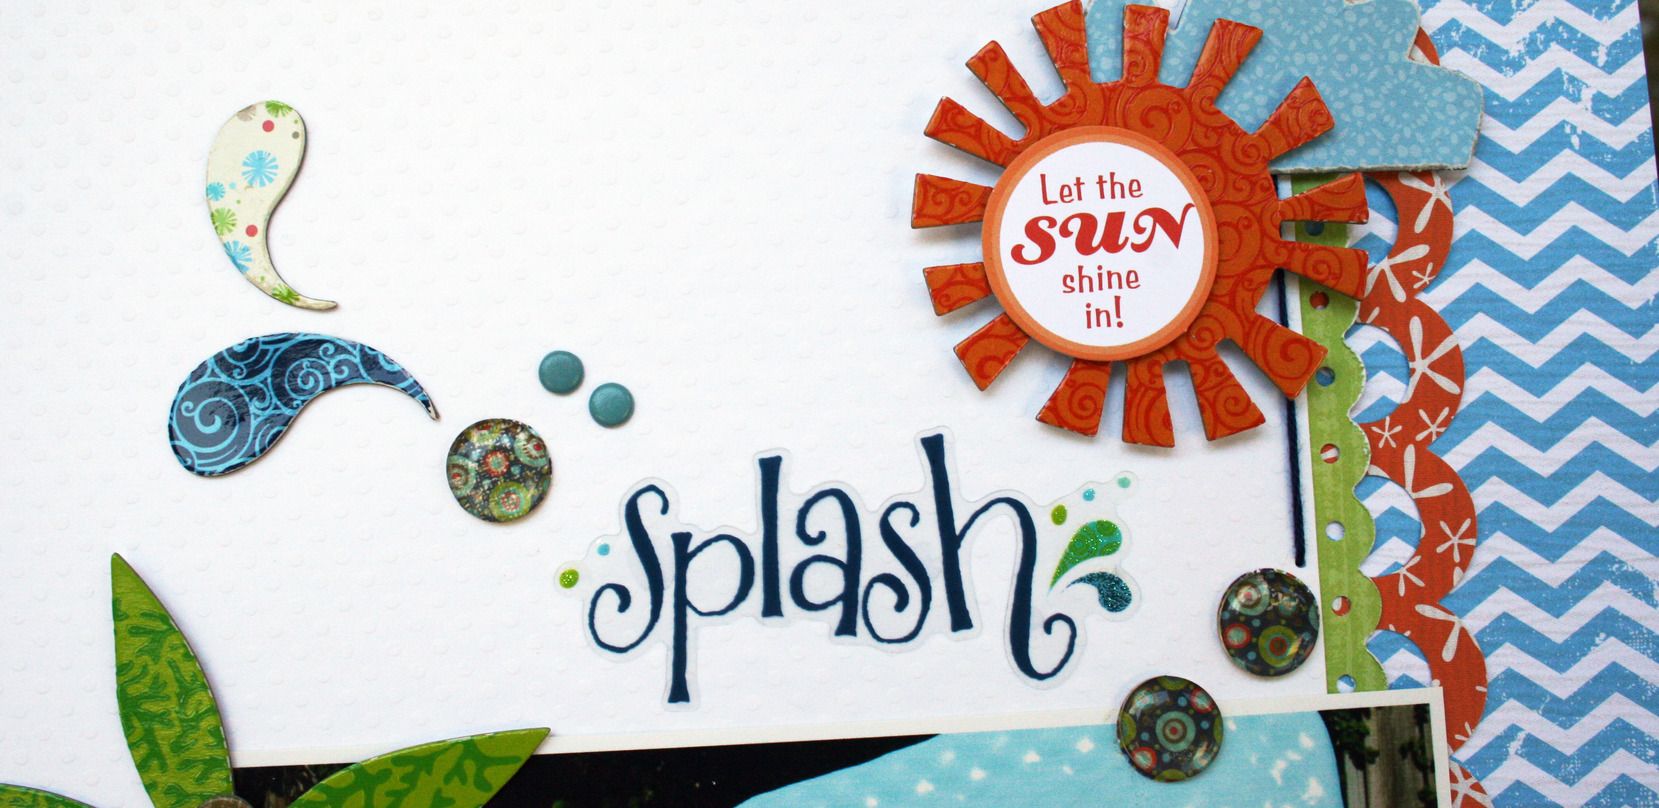
I love the Splash collection and how it really compliments almost any summer photo.   I think that this collection almost scraps itself!  Adding the Epiphany Crafts embellishments to the Little Yellow Bicycle collection certainly makes for a winning combination!


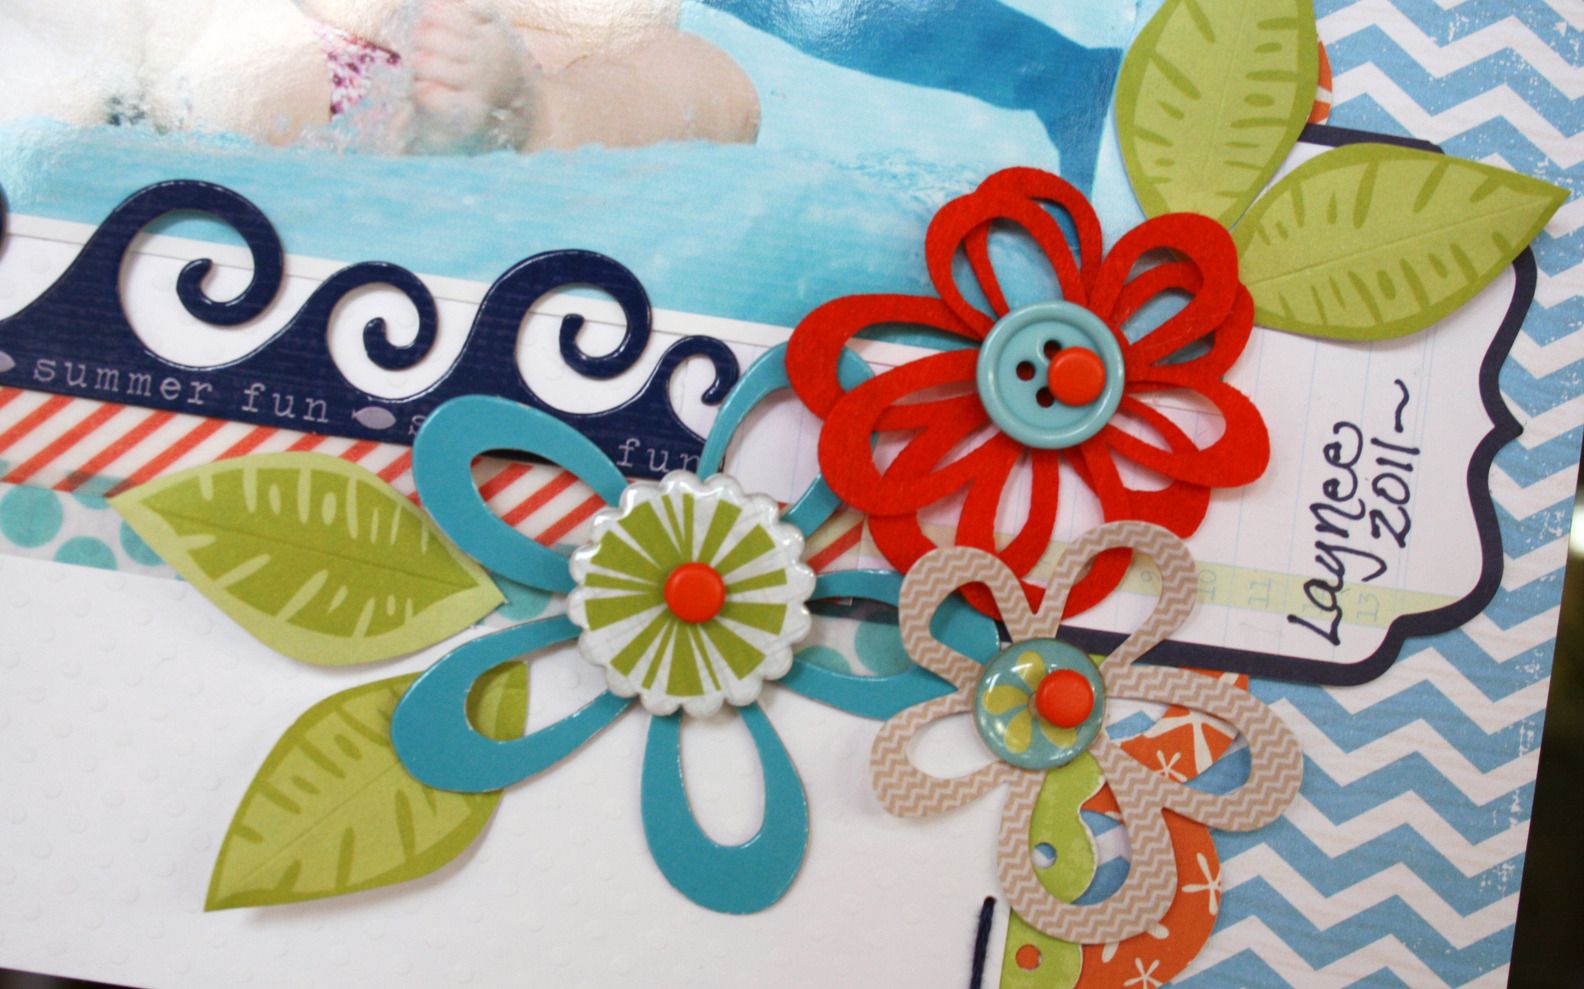
I used both the Shape Studio Scalloped Circle and the Shape Studio Circle tools to make centers for my flowers. 


I punched holes through the centers with a Crop-a-Dile to add brads to the centers of the Epiphany Crafts embellishments.  The brads are included in the Little Yellow Bicycle Paper Crafting Kit along with so many more cute pieces!


I LOVE that you can see where you are punching with the tools.  It makes placing your punches on the paper so easy!  I wanted to pick specific patterns for my flower centers and Epiphany Crafts has made that possible, too!


Finally, I made some bubbles to compliment my title.  The shiny look of the bubbles goes perfectly with the shiny finish on the chipboard and the Clear Cut title piece.

So... want to have a chance to win???
Of course you do!!!

Get over to the Little Yellow Bicycle Blog and the Epiphany Crafts Blog to find out how!! 

Also... be sure to check out both blogs tomorrow for MORE chances to win!!!


Photobucket