Wednesday, June 18, 2014

Flying Unicorn and Julie Nutting Blog Hop

Welcome to the Grand Uni & Dolls blog hop party! 

If you have come from the Flying Unicorn Blog then you are in the right place. If not then begin from the beginning at Flying Unicorn Blog because you do not want to miss a thing!
(We have an amazing line up of creative and inspirational projects all centering on Julie Nutting Mixed Media Doll Stamps. Let us get this party hopping! ) 

I'm such a huge fan of Julie Nutting Dolls that it was really hard for me to choose one to use for today's blog hop!  I ended up settling on this sweet little toddler.  You can find her HERE in the Flying Unicorn Store.
 
I have created a little sign for today's project.  This could easily be used as a hanging piece by hanging from the ribbon or by adding a picture hanger to the back.


This was created on a piece of decorative wood that I picked up at Michaels for a couple of dollars.

To create the background, I first mixed a pink paint with pearlized medium to give it a bit of sheen.  Just use any brush you have to apply it.

After you have it painted. Mix a bit of your paint with glaze.  (I added a bit more pink to make it a hair darker.)  Glaze can be found at any hardware store.  I picked mine up at Lowe's.  
Before the glaze dries, use a paint comb in vertical lines to remove a portion of it, as shown.  Let dry.


Next, apply the glaze over the top.  This time, you will pull the paint comb horizontally.  It will look something like this.  Remember it doesn't have to be perfect.  


Before  you set it aside to dry, take the brush and give the ends a bit more color for depth.  

Finally, finish up the background by inking around the outside with brown chalk ink.  Give it a light spritzing of Antique Gold to tone it down, as I did with my piece.  I wanted to have a bit of a vintage look for my finished project.

You will see in the photo below that I even gave my finished girl a little spritz of Antique Gold.  

 
Tip:  You might notice that there are lots of layers used to create my dolls.  If you look closely, you will see that I play that up by not gluing everything flat.  I intentionally didn't glue down the bottom of the skirt and also only glued the center of the hair bow.


Now embellish it!  I used lots of Prima Flowers, some Zva Creative Bling and even an old Jolee's button from my stash.

 
NOW... for the fun part for you!!! 

Want to win the doll I used or any of the other ones, the choice will be yours along with Time Traveler or Seashore collection paper pack by Prima. To be eligible all you have to do is:
·Become a follower of my blog
·Comment below this post and tell me you became a follower and tell me about your favorite Julie Nutting products!
·This giveaway is open worldwide

 
But wait there is more …..
One lucky person will win the Uni’s & Dolls grand prize


Now... I KNOW you need to see what the other girls are sharing and I KNOW you don't want to miss out on a chance to win the fabulous prizes, so it's time to head over to Jen's Blog!
 

Photobucket

Tuesday, June 3, 2014

Flying Unicorn June Kit of the Month

Here is another layout that I made with the Flying Unicorn Kit of the Month.  There are so many great bits and pieces included in this kit!  


I settled on a super simple background design for the base of the layout.  The seam between the two papers was covered with a sheer ribbon and then it was time to embellish.  My favorite part! 


There are lots of pretty flowers and metal pieces in the kit that layer beautifully for embellishing.  I added a sheer bow and a couple of heart pins from my stash, too.


The Bo Bunny wood pieces are also included in the kits.  I added a bit of ink to make them a bit darker.  The butterflies were cut from the paper, folded in the middle and then I used a pencil to draw trails and stitched along them.


This layout was based around the birth of my nieces twins.  The other 3 children in the photo are her older children.  The title was easy to come up with and to the point.
I used letters and a word from the kit and then added a Prima Chipboard 5 from my stash.  A couple of tiny flowers from the kit, along with a little heart from my stash completed the title work.Photobucket

Monday, June 2, 2014

Off the Page for Flying Unicorn

As you know from my previous posts, I have joined the Flying Unicorn Kit Creative Team.  This month, I received my first kit and let me tell you, it was beautiful and so easy to create with.

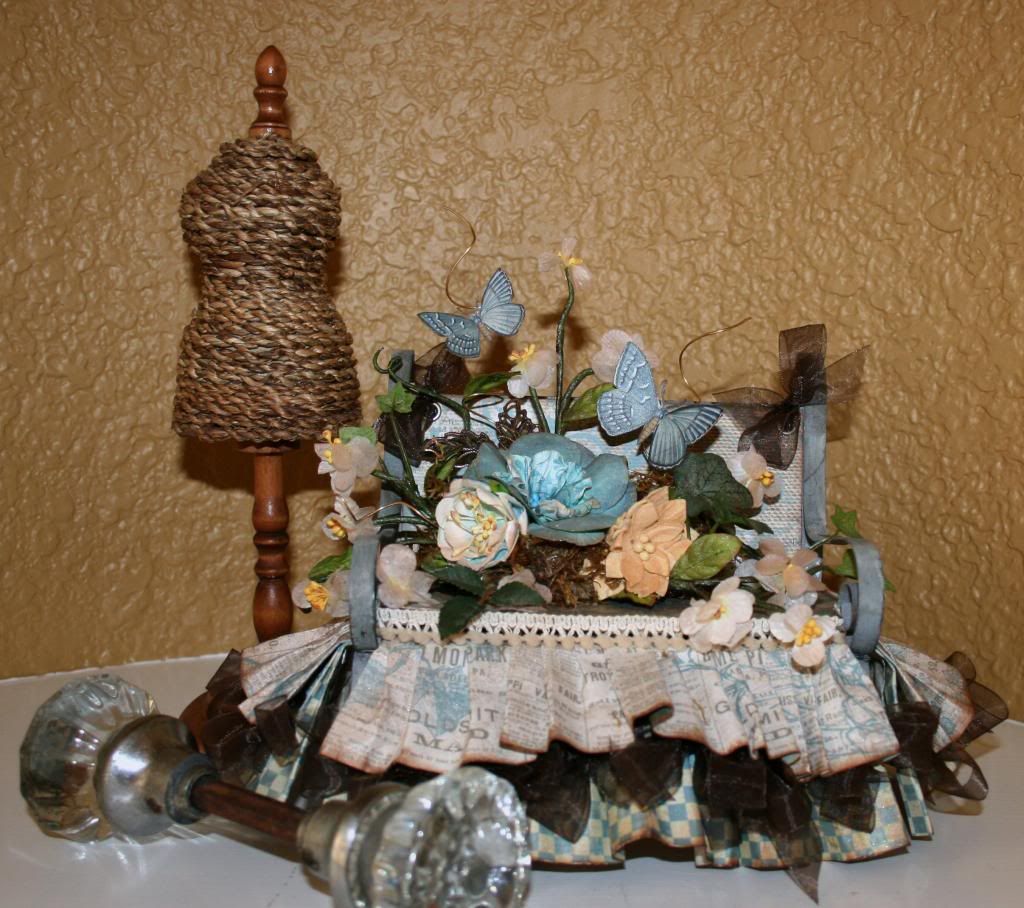
In addition to everything you need to create terrific pages, the Main Kit of the Month includes an off the page item.  This month, it was an adorable little galvanized iron bench.  Since the kit was so beautiful and I still had so much left (even after completing 3 layouts and this bench) I chose to use the kit to decorate my little bench.

The collection is Tailgate Marked from Riddersholm.  I love blue, so this kit was certainly right up my alley!


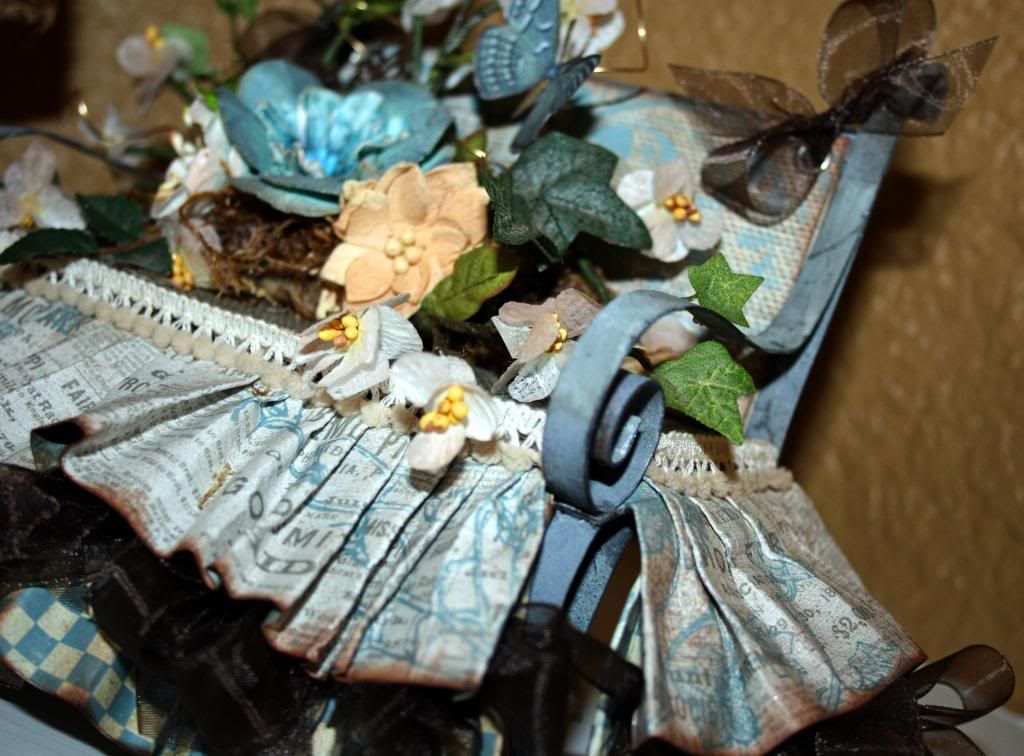
I started out thinking that I would love to add a ruffled skirt to the bench, so that came first.  
 Tip:  To make the ruffles, I sprayed the paper with a bit of sparkly mist.  Then I 'pleated' it to the length of the bench front and sides.  After it was mostly dry, I used Fabri-tac to glue it to the bench. 

Next, I made a 'cushion' and the back cover.  The cushion was done using 2 pieces of cardboard cut to size and then adding a piece of paper to cover it.  I used a bit of the Petaloo Pom Pom trim from one of the kits to put around the edges.

The back of the bench was done by putting 2 pieces of paper over a piece of chipboard, adding eyelets and attaching it to the back of the bench with ribbon.

Super simple!


Next up, I made a little floral arrangement to sit in on the bench.  I used  some flowers from the kits, some Prima Vines from my stash and actually even cut a few pieces of ivy from the back of an arrangement in my house!  lol

The butterflies were fussy cut from the paper and attached to a bit of wire that I swirled a bit.

Tip:  I used a piece of floral foam to build the arrangement on.  It makes it super easy to  attach everything and gives it dimension.  After the arrangement was built, I added a bit of moss to cover any foam that might be showing.

One last detail was missing!  I felt that it need some ribbon ruffles between the paper ruffles.  Since I had already completed it and wanted to make it as easy as possible, I simply tied a lot of bows with the sheer ribbon that I had used on the back.  After the bows were tied, I just added a bit of Fabri-tac and tucked them between the layers.
Be sure to check out Flying Unicorn to see what all the Designers have created!  There are lots of wonderful creations!
Don't forget, you can now pre-order the kits!   You can find all the details here...
Photobucket

Friday, May 30, 2014

Reveal Time at Flying Unicorn!


We at Flying Unicorn are so humbled and excited to have the owner of Riddersholm Designs designing with us this month! Before you scroll down to see the amazing June Kit reveal - we are sharing a few sneak peeks from Connie Riddersholm which will be highlighted on June 01, 2014.

We have been blessed to have been introduced to Connie and Riddersholm Designs a few years ago and fell in love with her paper collections from Turquoise Hill to Bello Pastello, along with Vintage Pink and so many more that are all back in stock in the store!

Without further adieu we present June's 2014 Your Passion. Your Art. featuring the long awaited release of the newest collection from Riddersholm Designs Tailgate Marked !

http://www.flyingunicornstore.com/category_s/1339.htm

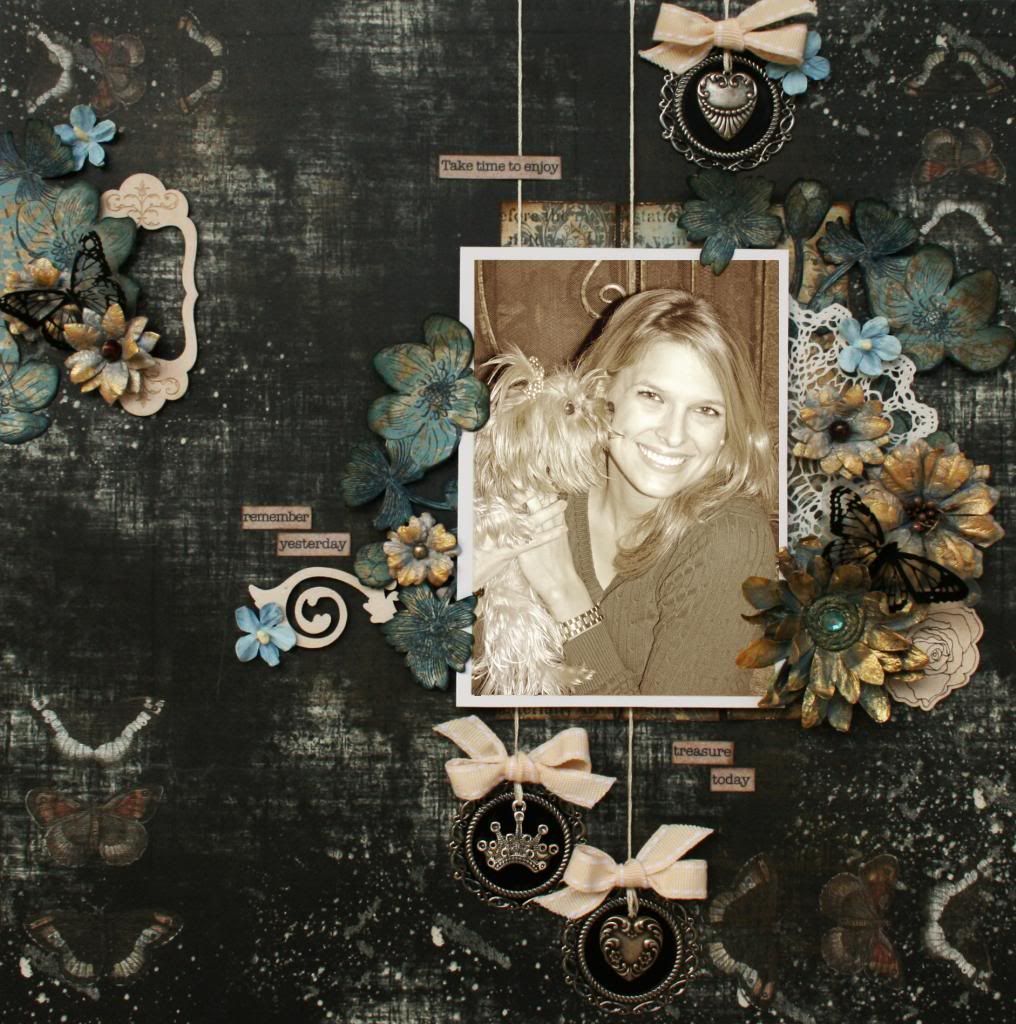
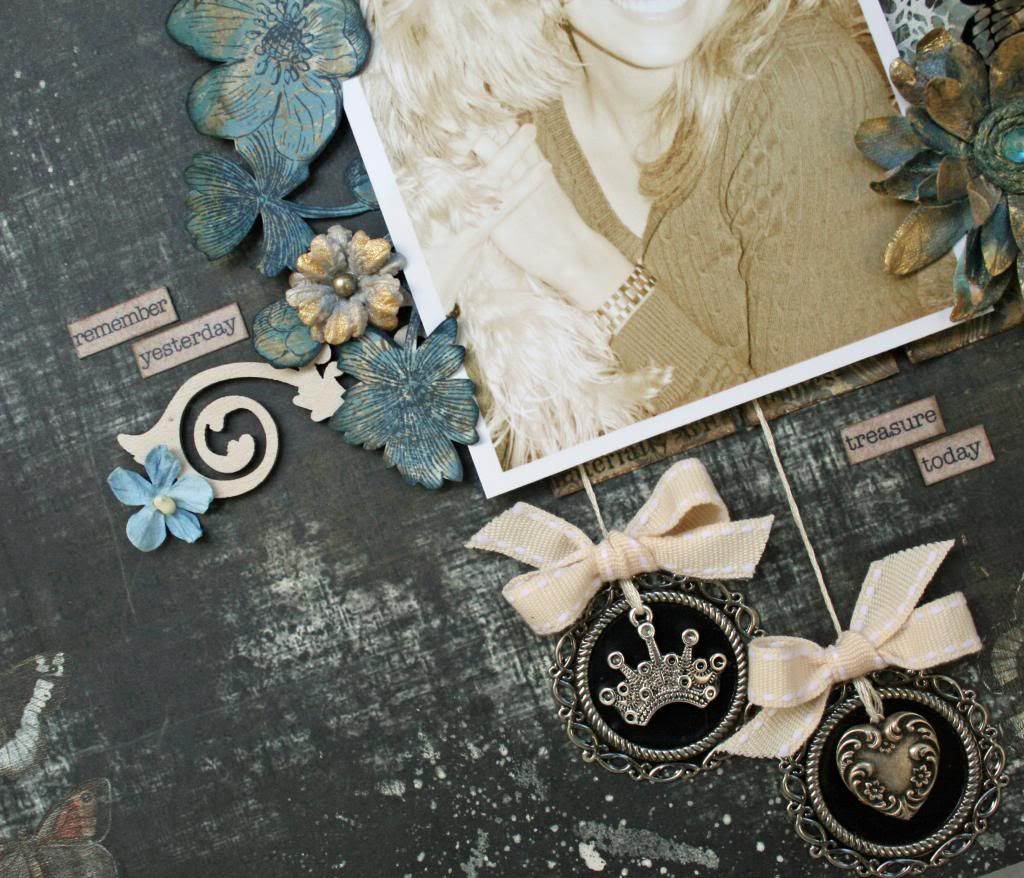
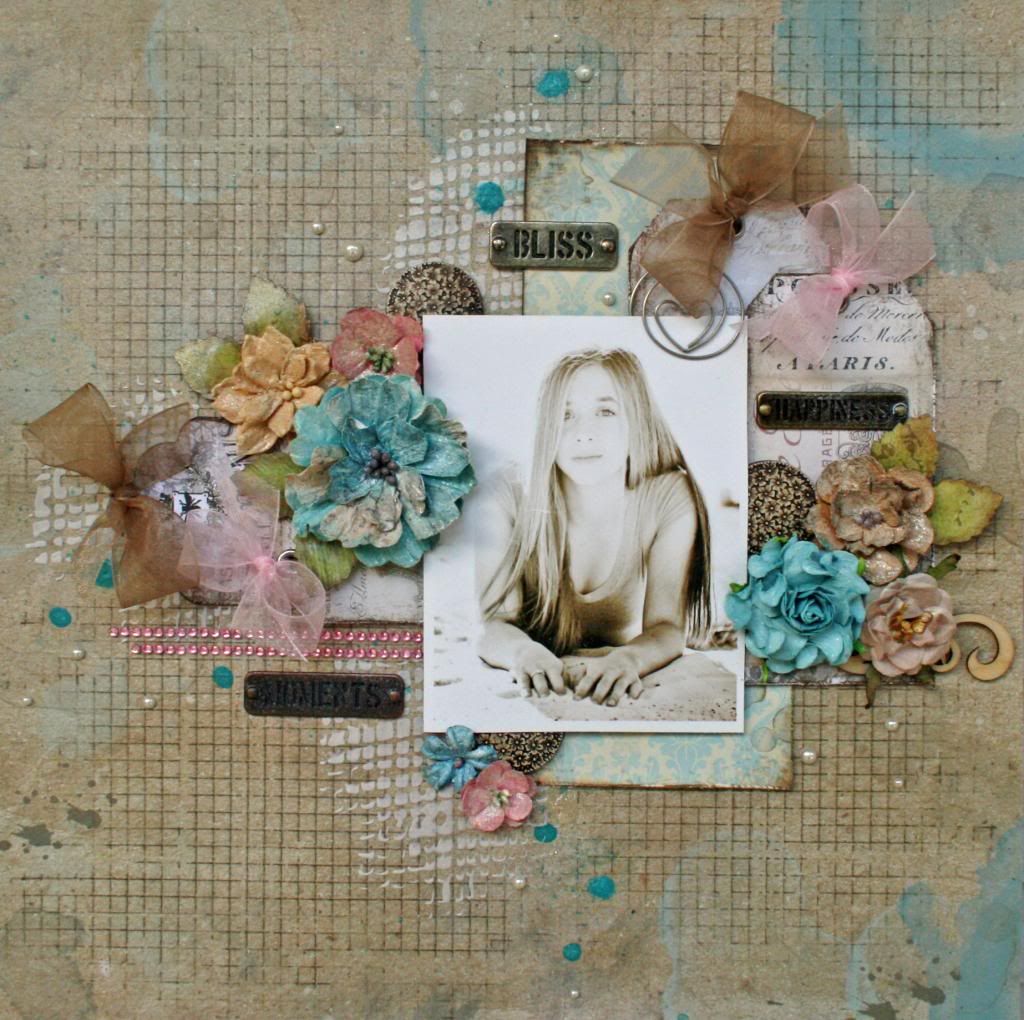
Here are a couple of pages that I made using this fabulous kit!  I'll share more soon!


http://www.flyingunicornstore.com/category_s/1339.htm
Our kits are amazingly unique and every month we include an off the page project. This month you will receive a galvanized steel park bench ready for you to get creative with.

This bench was so fun!  I will be sharing my project this week!  

The latest and greatest embellishments and goodies for you that compliment the main kit and all the add on kits. You can purchase this to add creativity to the stash you have on hand or to mix in with our main kit for more creative yumminess!


A perfect add on for the avid mix media artists out there to the ones that are just getting their hands, and yes sometimes face and feet inked! The colors in this kit compliment all the other kits being offered this month or it can stand alone since it will always come with a canvas so you can play as soon as you receive it !


http://www.flyingunicornstore.com/category_s/1339.htm
Our Small Art, Big Passion addon kit can stand alone or mix it in with the main kit. Perfect for card makers, altered projects, tags, atc's and so much more!


We have an incredible month of great tips, techniques along with some amazing videos to teach and and get you creating! Our educators this month will be using the kit to inspire you along, though you can always create and try using your own stash too! So become a subscriber of our You Tube Channel and our forums - You do not want to miss out!

Delaina has created a step by step video creating this amazing layout! Whether you are a beginner scrapper or an avid one there are some amazing tips and techniques on masking and layering for you to try and enjoy! Grab your coffee or tea and Click here to bring you to our You Tube Channel


Are you not in awe of this amazing creation by Lainie... well join us on Friday June 6th on the forums as she gives us step by step instructions in creating this magnificent page using our June Kit. There are some awesome techniques that you will walk away with that you can make your own and create on any project! Click here to take you to our Build Page Section.


We are thrilled that on June 7th Song's video will be posted on our You Tube Channel where you will see her create step by step our Off the Page Project. Song's work is detailed and she shows you all the steps so you will not want to miss watching this video. There is a lot of amazing techniques to learn! Click Here to bring you to our You Tube Channel .


Photobucket

Tuesday, May 27, 2014

Mixed Media Canvas

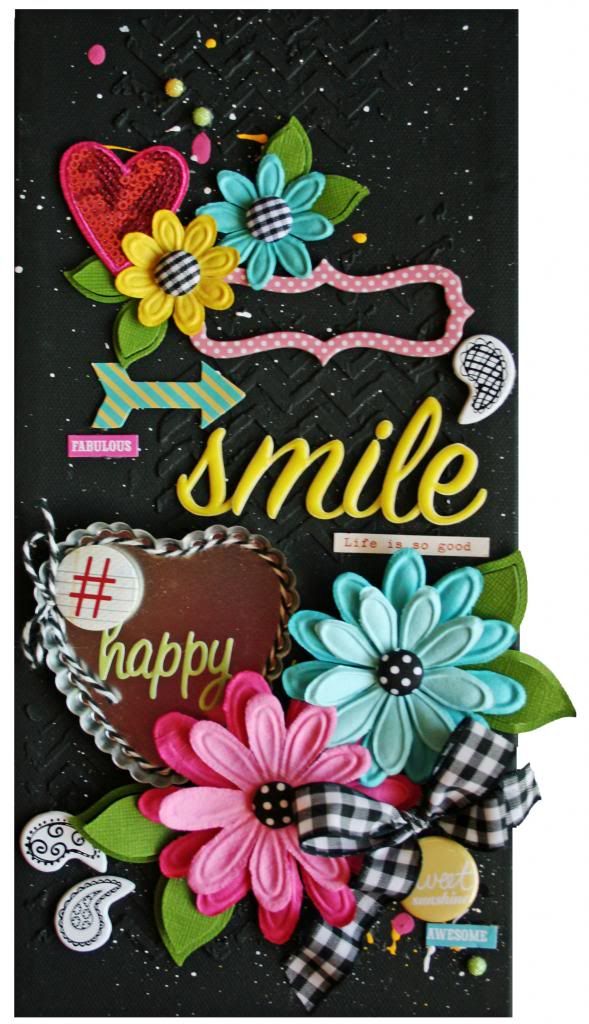
Hi y'all!  I wanted to share a canvas that made recently.  I love playing with a 6x12 canvas when I'm creating for fun or trying out new ideas.  It is such a great size.  Plenty of room, but not so large that you are spending forever on it.  Sometimes, you just have a little while to play and this size is perfect for that!

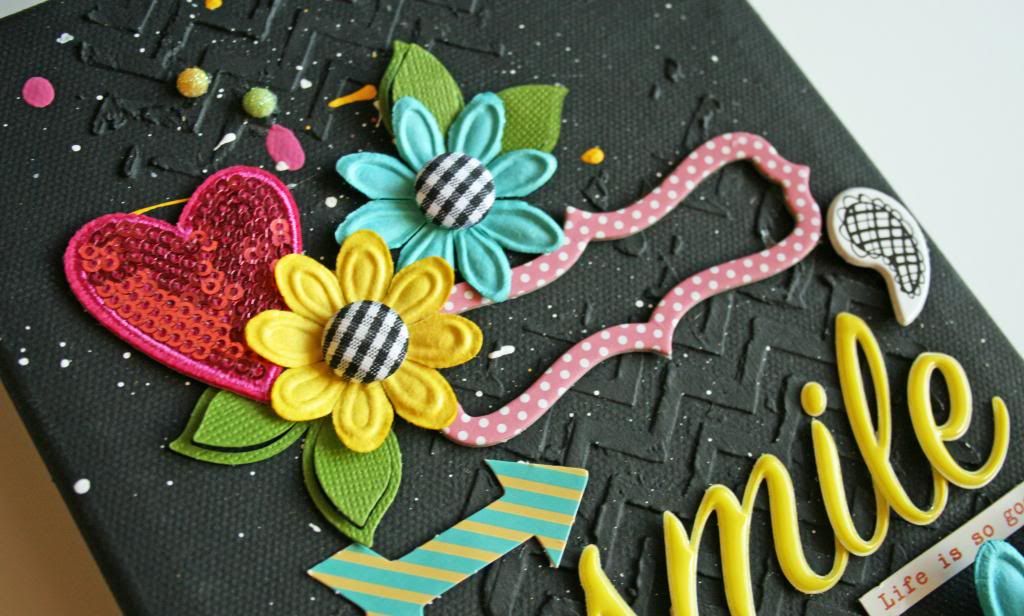
I started out with some modeling paste and a stencil.  This on is a Heidi Swap stencil.  After I let the paste dry, I just painted the entire thing black.   I really like the chalkboard look that is so popular right now, so I decided to experiment a bit to see how it worked with a canvas.


Before I started embellishing it, I decided to give it a few splatters with some white and neon colored paints.  For both the background and the splatters, I used inexpensive acrylic paints.


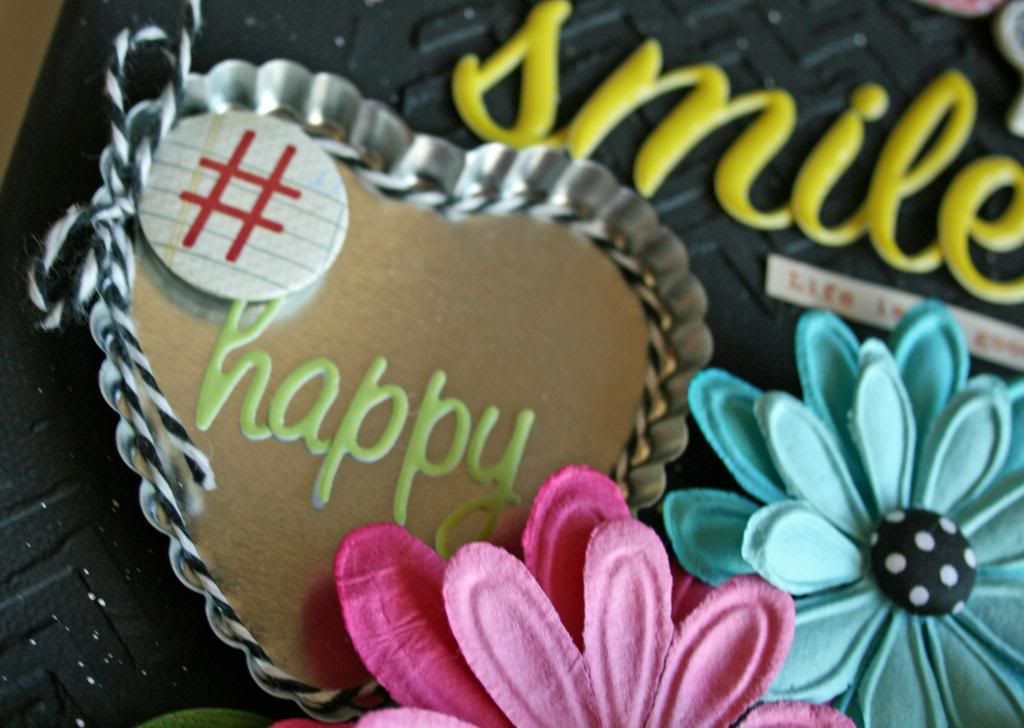
For embellishing this one, I used a lot of oldies but goodies supplies!  I have so many things in my stash that I still love and I don't care if they are 'out of date'.  A good example of this is my Prima Sprites and my American Crafts Thickers.  I will not admit how many flowers I have, but the Sprites are so cute!  Also, the Rainboots Thickers .... oh man!  My all time favorite font for Thickers!  Talk about not admitting how many packages.  I still buy the black ones!  Hopefully, I will never run out!


In addition to my oldies, I chose some newer flair.  I couldn't resist the hashtag and liked the way it fit nicely in the bottle cap heart.

 
To finish it off, I added a few brads and some little words from my stash.  The last thing was, of course a bow!  :)


I would love to see your take on canvas'.  Leave a comment with your blog address, and I'll stop by!

Thanks for stopping by!

Wednesday, May 21, 2014

Inspired by Pinterest


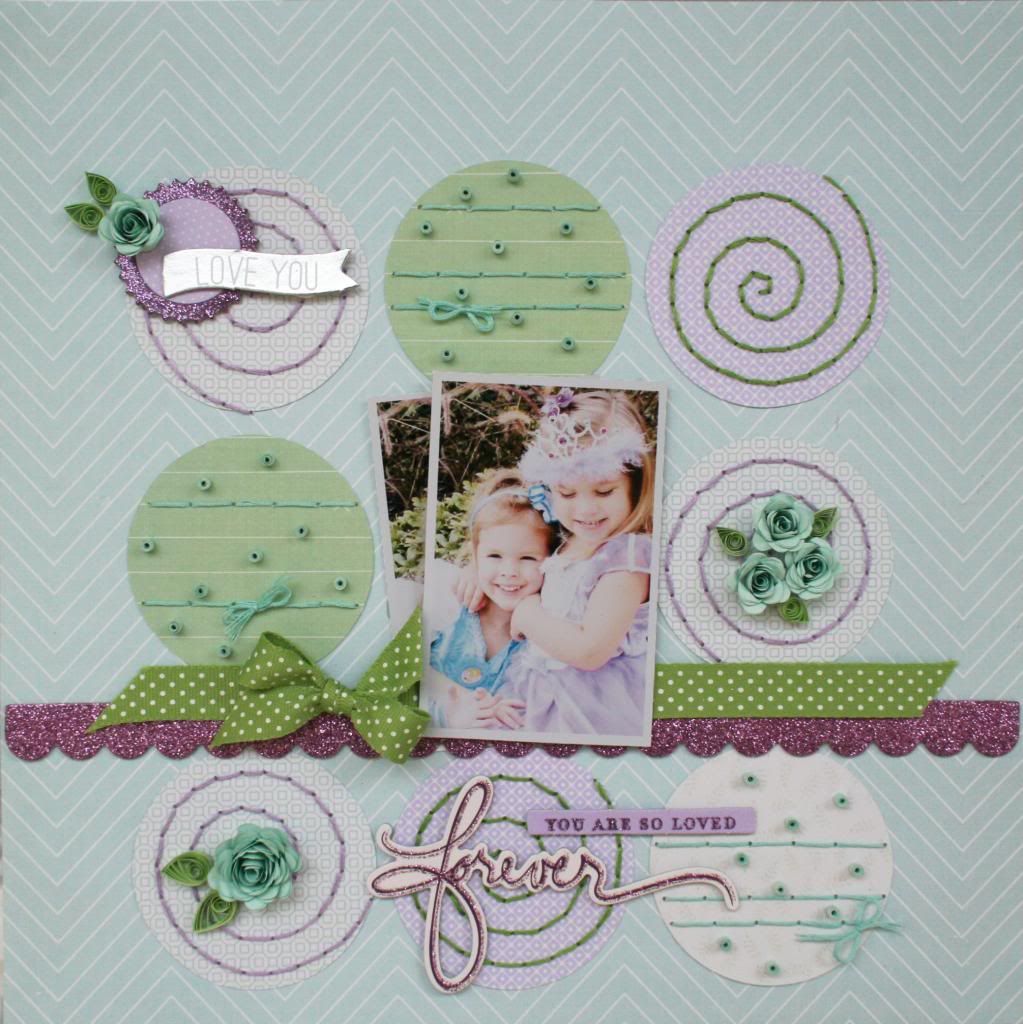
You might remember a while back that I did a card that was inspired by Pinterest.  I also did a layout that was inspired by the same photo for the 3 Birds Studio Blog.  I can share it here now, just in case you missed it on the 3 Birds Studio Blog.


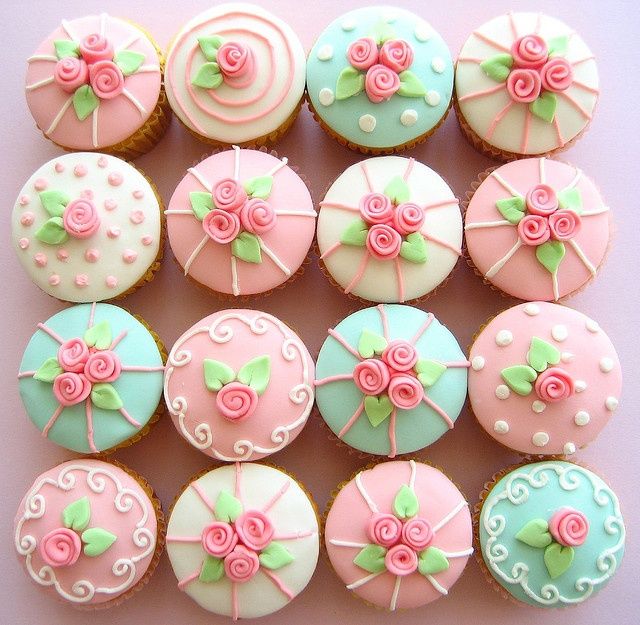
This is the photo that I saw on Pinterest that was my inspiration for my layout.


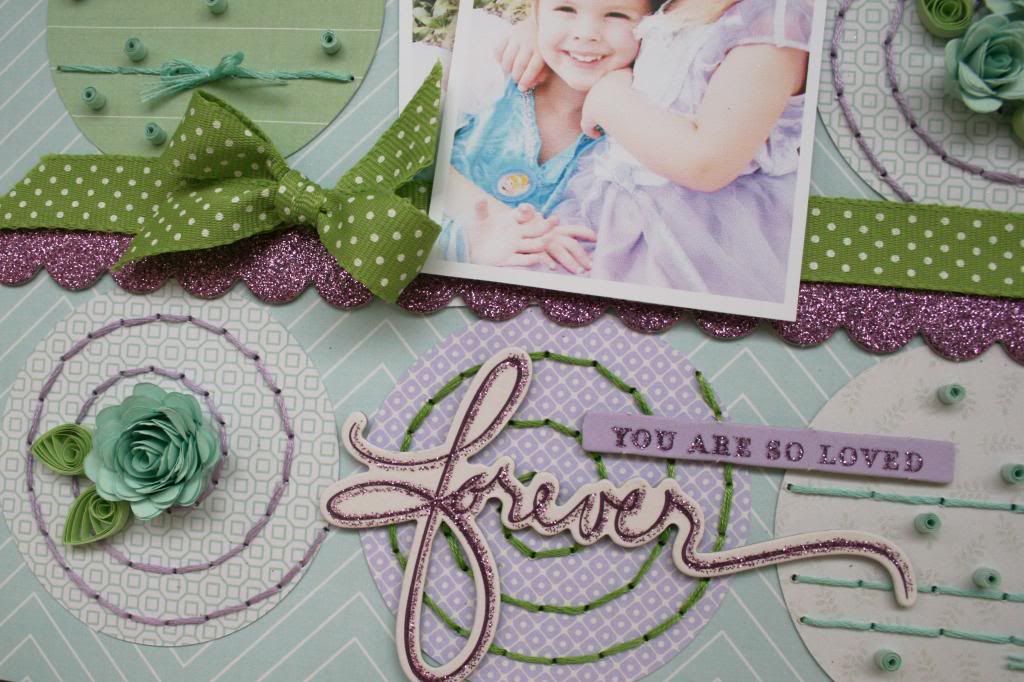
You can see that I used the pattern of the cupcakes for the background design for my layout.


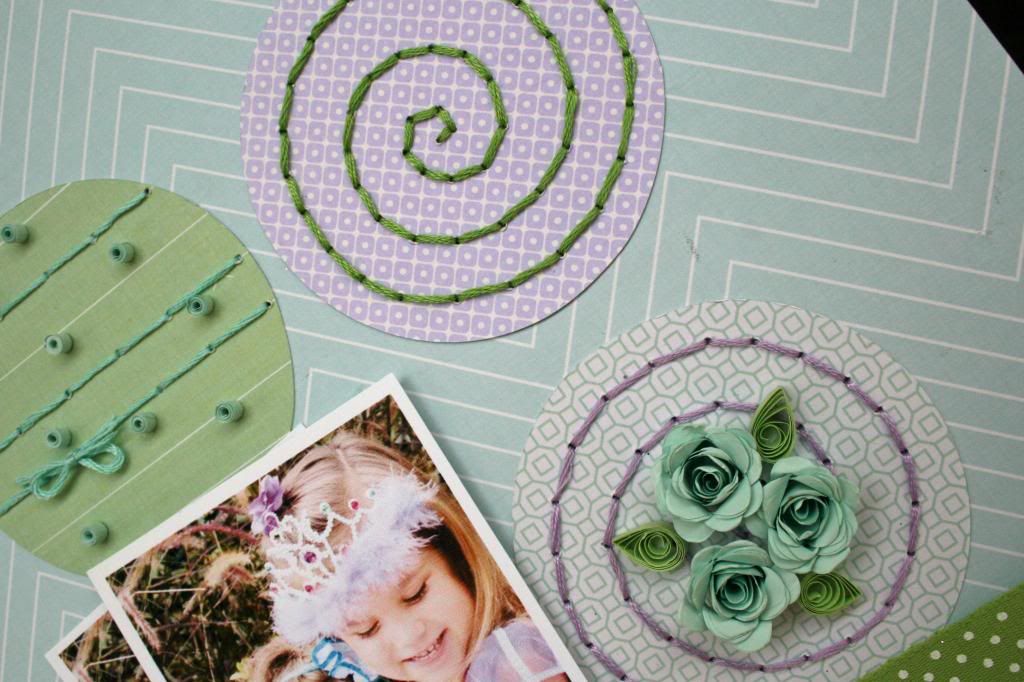
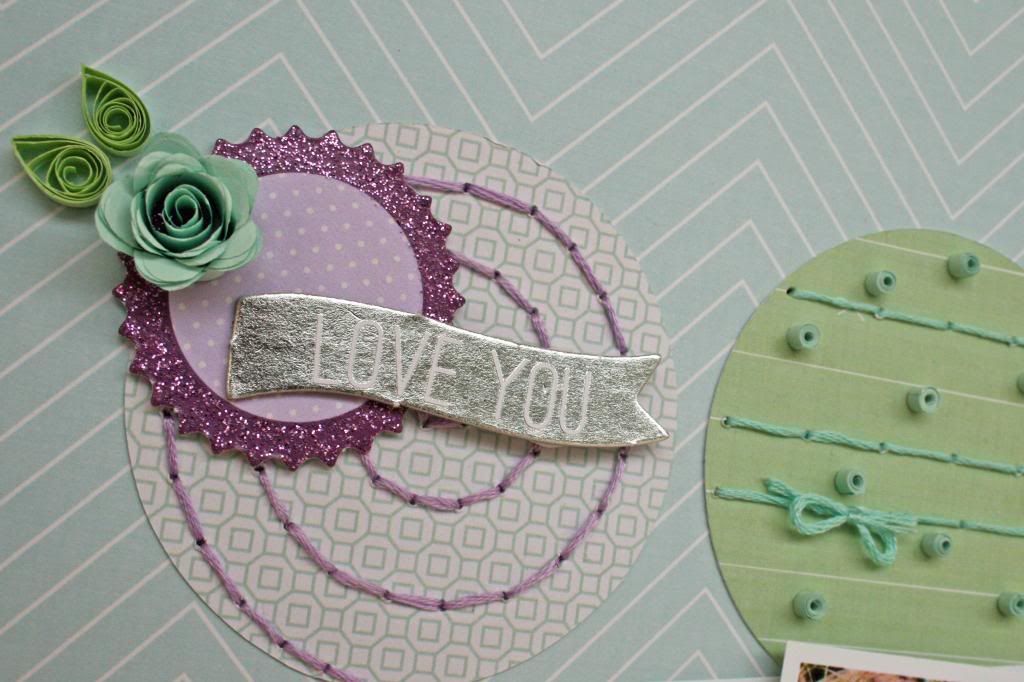
I chose to stitch within my circles to mimic the look of the icing.  The quilled roses were also added according to the patterns in the photo.


Glittery Chipboard a touch of ribbon and adorable photos were added to finish the look.  


In a previous post, I showed how I did the patterns for the inside of the circles.  You can see that post here if you would like some ideas for how to pierce in an established pattern.


Photobucket

Tuesday, May 13, 2014

Vacation Selfie


Hi y'all!

My daughter recently had a great vacation with her best friend to Destin, Forida. Of course, they were posting photos on Facebook, so I had to grab some!  I loved this cute selfie best, so it is the first of many that I used.

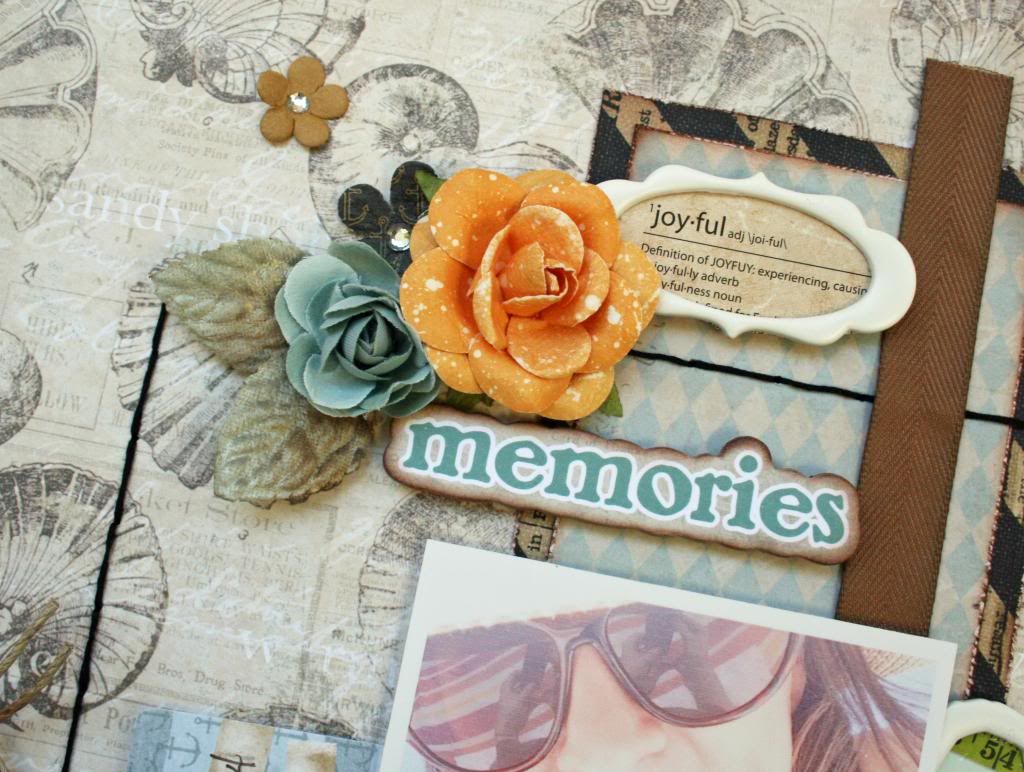
I knew that this trip was coming up, so I had ordered the Prima SeaShore Collection recently.  It turned out to be a great match for her photos!  Can't wait to use it again!


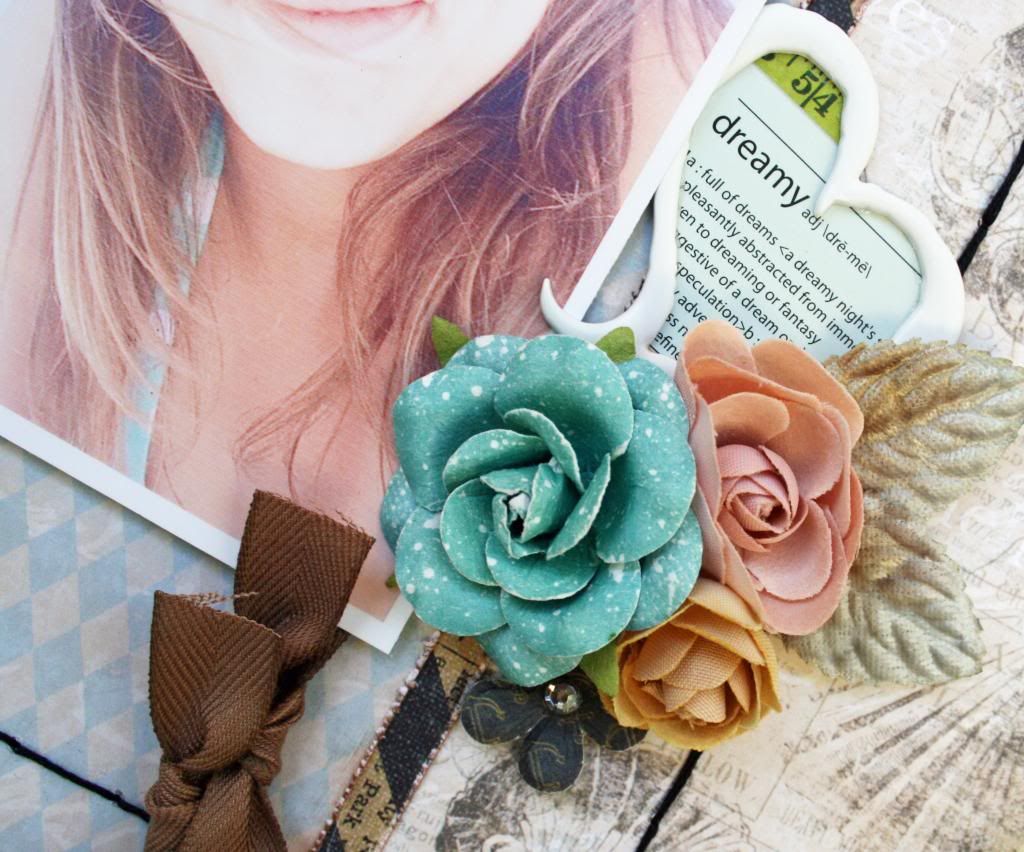
The flowers are terrific!  I love the tiny ones to add more layers.  They tuck in so nicely!  Look closely and you can see the little anchors on the black one.  So cute!


  I'm not going to admit how many packages of these metal frames that I have.  :)
I chose to use the dreamy definition in this heart because the photo just seemed to require it!


Cute tags, more flowers and metal!  I used foam to vary the heights for dimension and to make layering easier.  


Photobucket