Tuesday, March 12, 2013

Little Yellow Bicycle and Ranger Ink

You know it's got to be good when Little Yellow Bicycle teams up with Tim Holtz and Ranger Ink!
 
Combining the new Little Yellow Bicycle Naturals, new Little Yellow Bicycle Stamps with Ranger Inks is a perfect combination.  Both companies make quality products that make it fun and easy to create!   What's better yet?  You can find the new Naturals at your local Michaels and Hobby Lobby in addition to your other favorite scrapbook stores.  It couldn't be easier to get your hands on them!
 
Here is my project for this swap.  I had a blast experimenting with the inks and stains! 
 
Altered Frame


Be sure to check out the Little Yellow Bicycle Blog for close-ups and instructions.
 
Guess what?  We are giving some away!While you are there, read all about how you can win some of the new Naturals for yourself!
 
Also, Little Yellow Bicycle is now on Twitter and Instagram!  There is a lot going on so be sure to follow us to hear all the news first!


Photobucket

Thursday, March 7, 2013

Altering with Bo Bunny

The Bo Bunny Design Team is altering today! 
With Easter right around the corner, I decided that making an Easter Basket seemed like a perfect fit.  I haven't decide where I'm going to put it.  I am leaning toward putting it on a cake plate and using it for a centerpiece on my kitchen table. 
 
Easter Basket
 
I am loving the new doilies from Bo Bunny!  I used them to make this 'ruffle'.  Each package comes with 20, so there are lots to use!  I used 14 for this basket.  It has about a 22 inch circumference.
 
 
The flowers that come with each collection are so pretty and so easy to layer.  I finished off the centers with little pearls from the jewel package that co-ordinates.
 
 
A border punched strip topped with a straight strip is added for the handle.


After glueing down the doilies, I finished off the inside to cover up the gathered and glued sections.
 
Tip:  To make the ruffle, fold the doilies in half and gather them up with your fingers.  Glue each one to the inside of a paper mache box. 
 
Be sure to check out the Bo Bunny Blog for more altering ideas!


Photobucket

Wednesday, February 20, 2013

Little Yellow Bicycle - Just Because

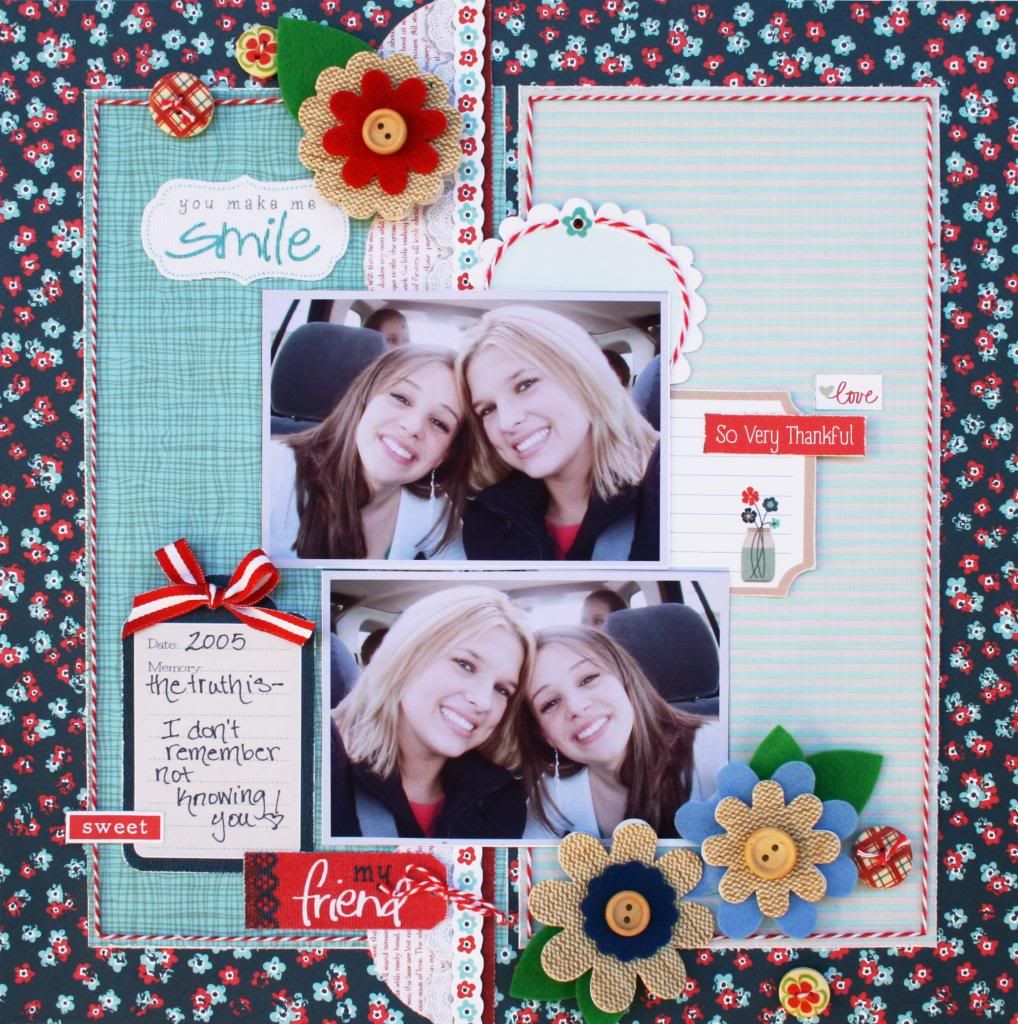
All the bright and beautiful elements in the Little Yellow Bicycle Just Because Collection make me want to use them all the time! Add in some of the new Naturals and it's a match made in heaven!

This photo of my daughter and her friend was a natural fit with this collection. There are so many elements that reference friendship. Because these girls have been friends since they were 4 years old, it seems to them that they have known each other always.
 
You Make Me Smile
 
 
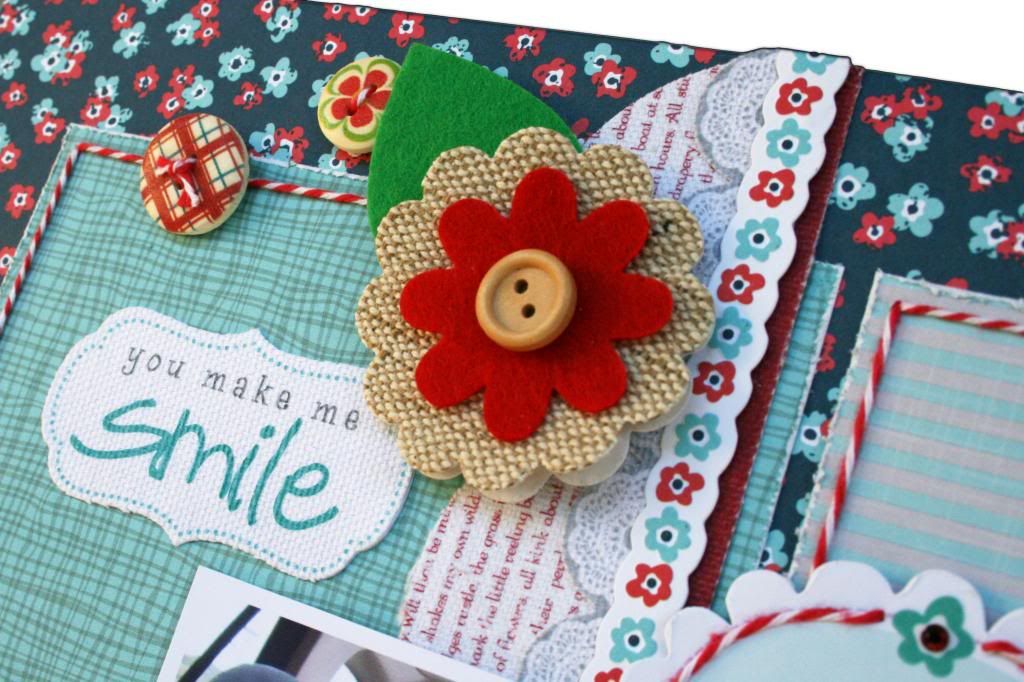
 I LOVE LOVE LOVE the Naturals buttons and flowers!!! With the buttons in the centers of the flowers, I couldn't resist adding some of the other wood buttons.
 

Tip: Try mixing Naturals borders with other borders for different textures. I layered the Naturals Canvas Border with one of the Just Because Canvas Borders and finished it off with a sticker border.
 
 
Be sure to check out the Little Yellow Bicycle Blog for more inspiration from the Biker Chicks!
 
 
Photobucket

Friday, February 15, 2013

Bo Bunny - Isabella Collection

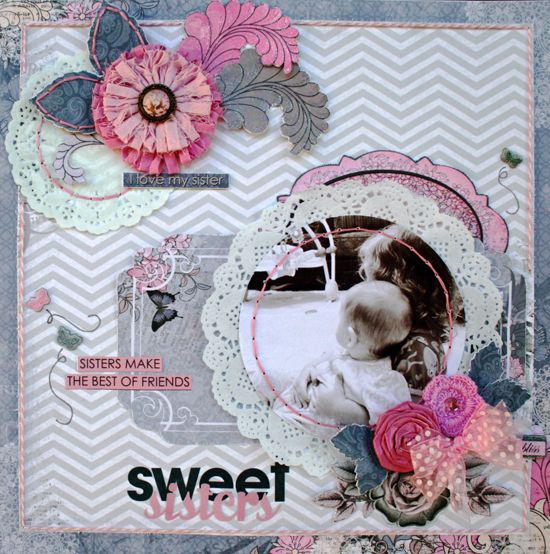
The Isabella Collection is so soft and beautiful.  The pale greys and creams go so beautifully with the pink accents.  I couldn't resist adding in some of the blossoms and some stitches with it.  With three sizes of doilies, Bo Bunny has given endless possibilities for using them.  On this layout, this soft picture just seemed to need to be surrounded by the lace edges.
 
Sweet Sisters
I used the largest doilie to frame the picture.  I printed it 5x5 and then cut it into a circle.
 
 
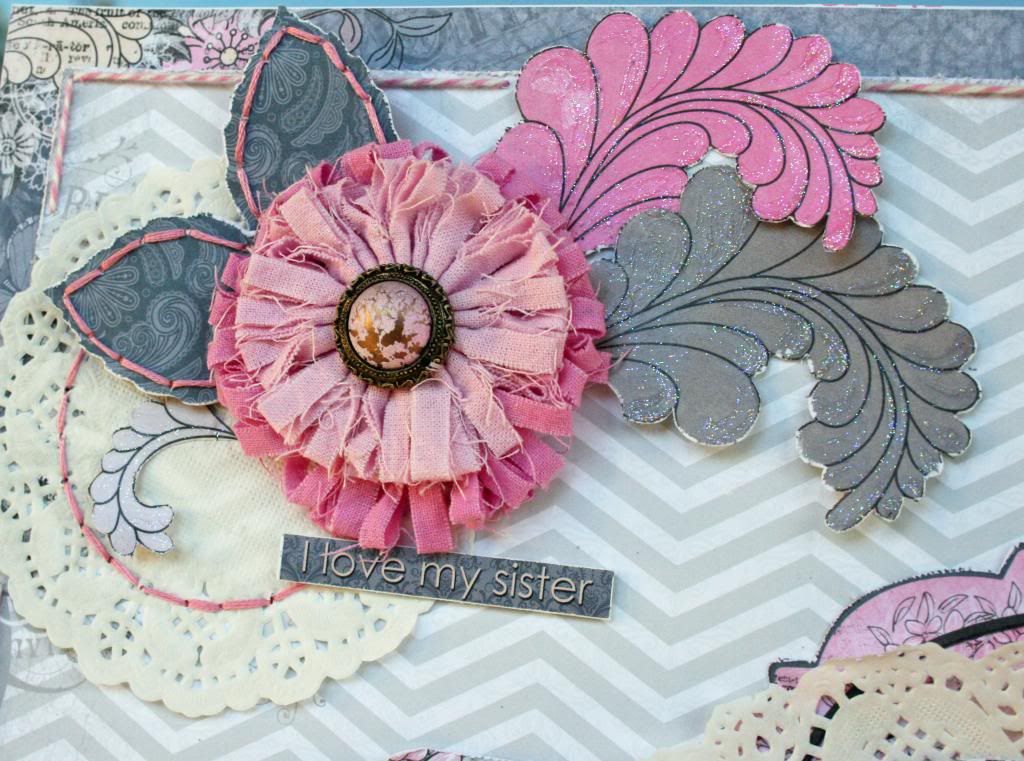
My mom is a quilter and I got excited when I saw this print on one of the papers.  Quilters call them feathers which is kind of fun since real feathers are the rage in scrapbooking right now.  :)
 
 
The blossoms are just so pretty!  I layered them with a bit of fussy cut paper and some chipboard. 
 
 
Be sure to check out the Bo Bunny Blog for more inspiration and some great ideas with all the new collections!!  There is something for everyone! 

 
Photobucket

Tuesday, February 12, 2013

Valentines with Little Yellow Bicycle

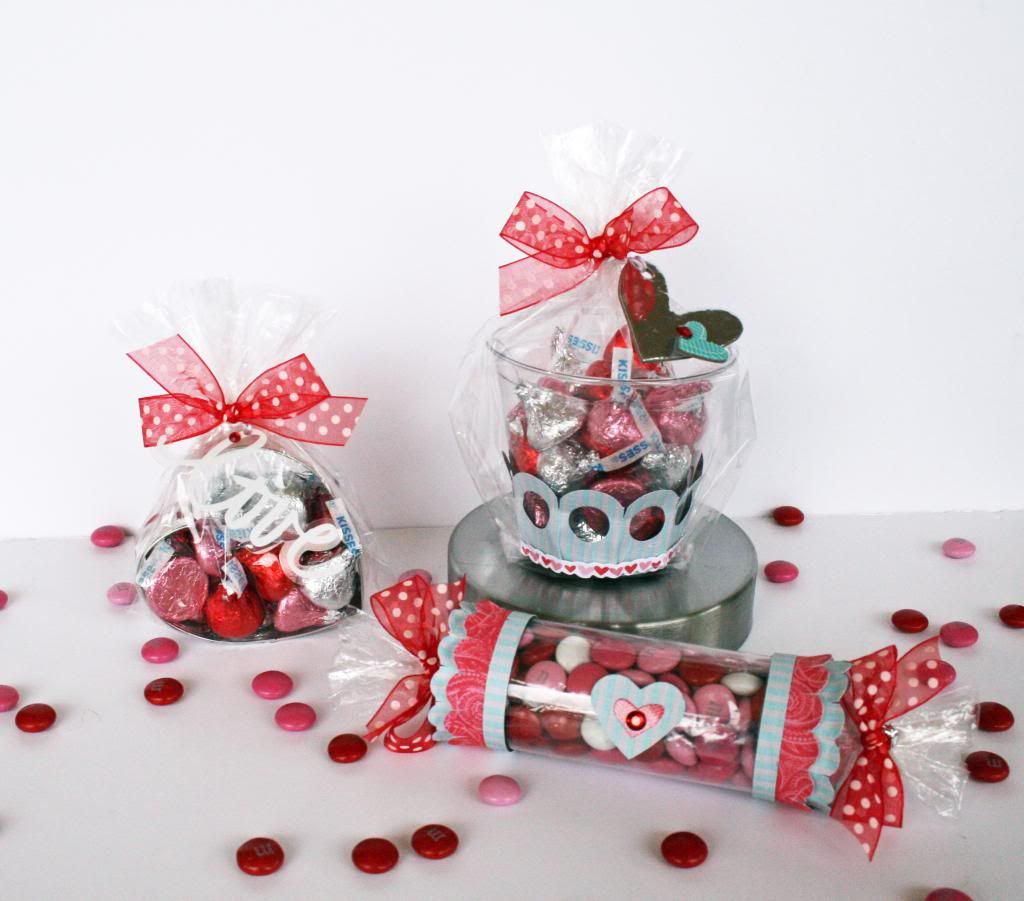
It's that time of year... the little ones are getting their Valentine's Day Cards together and ready to head off to school carrying extra treats!  How about doing something a little different for the teachers or even for one of your friends to say Happy Valentine's Day?
 
Last week, one of my Facebook friends commented about how she found out about something her child needed for school the next day. When did she find out? Why, the night before, of course! This is my answer to that for Valentine's Day!
 
 
I used the red and white elements from the Just Because collection.  I couldn't resist adding a touch of blue.  Who says that Valentines can only be red, white and pink?
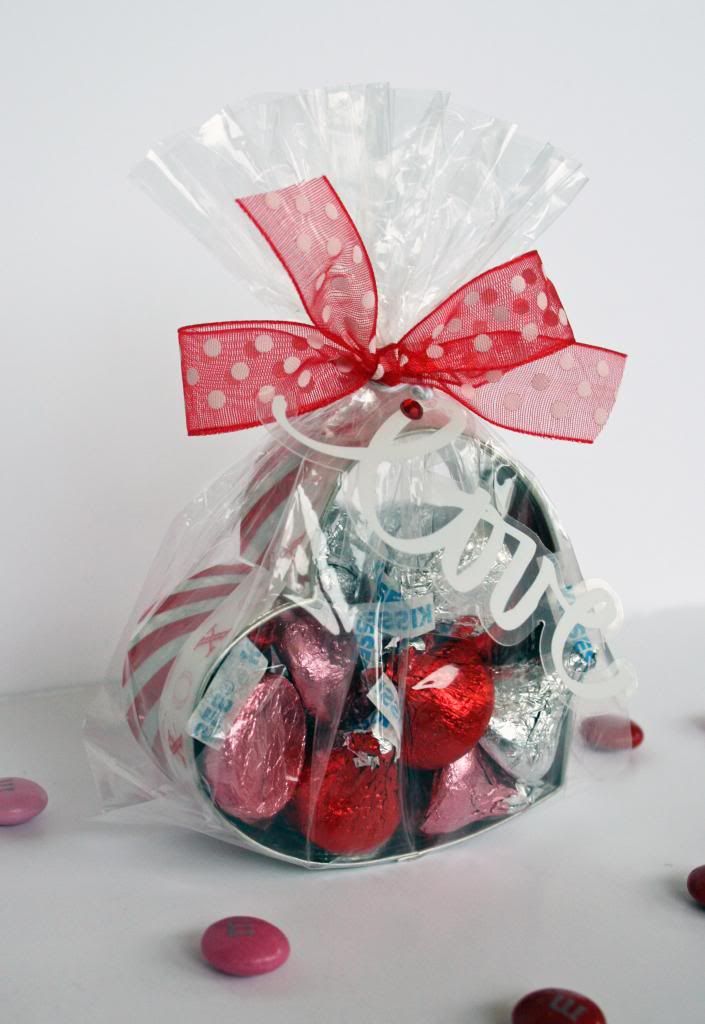
This one is made with a heart cookie cutter. I doubt that I spent more than 5 minutes on it. I just used the Little Yellow Bicycle Vellum tape on the outside, popped it in a bag and tied a bow at the top. To add a bit more detail, I punched a hole in a Clear Cut, added a tiny jewel and tied it to the top.

Tip: Cookie Cutters can be found in several places around each of the holidays. Try checking your local craft store, grocery store or even discount stores.
 
 
This one is another super quick one. I had these clear cups on hand. I just punched a border from paper and adhered it to the bottom of the cup. Next, I wrapped a sticker border along the very bottom border. For the tie-on, I used a couple of pieces of chipboard and another tiny jewel.

Tip: If you take a closer look, you can see that to make the border fit better along the bottom of the cut, I scored it on the bottom side and then clipped between the scallops.
 
 
This one is a bit more time consuming, but still very easy and quick. For it, I used a clear transparency sheet. It also takes very limited supplies. I punched a couple of 12 inch strips and a thin piece of paper for the edges. Working while it was flat, I added the borders to the edges. Next up, I taped it together to make the cylinder. Put your candy in another clear bag that is already inside the cylinder. Tie a bow on the open end to close. On the closed end of the bag, tie a bow and then clip the edges. Finsh off with a punched heart, a little heart sticker and another tiny jewel.

Tip: You can get 4 to six of these out of each single sheet of transparency paper. One sheet goes a long way! Also, make sure that the edge you are adding the borders too is no more than 6 inches. This will save you time by making each punched strip work for two sides.



Be sure to stop by the Little Yellow Bicycle Blog for more inspiration!


Photobucket

Thursday, January 31, 2013

New Bo Bunny Prairie Chic - Stickers

If you want to see a collection that a Texas girl can really wrap her arms around, check out the new Bo Bunny Prairie Chic collection!! THIS ONE IS AWESOME!!!  I'm pretty sure that could be happy with a room wallpapered in this one!  So pretty and it has lots of western accents without being over the top rodeo.  It's just perfect for those pages that could use a beautiful western touch.
 
Be True
 
I'm so glad that I hadn't scrapped all the pictures from this little backyard photo shoot.  These pictures of my daughter needed to be scrapped with this collection!  :)
 
The focus is on stickers for this post.
 
 
The Bo Bunny doilies come in three sizes so they will fit all of your needs.
 
 
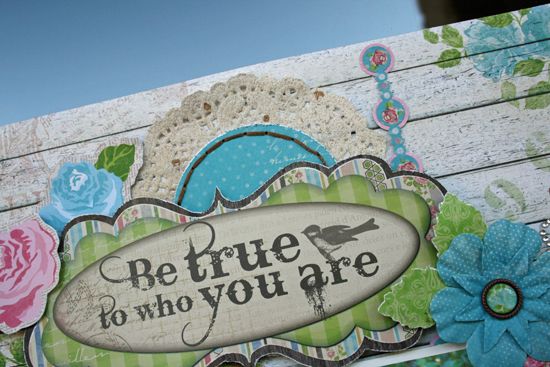
For the title, I used a large sticker, stuck it to a piece of cardstock and free hand cut it around the edges to give it a border.  To make it stand out a bit more, I adhered it using foam dots.
 
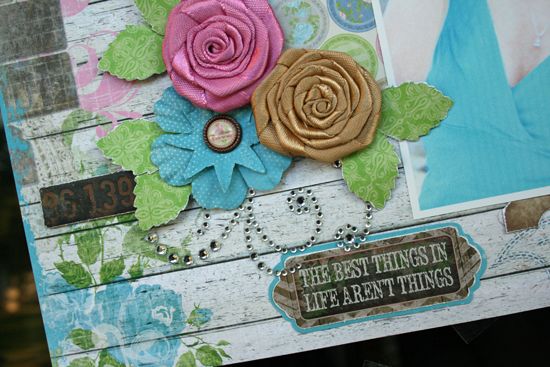
I wanted to add a bit of pink to the sticker border so I punched some tiny circles and added them to the larger round places on the sticker.
 
 
Here is another outline with cardstock added to my sticker. 
 
Also, couldn't resist using the new Bo Bunny Jewels!!
 
For more inspiration and to see what we are up to at Bo Bunny, be sure to check out the blog!
 
 
Photobucket

Wednesday, January 30, 2013

In a Jiffy with Little Yellow Bicycle

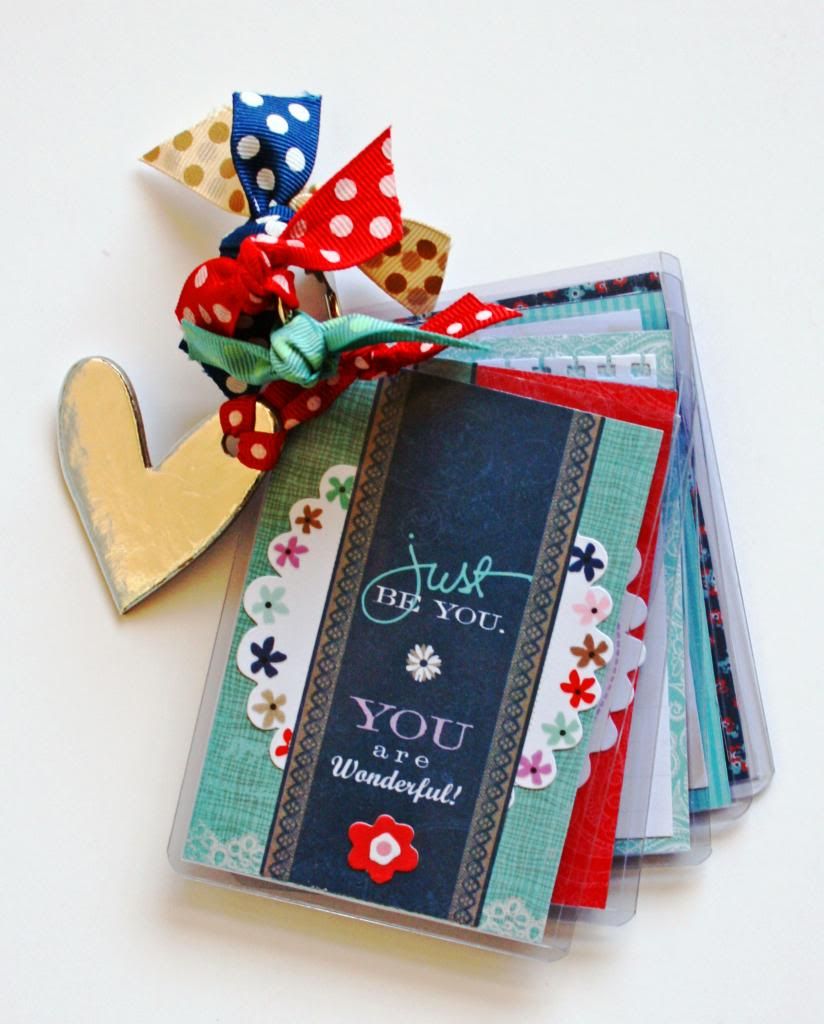
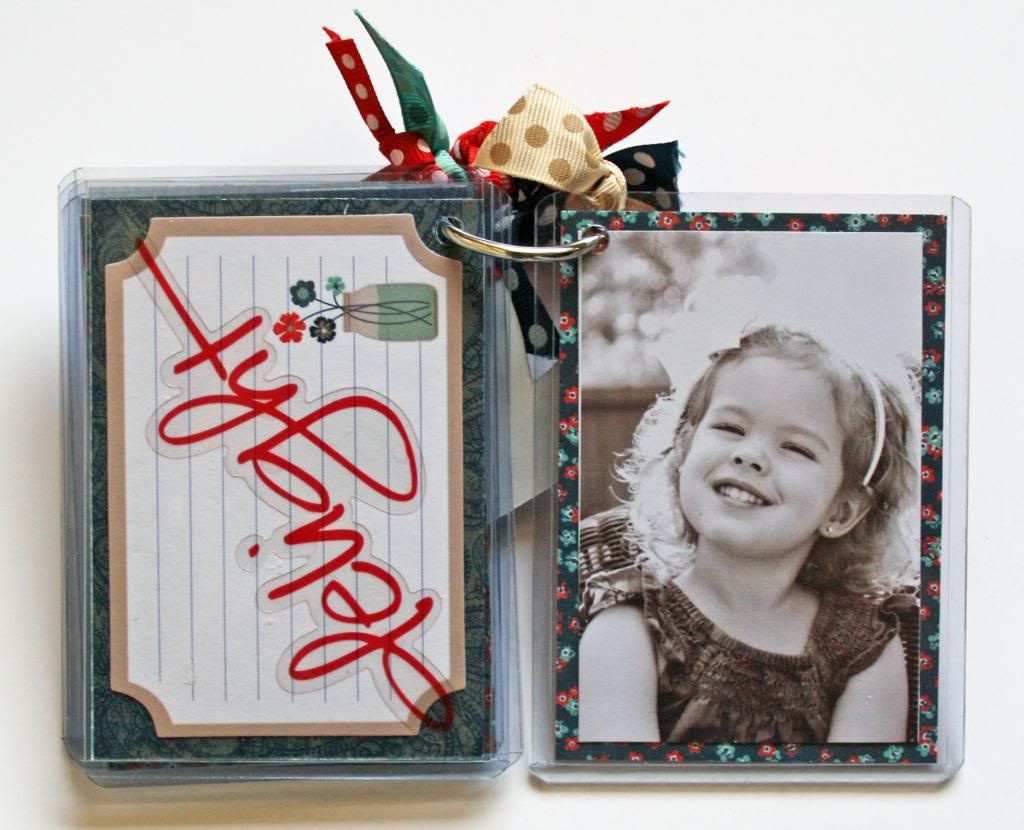
This is a little brag book that I made using the Little Yellow Bicycle Just Because collection.
The colors in this collection are right up my alley!  I am a huge fan of blue and adding in red is on my favorites list, too! 
 
I love brag books, but don't like how they can be too big to actually tuck in your purse.  This is just the right size to do that and it's so easy and quick!
 
 
I had some trading card sleeves at the house and thought that they would be such an easy way to  put together some wallet sized pictures with some great papers and flat embellishments.  Adding a few ribbons and a chipboard heart gives it a little extra fun!
 
 
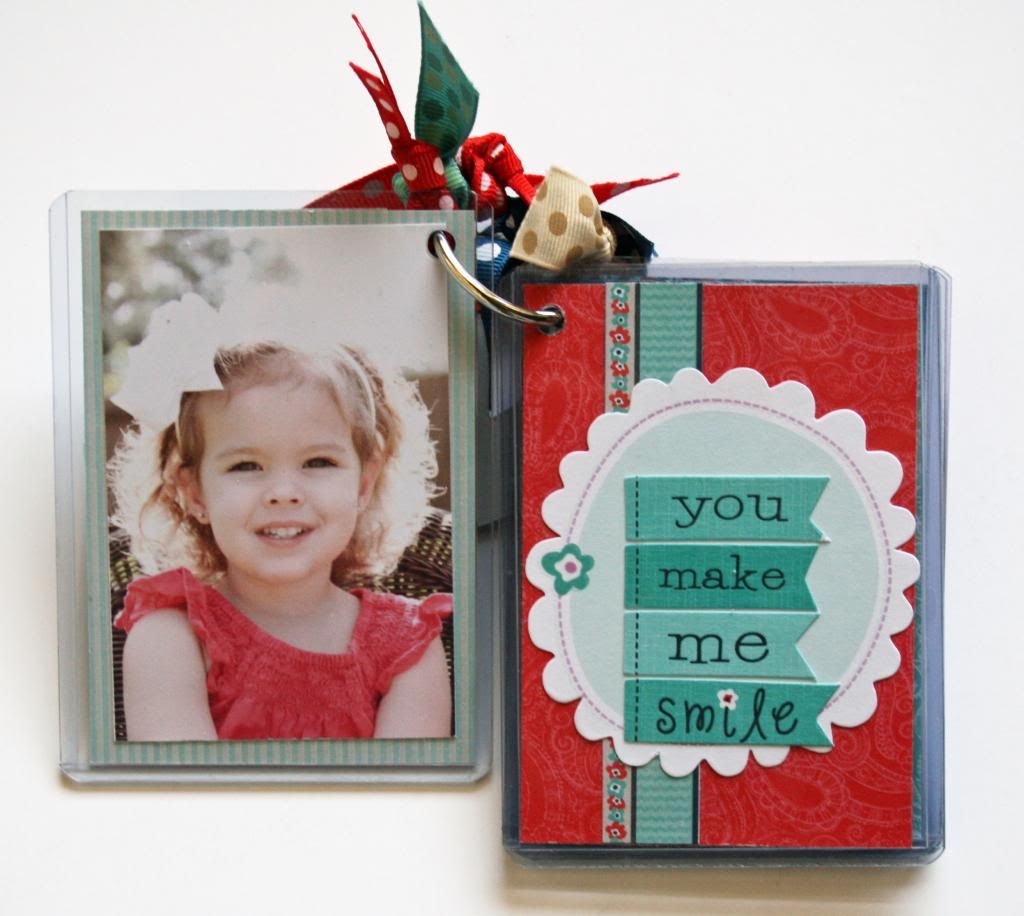
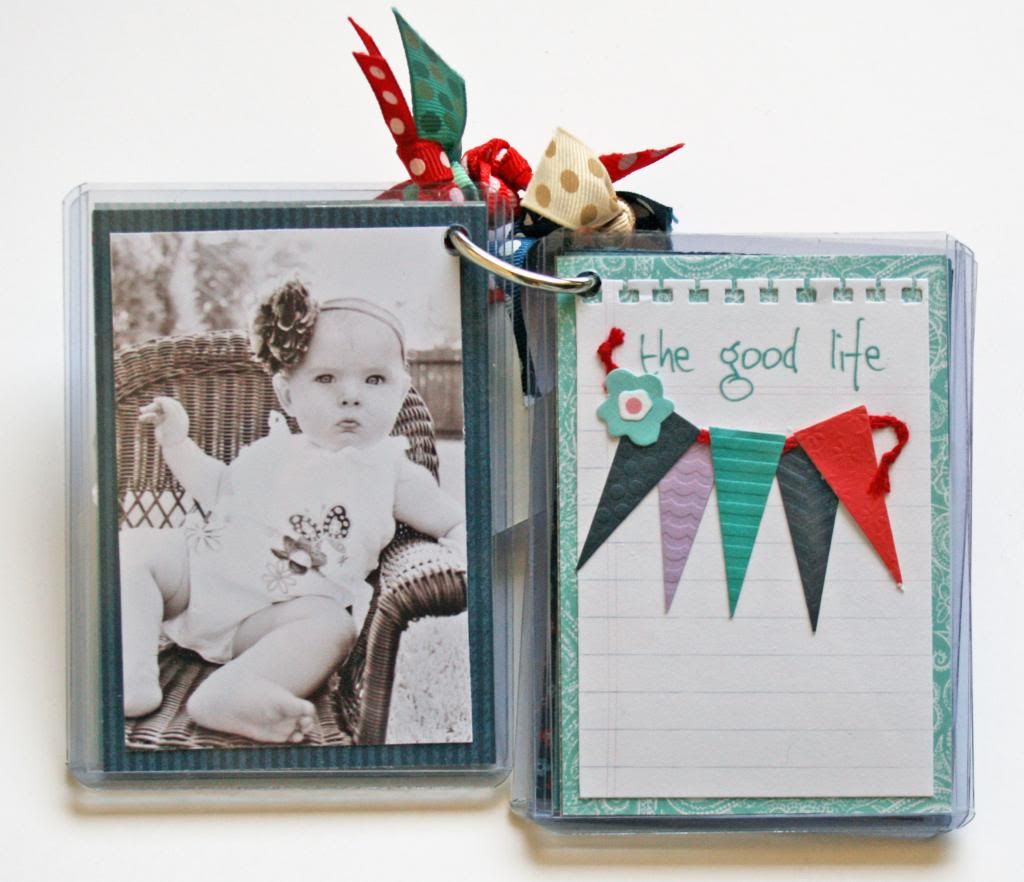
I used the 6x6 paper pad to mat all the pictures.  The best part about this is that because the matting is simple, you can switch out the pictures easily for new ones as your children grow.
 
 
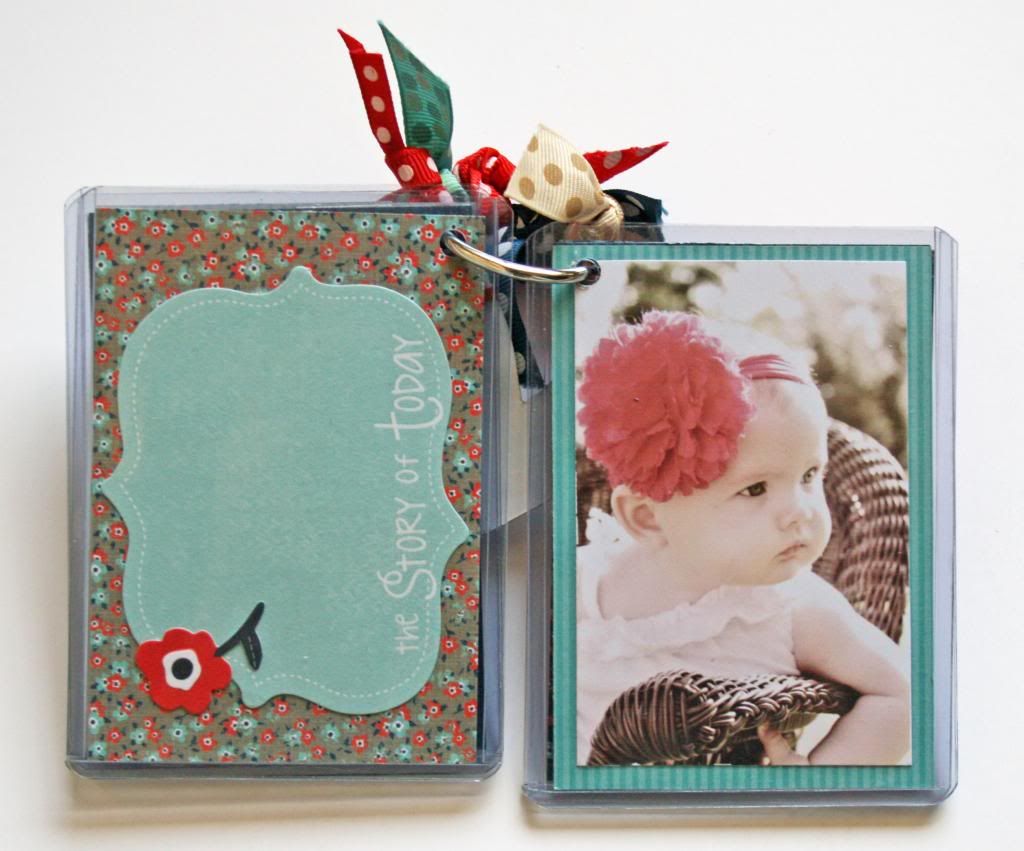
I also used several of the journaling cards for this and mostly flat stickers.  The journal cards make it easy to tell the story if you want to add it to the book.

 
Turning it on the side is totally fine with this project. 
 
 
Don't forget the adorable Clear-cuts in this collection!  They are also flat and perfect to tuck into the sleeves.
 
Tip:  The sleeves are pretty tough.  It makes them perfect to tuck into your purse and keep your pictures safe, but it is a bit hard to punch through them.  If you have one, the easiest way is to use a Crop-a-dile.  That thing will punch through anything!  :)
 
Be sure to checkout the Little Yellow Bicycle blog for more inspiration!  The Biker Chicks are always up to something!


Photobucket