Showing posts with label Quilling. Show all posts

Thursday, December 18, 2014

Merry Christmas with new 3 Birds Studio

Hi y'all! Recently, I told you I was in the Christmas mood, so I made another Christmas layout using the fabulous products from 3 Birds Studio!


This layout is proof that the card kits aren't just for cards!  There are so many great shapes and sentiments in the Quilled Card Kits that will work beautifully on your layouts, too.


This beautiful little wreath is in the card kit and is ready to go!  I just added a few of the foil pieces and I had an instant design element for my page.


The quilled poinsettias are also from the card kit. 
Tip:  Mix up bit and pieces from other collections.  I used chipboard, pearls, stickers and die-cuts to add interest and dimension.


Don't forget the little touches.  For balance, I added a couple of holly leaves, also from the card kit, to the corner of the  photo to pull it all together.

Supplies Used: Graceful Seasons Paper Pad, Graceful Season Dimensional Stickers, Graceful Season Chipboard Kit,  Quilled Card Kit Holiday season Edition, Midday Medley Sticker Set , Pearlescent and Foil Goodie Box.

Don't forget to drop by the 3 Birds Blog to see what the design team is up to!


Photobucket

Monday, November 10, 2014

Getting Ready for the Holidays with 3 Birds Studio


Hi everyone!  I'm sharing a page that I made using 3 Birds Studio.  I'm ready for the holiday season to begin and with all the great choices of new products from 3 Birds, I couldn't resist making a Christmas page!
 

This layout starts with a fabulous sheet of paper from the Premier Page Kit.  I love the look of this paper for the outdoor photo that I used.  Combining this paper with a peach sticker and doilies, gave me just the base I was looking for.
Because of the colors in the photo, I chose to use non-traditional colors for the Christmas page.  I love the traditional red and green, but I also love to mix it up sometimes and use a different variation.


The title sticker was a natural fit because of the photo, too.  I chose it because it echoes the print on Mom's shirt. 
Tip:  I added foam to the back of the sticker to make it easier to layer and to match up with the dimension of the other embellishments.


More layering was added with the flat stickers that were used for design and the terrific poinsettias that are included in the quilling kit.  Here, I used pink centers to continue the non-traditional color choices.

The final touches include a big bow and more bits and pieces from the Quilled Card Kit Holiday season Edition.

Be sure to stop by the 3 Bird's Blog to see what is new and to be inspired!

 
Photobucket

Thursday, April 10, 2014

3 Birds Studio Designs

Just sharing a layout that I made for 3 Birds Studio's Blog using the Graceful Seasons Collection.  I'm seriously continuously amazed at how versatile this collection is.  For this layout, I was playing with the soft colors in the collection.  The grey papers and embellishments give a really pretty contrast to the softer colors.


I love chipboard pieces that are included, too!  There are so many title options and great shapes.  Adding glitter and foil to many of the pieces really sends them over the top!  They are so pretty!


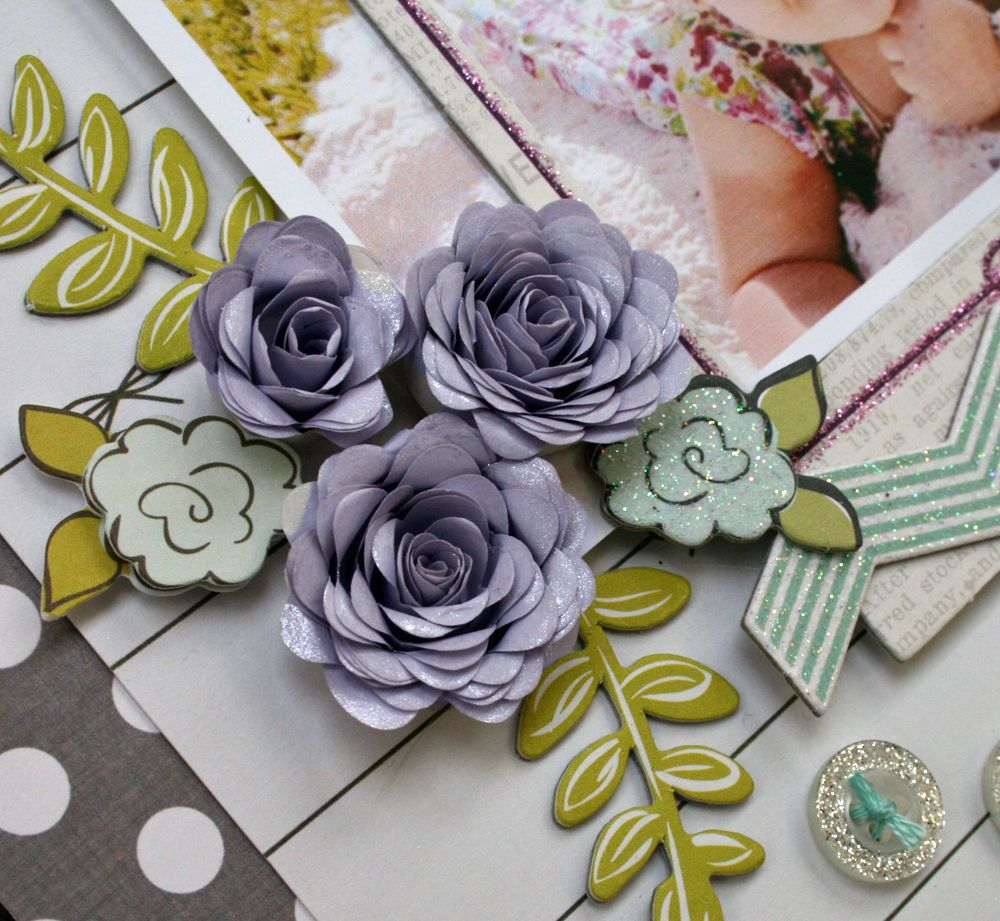
Since I love flowers, the Quilled Card Kit pieces are making an appearance on many of my pages.  For these flowers, I added a touch of pearly mist to add a bit of shine.
 

Finally, a couple of ribbon bows worked over and under the photo and frames for a touch of my style and a bit more interest and it's done!  


Be sure to stop by the 3 Birds Blog to see more of what the Design Team is up to.  Also, don't forget that this collection is available on the HSN website!  

You will love it!
Photobucket

Thursday, February 20, 2014

3 Birds Quilled Cardmaking - Shadowbox

I'm really excited to be up on the 3 Birds Studio blog today! If you haven't been to the 3 Birds Studio blog, be sure to take a look at a card and pillow boxes that I made.  This kit is so fun and the instructions for quilling are super helpful!  I've never quilled before so, for me, having everything included in the kit, including the tool was invaluable.

 I was so excited about the Quilled Cardmaking Kit from 3 Birds, that I couldn't resist making more than one card!

Just For You
For this card, I experimented with stemmed flowers.  Now, I know the pros probably do this differently, but I had this idea, so I had to try it!


There are two things that you can see from this angle.

The first is you can see is how I built the stems for the flower and attached it to the flower.  I folded one strip of the green in half and glued it for added stability.  I then glued the curls and leaves to the stem.  Lastly, I attached it to the quilled flower.  This technique allowed me to add glue to the more substantial pieces to make it easier to attach to the card.

Tip:  Use tweezers and a tiny bit of glue to attach the stem to the bottom.

The second thing that you can see for building this card is the foam tape that I used.  Because this is a shadow box card, using foam tape allowed me to over lap the edges and give it added dimension.

 To finish off the look of the card, I added some red strips for an additional frame.  I used my Xyron sticker maker to add adhesive to the strips of red paper.


And.. a bonus!  I LOVE gift bags, so I wanted to go ahead and have a little gift bag to go with the card.  I used a piece of paper from the 3 Birds paper pad to make this little gift bag.  

Gift Bag

This was super simple.  I just made an extra flower and leaves and attached them over two strips of the quilling paper.  I also used the Xyron to make attaching these strips easy.   


Don't forget to stop by the 3 Birds Studio blog to look at my other quilling ideas!

Thanks so much for stopping by!