Showing posts with label Quick Layouts. Show all posts

Monday, February 29, 2016

Salvage District from Prima Marketing Inc.

Hey everyone!  Today, I'm sharing a page that I created using the Salvage District Collection from Prima!  The versatility of this collection continues to amaze me!  There are so many possibilities wrapped up in one gorgeous collection.  Today, I chose to give my page a bit of edge to go with this fun picture of my daughter.


I didn't add color to this one, choosing instead to keep it to a monochromatic look to go with a black and white photo.  It worked great with all the Prima foil and microbeads to add lots of fun wording.   The adhesive rub-ons are great to use to get this look.


I also purposely broke a few pieces of the IOD Moulds to tuck in.  I loved the extra touch this gave to my layout.

Today, it's all about Salvage District on the Prima Blog, so be sure to stop by there!  You will see what I mean by versatility in this collection.  There are so many beautiful projects today that will show you how many ways this one can be used!

Photobucket

Tuesday, April 16, 2013

Under an Hour **Bo Bunny**

Today at Bo Bunny, the team is focusing on layout that can be put together in under an hour.
When I saw the idea, I have to admit that I thought, "Are you KIDDING me?"  Nope, they were serious!  :)  Amazingly to me, it can be done! 
 
In all honesty, I struggled more than an hour to come up with an idea!  Now that I've realized that it can actually be done, I'll be trying more fast layouts.
 
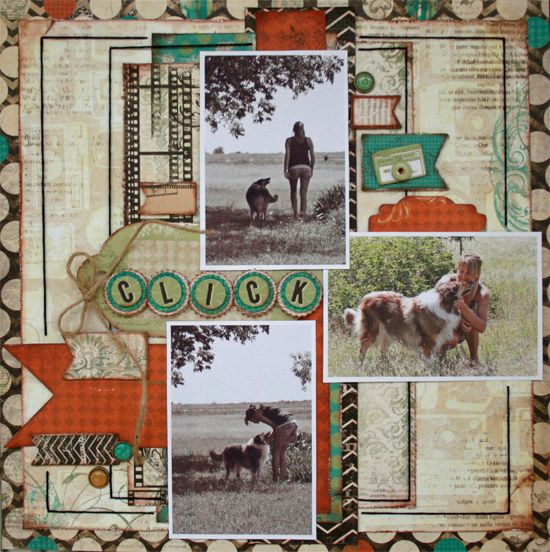
Click
How I did it it...
First, I pulled out only papers and embellishments from one collection.  I chose the Mama-razzi2 collection.  Having everything already go together takes out the search and decide time that can sometimes take longer than making a page.
 
 
I cut several random widths of different papers.  I kept the design super simple by just adding them vertically and varying the lengths of the strips.
 
 
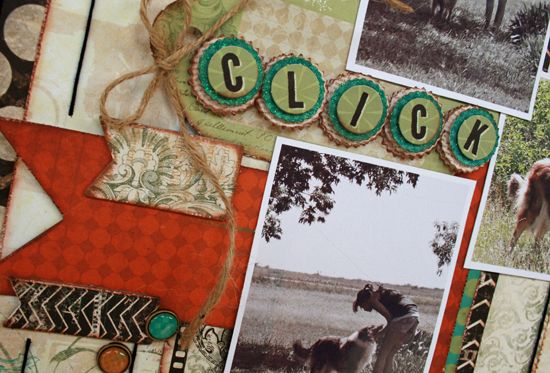
Don't get bogged down in making your own shapes.  Use the Noteworthy package and chipboard shapes to add to your design and embellish.  The shapes are already made which makes your job easy! The only thing that I cut was the paper banner and it was already on one of the papers.  No detailed cutting. 
 
Finally, the little extras are quick and easy.  A few brads, a sticker title and quick stitching completes the page.  Don't forget the tip I've shared a few times.  No need to make stitches when you're in a hurry!  Just pierce at the corners and stopping spots to make quick borders and add a touch more detail! 
 
Drop by the Bo Bunny Blog to get more ideas on making layouts in an hour! 
The team has some terrific tips to help you!
 
Photobucket

Wednesday, February 20, 2013

Little Yellow Bicycle - Just Because

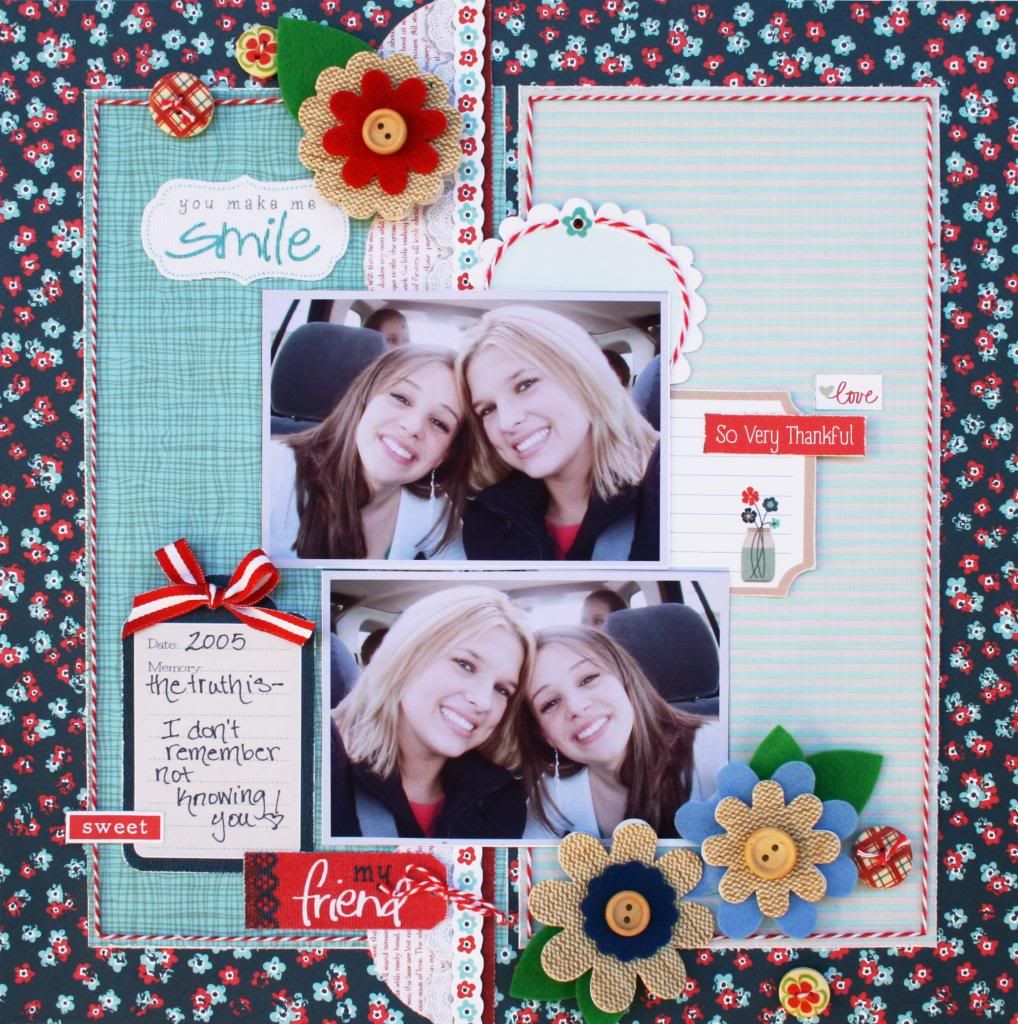
All the bright and beautiful elements in the Little Yellow Bicycle Just Because Collection make me want to use them all the time! Add in some of the new Naturals and it's a match made in heaven!

This photo of my daughter and her friend was a natural fit with this collection. There are so many elements that reference friendship. Because these girls have been friends since they were 4 years old, it seems to them that they have known each other always.
 
You Make Me Smile
 
 
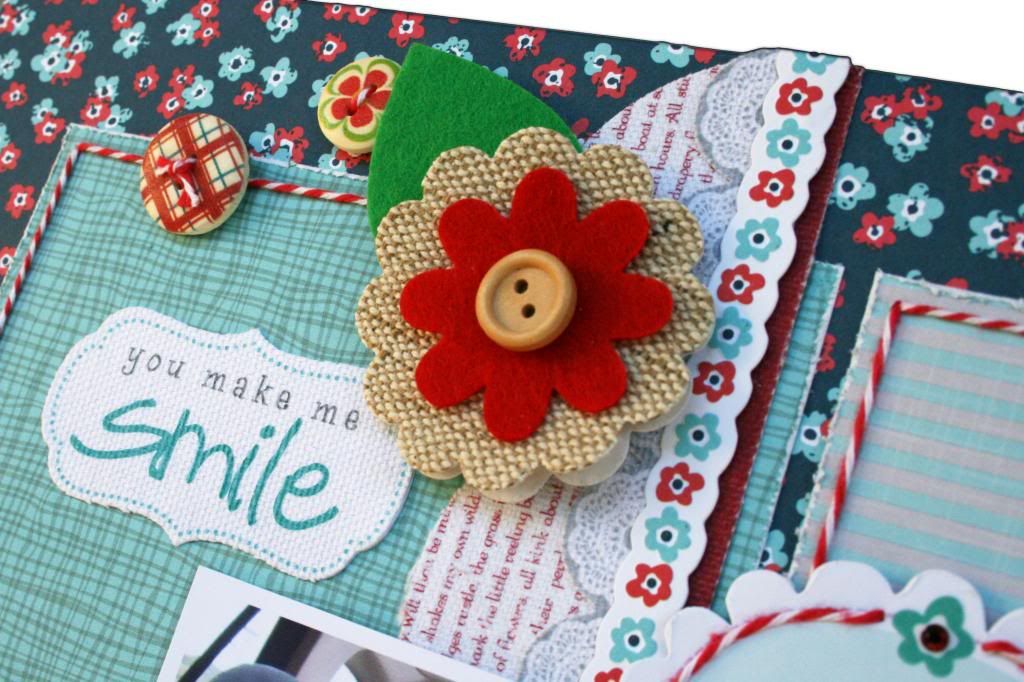
 I LOVE LOVE LOVE the Naturals buttons and flowers!!! With the buttons in the centers of the flowers, I couldn't resist adding some of the other wood buttons.
 

Tip: Try mixing Naturals borders with other borders for different textures. I layered the Naturals Canvas Border with one of the Just Because Canvas Borders and finished it off with a sticker border.
 
 
Be sure to check out the Little Yellow Bicycle Blog for more inspiration from the Biker Chicks!
 
 
Photobucket