Thursday, January 31, 2013

New Bo Bunny Prairie Chic - Stickers

If you want to see a collection that a Texas girl can really wrap her arms around, check out the new Bo Bunny Prairie Chic collection!! THIS ONE IS AWESOME!!!  I'm pretty sure that could be happy with a room wallpapered in this one!  So pretty and it has lots of western accents without being over the top rodeo.  It's just perfect for those pages that could use a beautiful western touch.
 
Be True
 
I'm so glad that I hadn't scrapped all the pictures from this little backyard photo shoot.  These pictures of my daughter needed to be scrapped with this collection!  :)
 
The focus is on stickers for this post.
 
 
The Bo Bunny doilies come in three sizes so they will fit all of your needs.
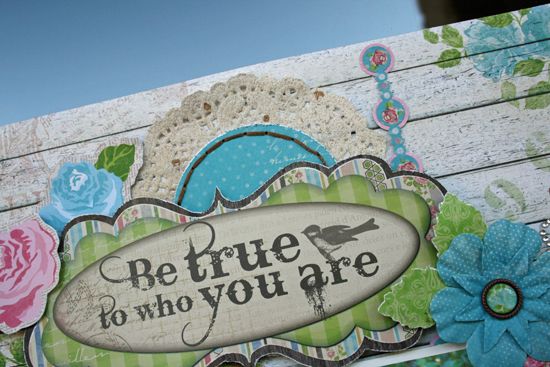
 
 
For the title, I used a large sticker, stuck it to a piece of cardstock and free hand cut it around the edges to give it a border.  To make it stand out a bit more, I adhered it using foam dots.
 
I wanted to add a bit of pink to the sticker border so I punched some tiny circles and added them to the larger round places on the sticker.
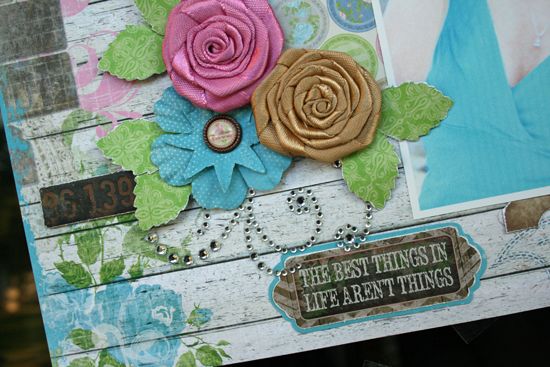
 
 
Here is another outline with cardstock added to my sticker. 
 
Also, couldn't resist using the new Bo Bunny Jewels!!
 
For more inspiration and to see what we are up to at Bo Bunny, be sure to check out the blog!
 
 
Photobucket

Wednesday, January 30, 2013

In a Jiffy with Little Yellow Bicycle

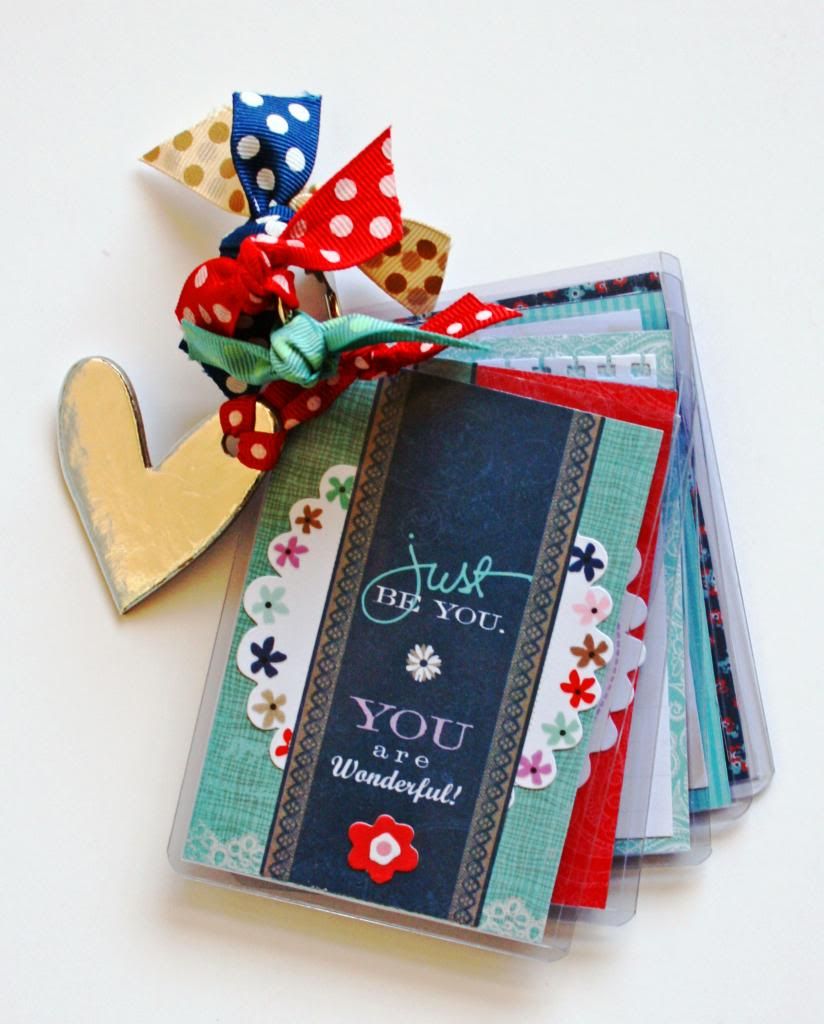
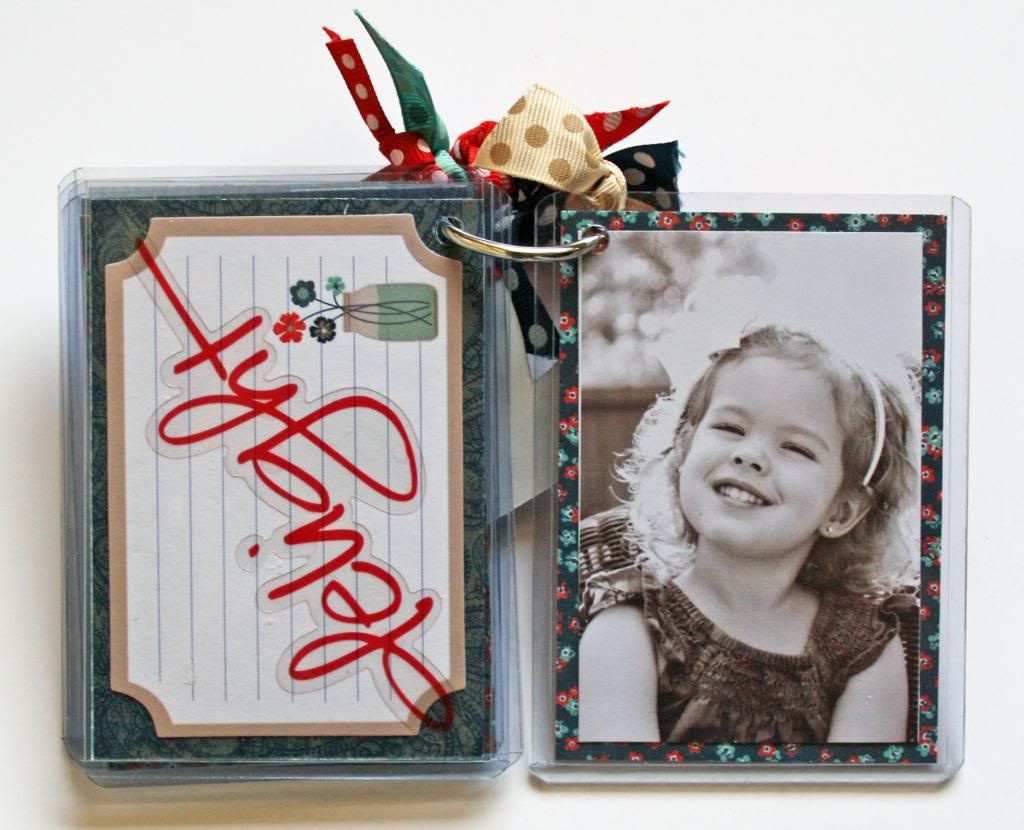
This is a little brag book that I made using the Little Yellow Bicycle Just Because collection.
The colors in this collection are right up my alley!  I am a huge fan of blue and adding in red is on my favorites list, too! 
 
I love brag books, but don't like how they can be too big to actually tuck in your purse.  This is just the right size to do that and it's so easy and quick!
 
 
I had some trading card sleeves at the house and thought that they would be such an easy way to  put together some wallet sized pictures with some great papers and flat embellishments.  Adding a few ribbons and a chipboard heart gives it a little extra fun!
 
 
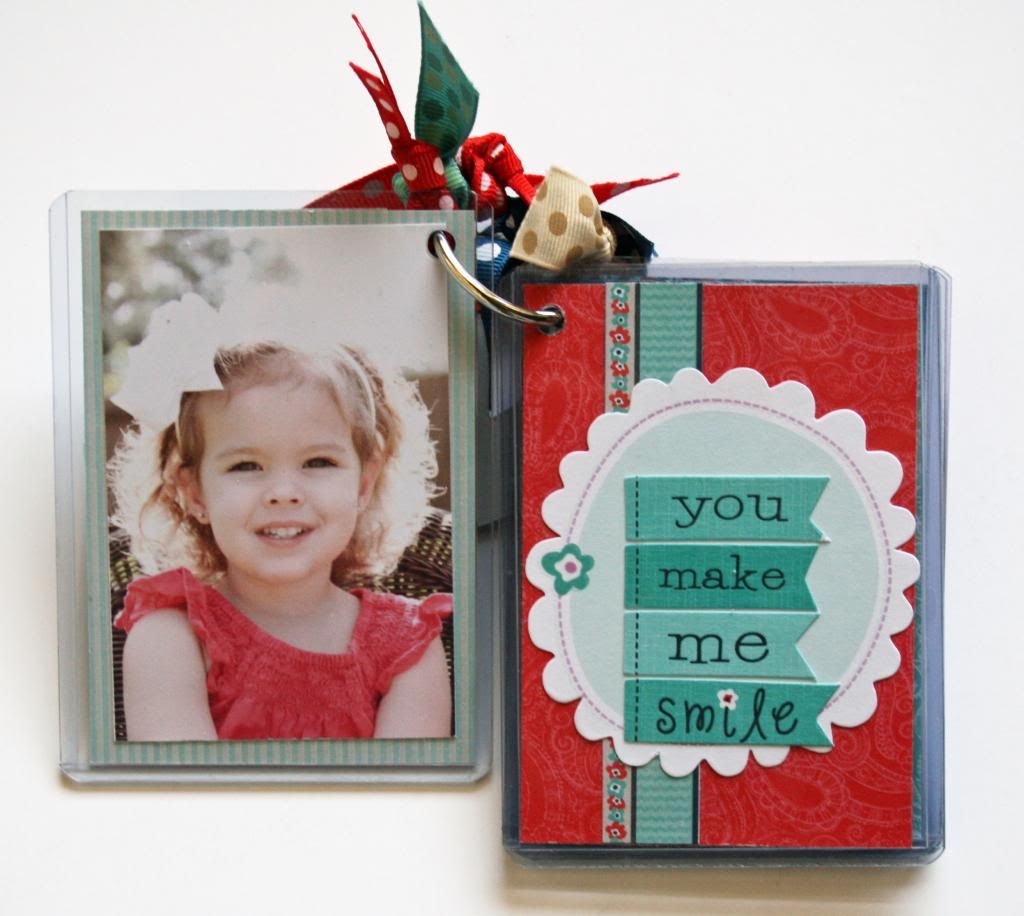
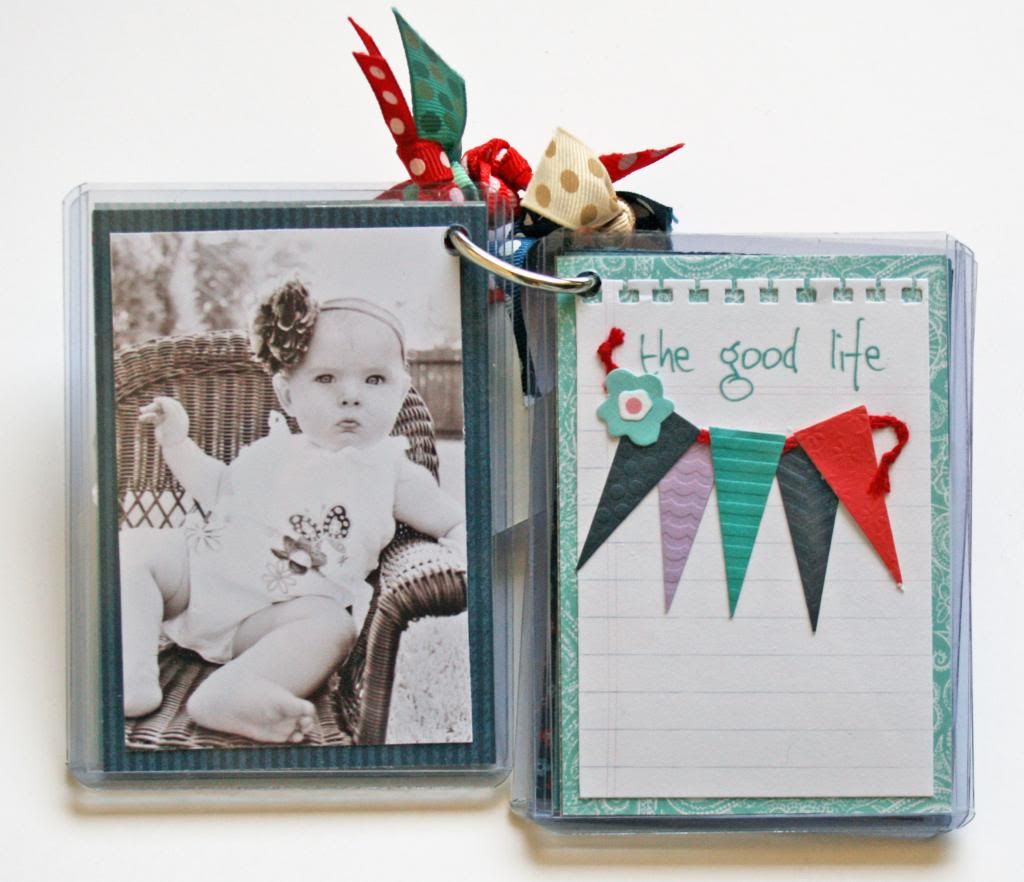
I used the 6x6 paper pad to mat all the pictures.  The best part about this is that because the matting is simple, you can switch out the pictures easily for new ones as your children grow.
 
 
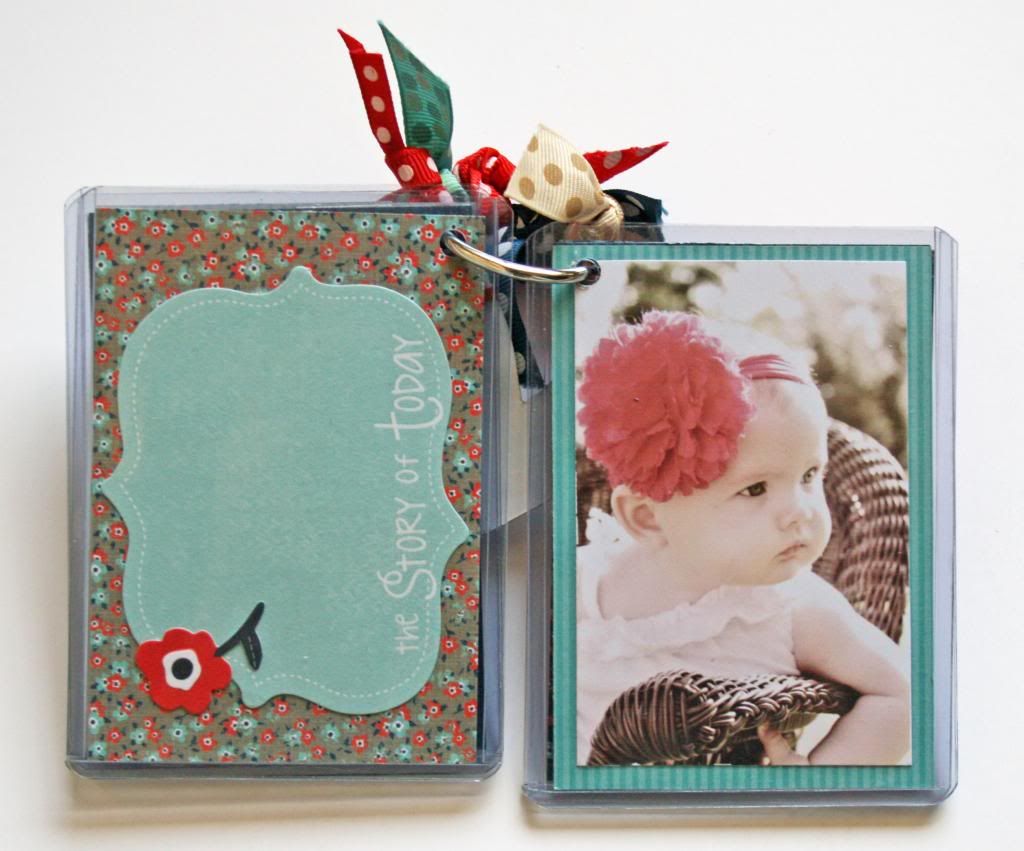
I also used several of the journaling cards for this and mostly flat stickers.  The journal cards make it easy to tell the story if you want to add it to the book.

 
Turning it on the side is totally fine with this project. 
 
 
Don't forget the adorable Clear-cuts in this collection!  They are also flat and perfect to tuck into the sleeves.
 
Tip:  The sleeves are pretty tough.  It makes them perfect to tuck into your purse and keep your pictures safe, but it is a bit hard to punch through them.  If you have one, the easiest way is to use a Crop-a-dile.  That thing will punch through anything!  :)
 
Be sure to checkout the Little Yellow Bicycle blog for more inspiration!  The Biker Chicks are always up to something!


Photobucket

Thursday, January 24, 2013

Limited Supplies - Bo Bunny

A handful of supplies can go a LONG WAY!  Limited supplies doesn't mean limited possibilities!
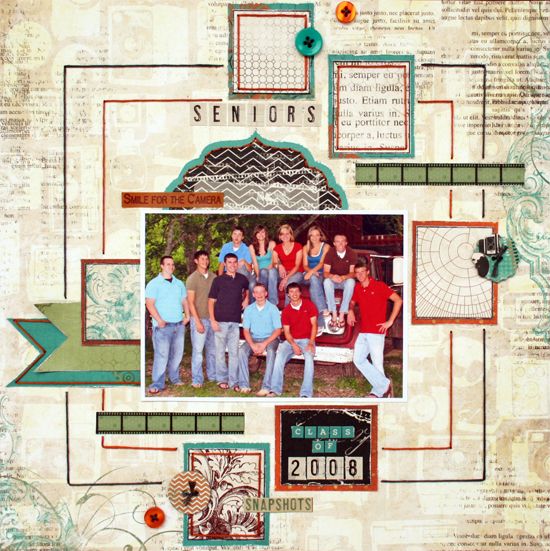
Each month, the Bo Bunny Team creates layouts that follow a formula.  We limit ourselves to 3 patterned papers, 1 cardstock sheet, I sticker sheet and 1 package of embellishments.
 
Seniors
Bo Bunny-Mama Razzi 2
 
I was a HUGE fan of the first Mama Razzi collection and I think this one is even better!!
 
 
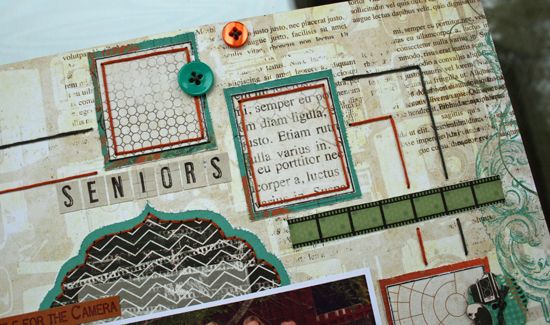
Using the front and backs of your papers makes your supplies go further.  A little bit of planning before cutting can make for fun embellishments.  Bo Bunny includes so many prints on their papers which make them perfect for embellishing.  This is what I did with the squares on one of the sheets.
 
 
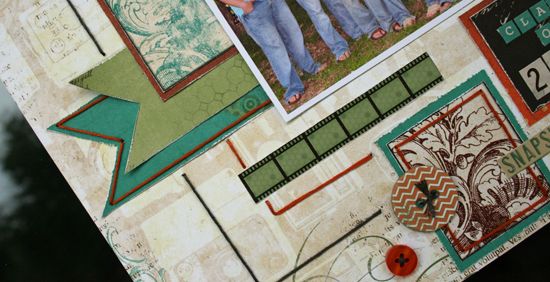
It's amazing how many stickers are included in the combo sticker packages.  I have to say that I barely scratched the surface of the sheet! 
 
The embellishments that I chose were the buttons.  I really loved that they were a mix of traditional and chipboard buttons.  Lots of different textures to add interest!
 
 
Keeping it simple doesn't have to mean that you can't add stitching details.  Instead of stitching in a traditional way, I just added holes at the corners and stopping points.  Use all 6 strands of the floss for this technique. 
 
Be sure to check out the Bo Bunny Blog for more ideas, classes and tutorials!


Photobucket

Friday, December 28, 2012

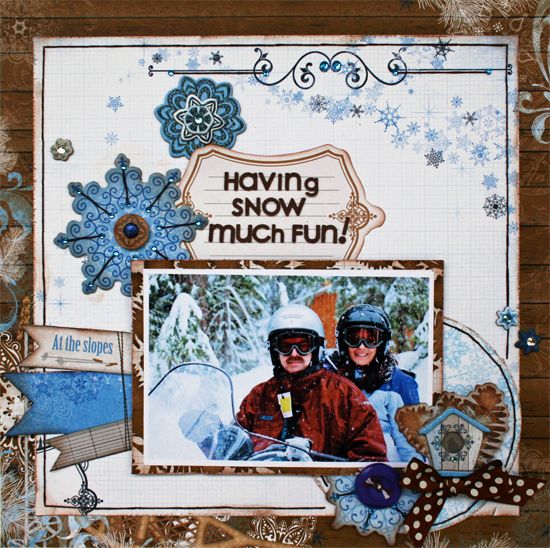
Have you seen the new Powder Mountain Collection from Bo Bunny?
 
This collection is really beautiful!  It has so many beautiful options, too.  In addition to the beautiful blues, it has warm browns and cool greys.  I chose to go with the mix of blues and browns for my layout today. 
 
Want a chance to win it?  Go by the Bo Bunny Blog to see how!!
We are teamed up for a blog hop with Scrap That, a kit club!
 
Snow Fun!
 
 
This is my husband and I a few years ago in Whistler Canada.  Living in Central Texas doesn't give us the opportunity to play in the snow, so this was a real treat!
 
 
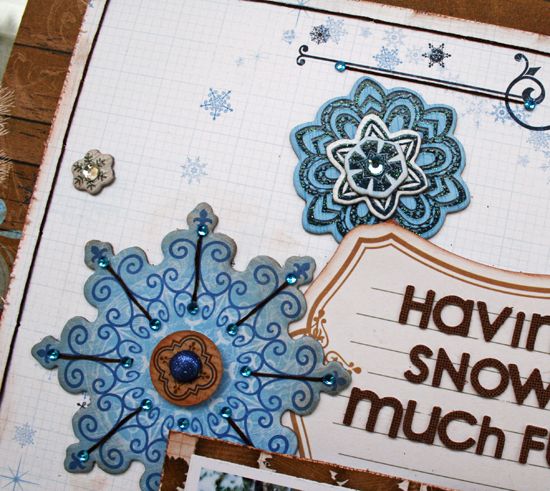
Don't be afraid to stitch on chipboard!  It's just as easy as stitching through your paper.  Just use a piercing tool to make your holes and you are good to go!  I accented each of the stitching points with some of the Bo Bunny Jewels.
 
 
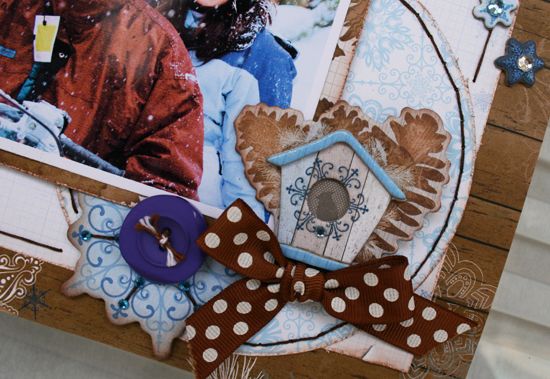
Add layers and overlapping with foam dots.  Don't forget to finish off your page with a bit of ribbon, too!  :)
 
Don't forget!  You can win some of this collection! 
 Get the details at the Bo Bunny Blog!
 
 
Photobucket

Wednesday, December 5, 2012

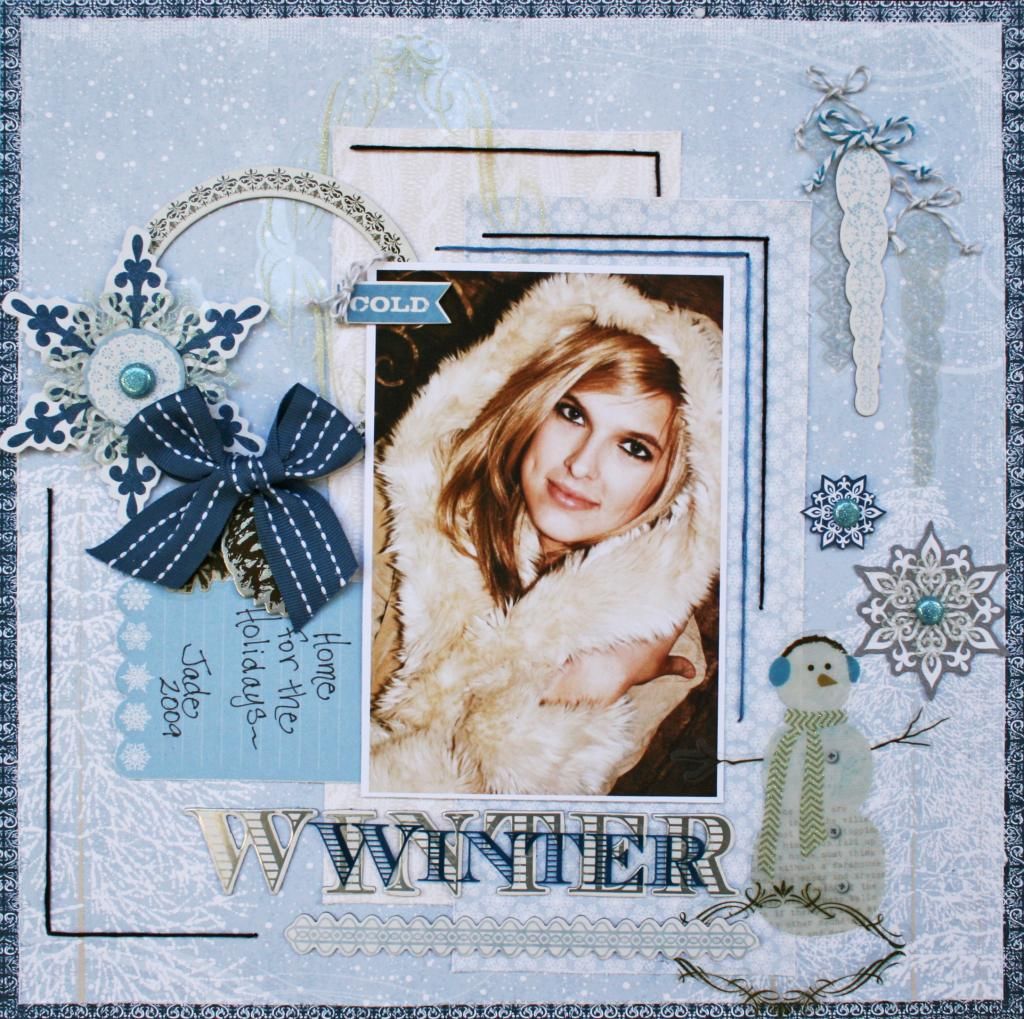
Clustering with the Little Yellow Bicycle Chipboard and Clear-cuts couldn't be easier!  It's a fun way to add lots more detail to your pages without your pages becoming too busy.  Today, we are featuring these two products and sharing some ideas at the Little Yellow Bicycle Blog.
 
Winter
 
 
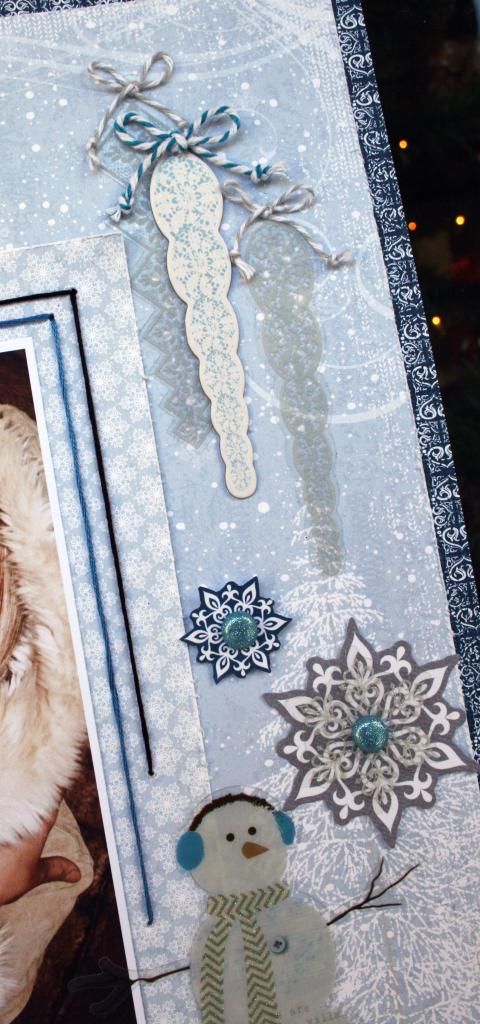
Try layering and overlapping differently shaped elements together.  I love the circles and frames!  Also, I used a clear-cut snowflake over a paper snowflake to add that extra sparkle!  Gotta love the glittery goodness on the clear-cuts!
 
 
Think about layering similar images from different products.  Here, I layered the ice cycles from both packages.  I wanted the chipbard one to take center stage, so I added the blue twine to it and used the light gray twine for the clear-cuts.
 
 
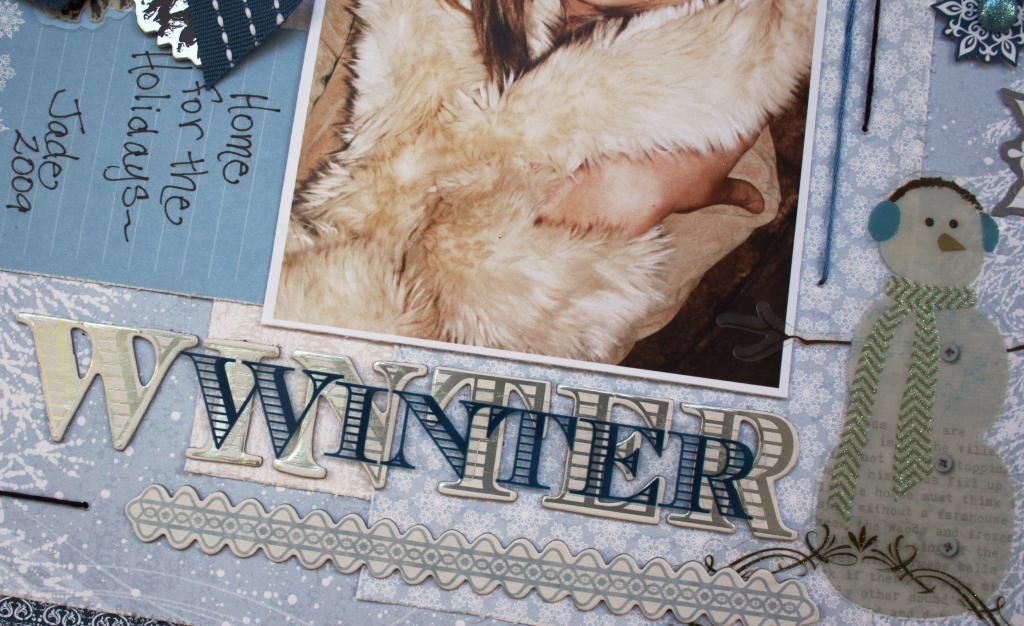
I'm a big fan of layered titles!  For this one, I just layered the clear-cut word right on top of the chipboard word.  Super simple and a bit more detail!
 
 
Be sure to stop by the Little Yellow Bicycle Blog for some more ideas from Biker Chick Corrie!!
 
AND...
Did you know that we have a LYB challenge going on at Two Peas in a Bucket?  Go check it out!  You can win a $50 prize package from Little Yellow Bicycle! 


Photobucket

Saturday, December 1, 2012

Paper Creations Winter Cover

It never ever gets old to see my projects in print! Making the cover is enough to have me dancing around the house!  I was super excited to see that my little ornaments were on the cover of Paper Creations for their winter edition!  Yippeeeeee!!
 
 
Be sure to pick it up!  It is loaded with great ideas and with fun giveaways!
Don't forget to check out the Paper Creations Website for even more ideas!
Photobucket

Monday, November 26, 2012

Little Yellow Bicycle and May Arts

As you probably know, I freely admit that I'm a ribbon fanatic. Seldom do I make a page that doesn't include a bow or at least a strip of ribbon. Teaming with May Arts is perfect for me! Between the ribbon and all the beautiful trims that May Arts makes, I couldn't be happier!
 
For you, this team up means that you have chances all week long to win!!  Check out the Little Yellow Bicycle and the May Arts blogs for the details! 
 
Wonderful
 

This is a sweet picture of a friend's daughter that was taken at Christmas time. Her little black and white outfit goes beautifully with both the
houndstooth paper and the black accents. I used some of the tiny pom-pom trim from May Arts to border the inside square shape to further accent and ground the layout with more black. Using a strong adhesive tape to hold it in place worked well without causing the paper to potentially buckle by using wet glue. If you take a closer look, you can see that I placed it so that you can see mostly the pom-poms.
 

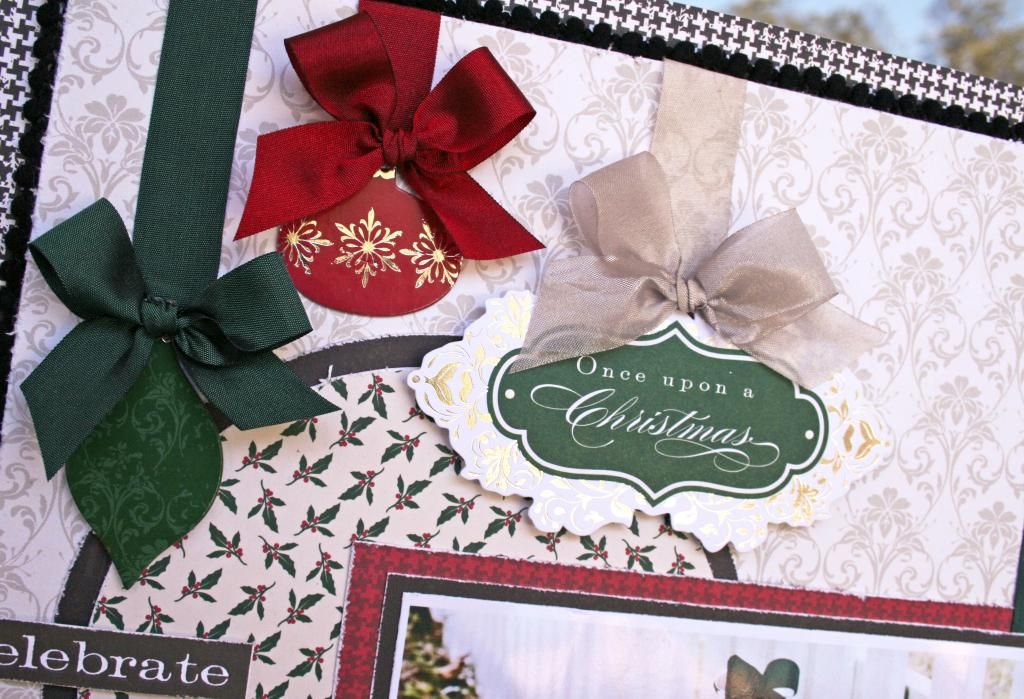
A few medium sized bows can make a big impact on your page. If you take a closer look at the ribbon that I used for the bows, you will see that the green and red ribbons have a touch of black woven in add a touch of sheen and the high quality and you can see that these ribbons couldn't go any more beautifully with the elegance of the Once Upon a Christmas papers and embellishments.
 

For balance, I put more bows at the bottom of the page. On this side, I chose to continue the look of hanging the ornaments. Using such a large amount of ribbon led to the decision to keep the rest of the layout design relatively simple. It also means that this layout can be completed quickly and easily!
The sentiment was added using the DejaViews clear stickers. Don't forget these stickers when designing! There are so many different ones and so easy to use. I really like how so many of them use different sizes and fonts for sentiments and titles. Not to mention, they stay stuck!
 
To have a chance to win go to the LYB blog!! 
 There are chances all week to win!  Be sure to check out all the Biker Chicks post and leave comments!  Also, keep your eyes open for a blog hop on Friday for even more chances!
 
Photobucket